
From the introduction to Come As You Are: The Surprising New Science that Will Transform Your Sex Life:
And finally, in Chapter 9, I describe the single most important thing you can do to improve your sex life. But I’ll give it away right now: It turns out what matters most is not the parts you are made of or how they are organized, but how you feel about those parts. When you embrace your sexuality precisely as it is right now, that’s the context that creates the greatest potential for ecstatic pleasure.
From the introduction to Bicycle/Race: Transportation, Culture & Resistance, by way of explaining how focusing on building cycling infrastructure misses the mark:
I disagree with this approach, both as an advocate for bicycling and as an anthropologist. The development-based strategy sidesteps key questions about race, place, and mobility: Who decides what to build, who gets paid to build it, and who will frolic in those future streets? If the answers point to inequity, and they very often do, so will the fruits of the strategy. My approach to changing street culture takes a step back from designing new street systems and focuses instead on the human infrastructure that shapes our current mobility. Culture, social networks, who we spend time with; the relational nature of being social creatures plays a fundamental role in where we live, how we travel, who we value, and, crucially, how we transition to more sustainable lifestyles. We carry our identities and histories with us as we mobilize into public spaces like streets, and from within our individual bodies we transmit norms and new ideas. We can’t design a future where race and other hierarchical structures don’t matter in transportation unless we reckon with how they’re embedded in today’s unequal mobility landscape.
Both authors are saying, in essence, the same thing: embrace your infrastructure as you find it, and focus, instead, on the personal, cultural and social issues layered on top of it.
On Wednesday night I had some errands to run: I needed a carbon monoxide detector, some light bulbs, some vitamin D, and some throat lozenges (the latter because I was feeling a cold coming on, a cold that did, indeed, come on like a freight train on Thursday).
In the normal course of affairs I would have run these errands by getting in my car, driving out to Canadian Tire for the CO detector and the light bulbs, and then stopping at Shoppers Drug Mart on University Avenue, on the way back, for everything else.
But, as it happened, earlier in the day on Wednesday I’d received word from Home Hardware that they’d taken me up on my suggestion of installing a City-incentivized bicycle rack; not only did I want to show Home Hardware some love for doing this, but Home Hardware also happens to be a much easier cycle from my house downtown than Canadian Tire, and Murphy’s Parkdale Pharmacy, which is on the cycle home, has excellent bicycle parking too. It also happened to be a nice night for cycling, before a forecast Thursday storm. So the die was cast.
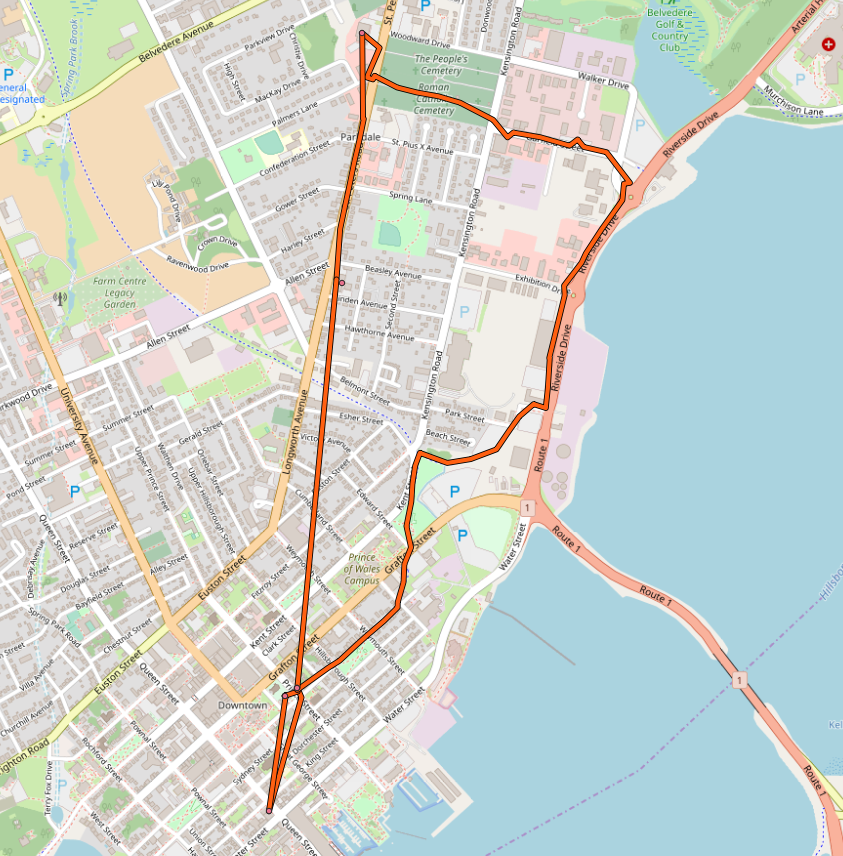
There are a bunch of ways to get from 100 Prince Street to Home Hardware: the most direct involve Longworth Avenue/St. Peters Road or Kensington Road; I hoped that I could avoid the hill involved in either of those routes, and also avoid some car traffic, by taking the Riverside Drive multi-use trail out to Garfield Street and then cutting west to St. Peters Road.
It turned out that Garfield Street too has something of an incline, so I wasn’t able to completely avoid hills. But it was a nicer cycle ride, so I’m happy I went that way; the ride through the Roman Catholic Cemetery was particularly atmospheric, as the lights and candles on the graves made the route feel like a magic realism shortcut into another dimension. Which perhaps it was.
At Home Hardware I did, indeed, find the reported bicycle rack, handy-by the front entrance:
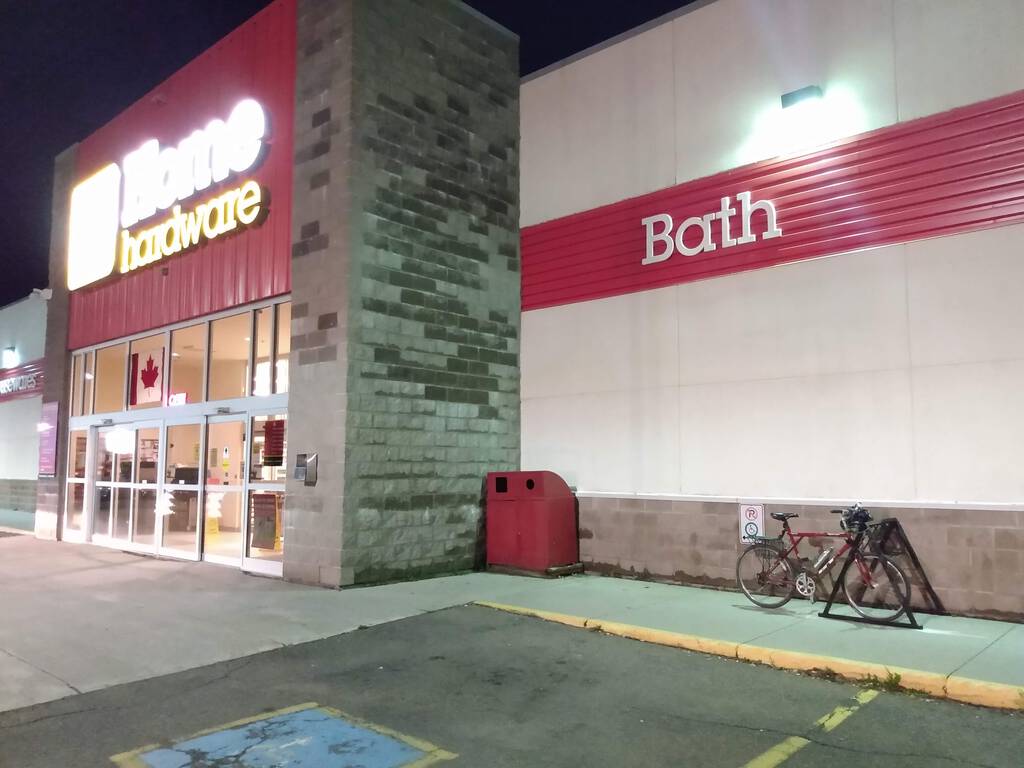
Once I arrived at Home Hardware, I was reminded that, beyond convenient bicycle parking, there are some other good reasons to shop there, including its plentiful, helpful staff (I was asked if I needed help by three separate people; this has never happened to me at Canadian Tire, ever). I found the CO detector and the light bulbs (both on sale!), and was in and out in 5 minutes.
To get from Home Hardware to Murphy’s Parkdale Pharmacy I took advantage of the wide bicycle lane along St. Peters Road that’s almost entirely downhill.
It’s not the best bicycle lane in the world, as there are some storm drains that have sunk into pavement that you need to watch out for, and it’s important to have both a “see” and a “be seen” light on your bike if cycling at night, as there’s a lot of traffic entering and leaving St. Peters Road, but otherwise it’s a pleasant almost-100%-coast.
Parkdale Pharmacy has had good bicycle parking for years and years, right by the front door:
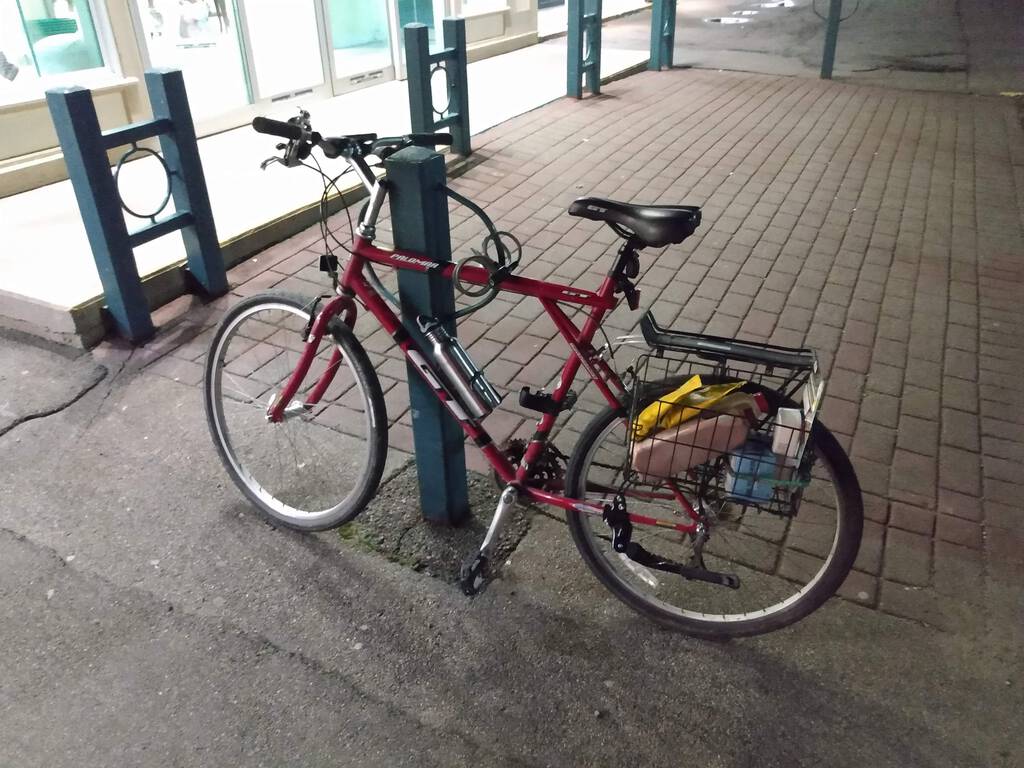
If you look carefully at my folding basket on the right you can see the I added some milk to the bill, white and chocolate, as I realized we were out.
The cycle ride from 100 Prince Street to Home Hardware took 17 minutes; it was 4 minutes from Home Hardware to Parkdale Pharmacy, and then 12 minutes to get back home.
Kudos to both Home Hardware and Murphy Pharmacies for realizing that good cycling infrastructure is good business.
Had I opted for the typical plan for running these errands, I would have driven my car out to Canadian Tire and back, a total journey of 9 km, which, according to the EPA, would have seen me emitting about 2.2 kg of CO2.
I heard a passing reference to the late motorcycle stunt impresario Evel Knievel last week that brought back a lot of memories. In a way that would perhaps boggle the mind of younger people, Knievel was a significant pop culture presence in my youth; it seemed that he was forever on the brink of some motorcycle-jumping grand feat or another.
For reasons I cannot explain, I have a very strong memory of seeing the 1977 film Viva Knievel! in the Empire Theatre in Cochrane, Ontario shortly after it was released.
With the help of my brothers and my parents I was able to narrow down the timing of our 1977 visit to Cochrane, to my maternal grandparents, to the middle of August, and then, with the help of the excellent Cochrane Public Library, I was able to request a scan of the movie listings from The Northland Post for that week. And, sure enough:
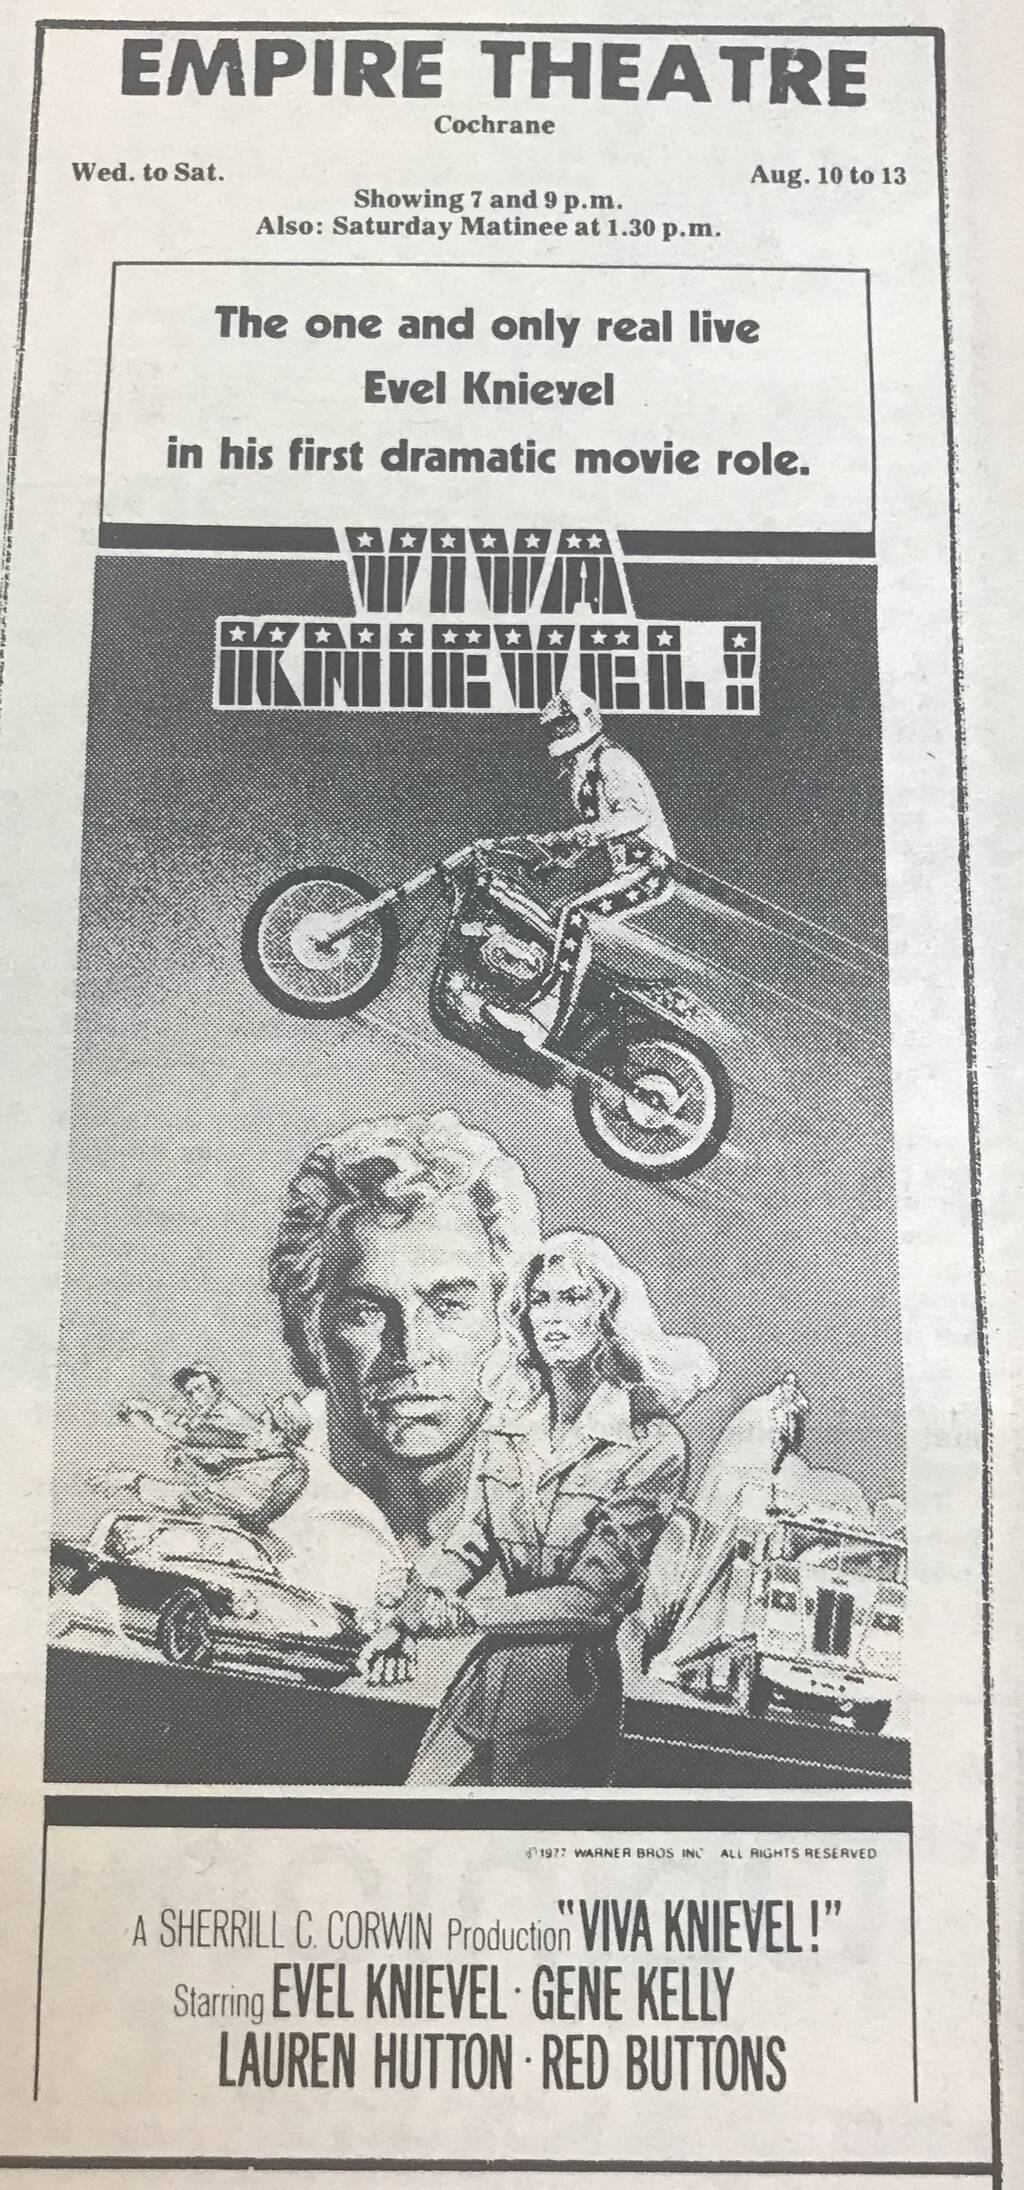
I am fascinated by films like this that bridge the generations: Viva Knievel! starred not only the eponymous Knievel, but also Gene Kelly, Laurent Hutton and Red Buttons, actors who seem like they should exist in a different time stream than Evel Knievel but clearly don’t (see also Ethel Merman on The Love Boat, playing the role of Gopher’s mother and singing a song from A Chorus Line).
That 1977 trip to Cochrane saw us continue on from Cochrane to Winnipeg; I was 11 years old, and it was perhaps the most of epic of the family camping trips we took when I was a kid. Perhaps that’s why I remember Viva Knievel! so strongly.
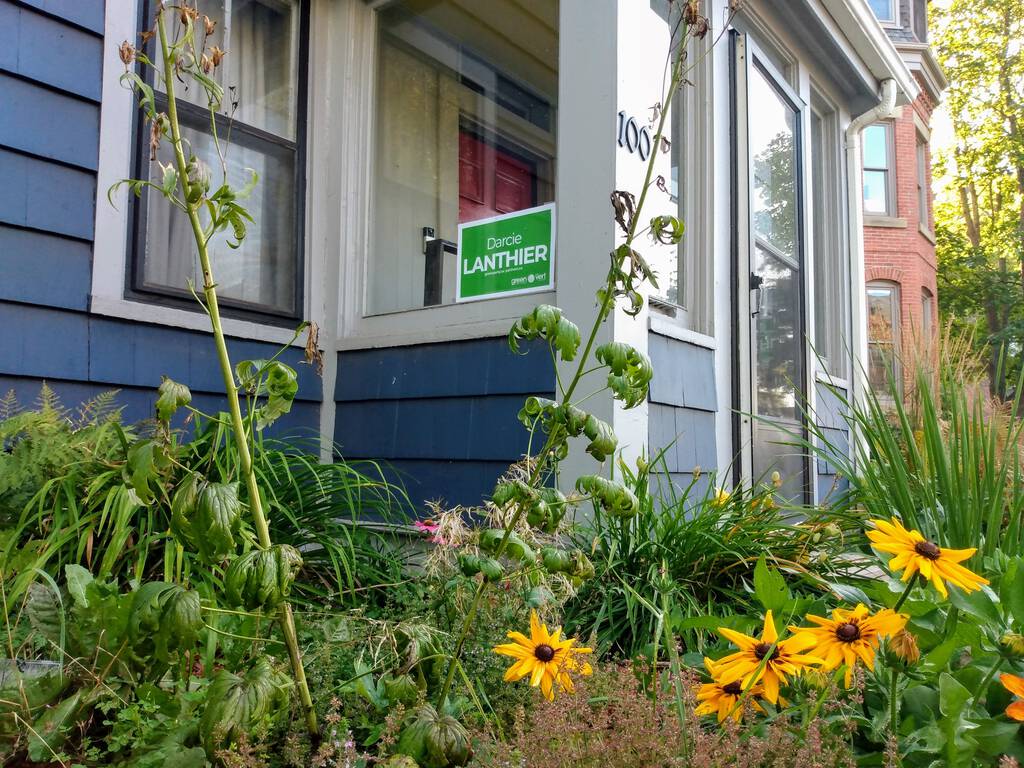
This is Oliver’s testimonial for Darcie Lanthier, Green candidate for Charlottetown, running on her Facebook page. And he’s right on all points.
(The photo was taken on the day Oliver joined both the provincial and federal Green parties in February; he picked a good day to do it).

An essay in Belt Magazine by Harmony Cox begins:
In the months before I came out of the closet and asked my husband for a separation, I did a lot of things. I googled terms like “later-in-life lesbian” and “irreconcilable differences.” I quietly began the work of separating our finances. I slept in my bed—my newly-purchased separate bed, where I’d been sleeping while we tried to work things out—felt the cold space next to me, and cried.
But mostly, I drove.
What with the maelstrom that our family has found itself in for the past month, I’ve been hard-pressed to find any time to help out on Darcie Lanthier’s Green campaign here in Charlottetown. But things have calmed down now enough so that when campaign HQ phoned last week looking for volunteers, I was able to sign myself and Oliver up for a stint of data entry this afternoon.
But then Oliver caught a cold, and is in no shape for getting off the couch, let alone doing data entry, so I bus-cycled by myself up to Darcie’s campaign office, on Brackley Point Road near Ellis Bros., just after lunch and offered up my services.
I’ve done a lot of election-related data entry over the years, but of the non-partisan sort. And even then, I was, more often than not, the supervisor of the systems upon which armies of people more talented than I were doing the data entry. So this was my time to experience full-on partisan data entry, and to use someone else’s system to do it with.
The Greens, it turns out, are a technologically-advanced lot, and the system was a lovely vehicle for doing what needed to be done. So much so that my fellow data-enterer and I finished our task quickly, and were looking for something else to do.
“How would you feel about helping out with the telephone canvas?”, I was asked by the friendly campaign team member guiding my way.
Panic set in. Call people!? Strangers?! Me? There’s no way in hell I can do that.
“Sure, I’d be happy to do that,” I squeaked out.
People further down the campaign volunteering rabbit hole than I have told me that the first call you make, or the first door you knock on, is the hardest one. And that was certainly true in my case. I dialed the first number with some trepidation, not knowing what would be on the other end.
To my surprise, I wasn’t yelled at. Indeed it was a rather pleasant call.
So I made another one. And another one.
And after about 15 minutes I was cooking with gas, and actually enjoying myself.
I kept on going until the call-queue ran dry, and packed up and cycled home around 5:00 p.m., feeling energized; on my way out the door I offered to do more over the course of this week, something 1:00 p.m. me would never have imagined 5:00 p.m. me doing.
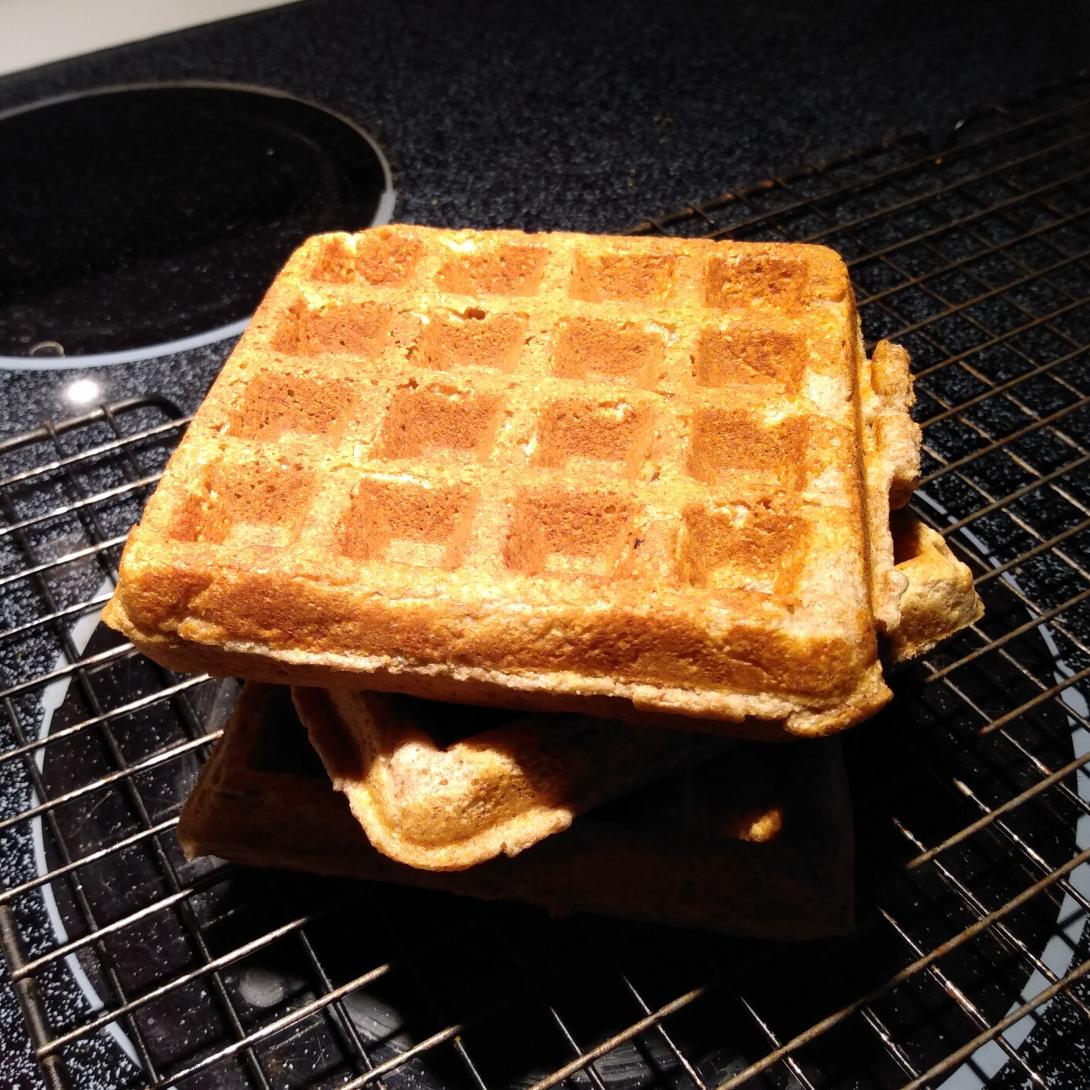
Flour from Crystal Green Farms, milk from Purity Dairy, butter from ADL, eggs from Paul Offer. Only the baking powder and the salt came from away.
When Green Party leader Elizabeth May said, to Conservative leader Andrew Scheer, in last week’s English language leaders’ debate, “With two weeks left in this election campaign, Canadians can know one thing. At this point, Mr. Scheer, with all due respect, you’re not going to be Prime Minister. The question is going to be on a seat count —” it was possible to take this simply as false bravado.
But, as journalist Steve Paikin reminds us in Why winning the most seats doesn’t always mean winning the election, becoming Prime Minister isn’t (only) about seat count, it’s about obtaining the confidence of the house to govern, and in this practice the opening move goes to the current Prime Minister.
This means that even in the case where the Conservatives win more districts than any other party, they won’t automatically–and indeed, are unlikely to–form government, as Liberal leader Justin Trudeau will have an opportunity to negotiate a coalition with the other parties, a negotiation that would have a good chance of success. Paikin relates the aftermath of the 1925 federal election to illustrate his point:
So whoever can command the confidence of Parliament wins the right to govern, even if they haven’t won the largest number of seats. Perhaps the best example of this happened in 1925, when Prime Minister William Lyon Mackenzie King’s government went down to apparent defeat at the hands of the Conservatives. King returned with only 100 Liberal MPs; the first-place Tories had 115. But the third-place Progressives won 22 seats and opted to back King, who concluded that he could continue to govern with their support.
At this hour the CBC Poll Tracker is showing the Conservatives with an 8% probability of winning a majority of seats; the remaining 92% of probabilities are situations where there is a solid possibility that the government will be a Liberal-led coalition or majority.
A friend who told me yesterday, by way of explaining his plan to vote “strategically” for the Liberal candidate in Charlottetown, “as I see it the only clear thing to do is to vote Liberal, to stop Scheer.”
Earlier this week Peter Bevan-Baker, provincial Green leader, made the case for voting your values to get the kind of government you want:
Strategic voting sucks. Voting for candidates & parties you don’t particularly like or want gives us governments we don’t particularly like or want. Voting for a person or party you trust and are inspired by might finally give us a government we trust and are inspired by.
If you are not swayed by this approach, and are determined to vote not by looking inside yourself but rather by trying to game out a situation to prevent what you see as the worst-worst, please take a moment to consider the nature of the minority government we’re likely going to see formed after this election, and consider who you want representing your district in that coalition.
I voted for Ralph Nader in 2000, so I know a little bit about (not) voting strategically. And, indeed, the mathematics of that US election are, I think, where the modern strategic voting era began, and the Bush presidency that resulted from that election cast an understandably long shadow that has intruded into our Canadian elections.
But we elect a parliament in Canada, not a Prime Minister, and your vote for your local candidate, especially in this election, is not about Trudeau or Scheer, it’s about who you think capable of truly collaborating in what promises to be the most important coalition ever formed in Canada.
Oliver’s got the death of a cold, so I made my way to the Charlottetown Farmers’ Market by myself this morning.
After a healthy amount of Duckduckgoing “how to cycle in the rain,” I decided I was not up for it, so I took the bus instead. It was a soggy walk from Subway to the market, but the passing cars were kind, and slowed down to prevent causing monsoons from driving headlong through the standing water.
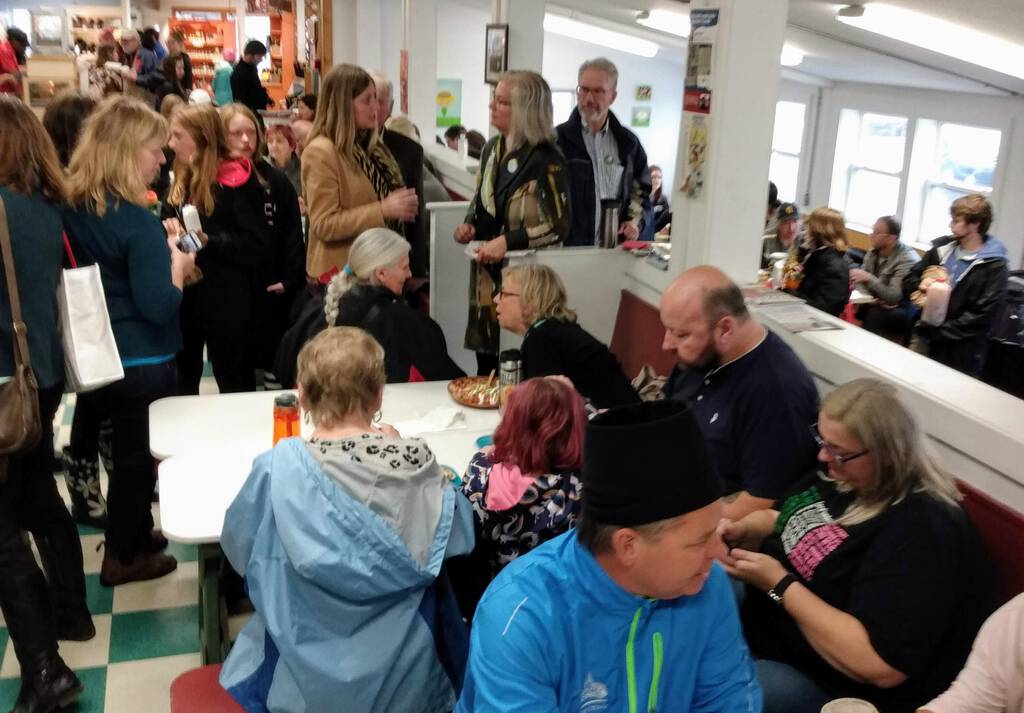
In addition to being Thanksgiving-busy, the market was also Elizabeth May-busy this morning, as she made a quick campaign stop en (Tesla) route from Pownal to Cape Breton that included a lunch of Claudia’s Mexican food. And a lot of chatting with a lot of people.
It’s quite humbling to see May in action: her entourage is lean, and she is open. To everyone who approaches. It must be exhausting, and we all owe her a great debt for her tenacity.
I escaped from the melee on to the loading dock of the market for some quiet reflection, and recorded 30 seconds of the suddenly-torrential rain falling on the metal roof.
My friend Ann rescued me from a wet walk back to the bus stop by offering me a ride home; it was on her way.
Where I delivered a smoked salmon bagel and cup of tea to ailing Oliver. Who will, I think, spend most of the day sleeping.
My friend Bree pointed me to the work of scholar Shahzeen Attari whose research, says her bio, “focuses on people’s judgments and decisions about resource use and systems, and how to motivate action on climate change.”
Her most recent paper, with Gregg Sparkman, in Energy Research & Social Science, is Credibility, communication, and climate change: How lifestyle inconsistency and do-gooder derogation impact decarbonization advocacy and it is a fascinating read on a subject that I’ve been thinking a lot about. The heart of it comes in this sentence at the end of the abstract (emphasis mine):
Overall, these results suggest that advocates, especially experts, are most credible and influential when they adopt many sustainable behaviors in their day-to-day lives, so long as they are not seen as too extreme.
In other words, it’s fine to model sustainable behaviour, just don’t be an asshole about it.
I think about my writing about my cycle to and from Charlottetown Airport last month in this light.
While I undertook the trip as a personal challenge, I wrote about the trip as a way of, I’d hoped, showing others what’s possible, and encouraging them to examine their own climate footprint from transportation. But what if this had the opposite effect from what I intended? What if it was such an outlandish and practically useless idea that the most common reaction was along the lines of “well, that’s all very well and good, but…” rather than “I could try that”?
In the words of the paper:
Why would seeing advocates practice what they preach backfire? People are frequently drawn to making comparisons to others in order to evaluate oneself. When people evaluate others who perform better than oneself, particularly in moral domains, they may feel negatively about themselves. However, people are highly motivated to maintain a positive view of themselves as moral, competent and contributing members of society and may seek to derogate others, including the do-gooder, to decrease the negative feelings that may arise about themselves. Research finds that people take aim at do-gooders in a range of domains, from eating a vegetarian diet to speaking up against prejudice. Advocates’ efforts may also be harmed by being do-gooders: research has found that when physicians “practice what they preach” and live in a very healthy manner, for instance, their patients may anticipate being negatively judged, and avoid their physician. Thus, advocates who are do-gooders can also be understood as naturally soliciting a form of psychological reactance—a desire to disobey or resist influence from others: marginalizing the do-gooder and their cause offers people a tempting way to maintain a positive self-view and freedom to choose their own actions
While addressing the climate crisis is an effort fought on many fronts, so much of what it takes on a personal level is changing our habits. And that’s a really, really difficult thing to do, even when we’re motivated. And especially when we’re trying to convince others to do likewise. As such, the skills we need to cultivate are as much in the realm of psychology and sociology as they are in infrastructure and economics.
This is not to suggest that modeling sustainable behaviour isn’t helpful, as the paper makes clear in its conclusion:
We find that advocates for decarbonization are more influential when they take action to reduce their personal carbon footprint, including having an energy efficient home, using renewable energy, reducing their meat consumption, and how often they fly. This is especially true of advocates who are experts and less so for non-expert peers. Notably, this does not mean that experts must radically transform every aspect of their lives overnight to be effective. In fact, our work suggests that the advocates with the most exemplary lifestyles do not necessarily fair better (and may even be less effective) than those who take some action. Therefore, it may be helpful for experts to highlight to some substantial pro-environmental behaviors that they do. Overall, our findings suggest using an approach that combines advocacy efforts of experts who carefully consider their own sustainability choices, and non-experts, even those who still have a lot of room for improvement, may serve as effective communicators to help society reach its decarbonization goals.
That’s helpful advice.
About This Blog
 I am Peter Rukavina and this is my blog. I am a writer, letterpress printer, and a curious person.
To learn more about me, read my /now, look at my bio, listen to audio I’ve posted, read presentations and speeches I’ve written, see things I’ve favourited elsewhere, or get in touch (peter@rukavina.net is the quickest way).
I have been writing here since May 1999: you can explore the 25+ years of blog posts in the archive.
![]() You can subscribe to an RSS feed of posts, an RSS feed of comments, an RSS feed of favourites elsewhere, or a podcast RSS feed that just contains audio posts. You can also receive a daily digests of posts by email. I also publish an OPML blogroll.
You can subscribe to an RSS feed of posts, an RSS feed of comments, an RSS feed of favourites elsewhere, or a podcast RSS feed that just contains audio posts. You can also receive a daily digests of posts by email. I also publish an OPML blogroll.
Instagram • YouTube • Vimeo • ORCID • OpenStreetMap • Internet Archive • PEI.art • Drupal • Github.