Ten years ago in Copenhagen I heard my friend Elmine’s brother Siert Wijnia, with Erik de Bruijn, talk about the RepRap project:
Democratizing fabrication - The beginning of this talk will be about the RepRap, a Replicating Rapid Prototyper. In short, it is a fabricator, or 3D printer, that makes things that YOU want. Besides being able to make products as you like them best, it can make parts to assemble another RepRap machine. Hence, it has a viral distribution model.
The next year, Siert and Erik, along with Martijn Elserman, went on to found Ultimaker, a company that, in the intervening years, has grown into a major manufacturer of 3D printers.
Cura is the software that drives Ultimaker printers and, because Ultimaker is a company that has openess baked into its DNA, Cura is a remarkably open piece of software, capable of driving a variety of 3D printers that aren’t made by Ultimaker, including my own Monoprice Select Mini.
Until today, my use of Cura had been limited to using its ability to render 3D printed objects I create as STL files into the G-code files that my printer needs to print them.
For example, here’s an object, a piece of custom letterpress furniture I designed, in Tinkercad:
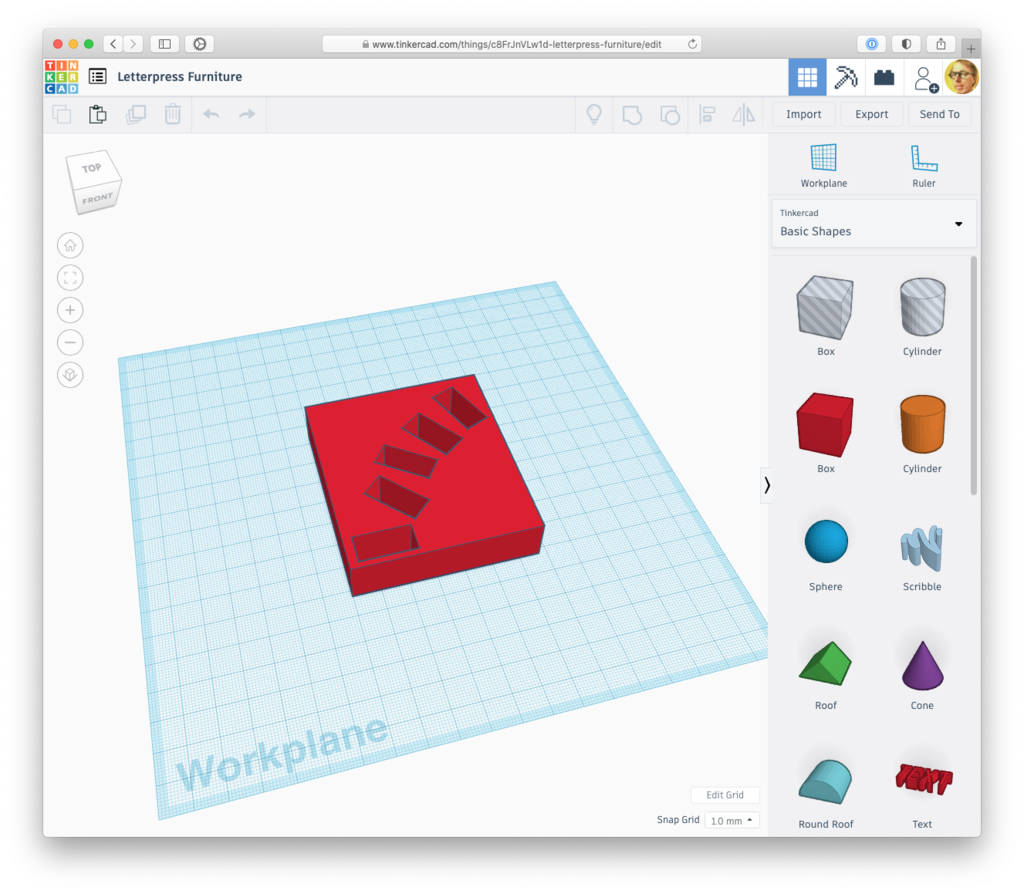
I exported a STL file from Tinkercad and loaded it into Cura, which tells, me, among other things, that it will take 5 hours and 14 minutes to print:
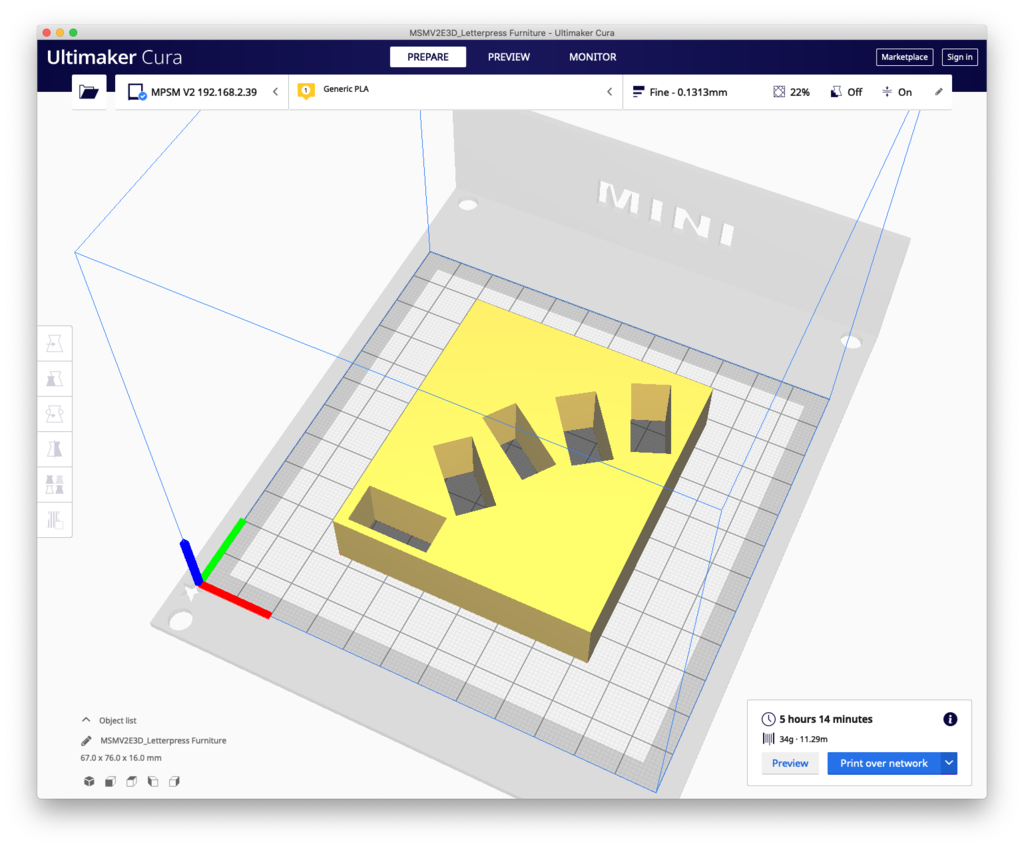
At this point it has been my usual practice to save the G-code needed to render the object to an SD card, pop the SD card out of my Mac and insert it into the 3D printer, and use the printer’s controls to select the file and print it.
Today, though, I discovered a plug-in for Cura that allows it to print to the Monoprice Select Mini directly, over wifi. And it worked, out of the box. So my new practice is to simply click “Print over network” in Cura and wait for the printer to start.
Because I wasn’t eager to spend 5 hours and 14 minutes waiting for the printer to finish, but also not eager to let the printer, and its 210ºC head, alone to malfunction and catch fire, I wanted a way to monitor the printer from afar.
Fortunately, under the aegis of another side-project, I’ve been experimenting with video streaming from a Raspberry Pi Zero; following the helpful instructions here, I set up the Pi to stream video to YouTube, pointed it at the 3D printer, and, presto, I had a remote monitoring solution.
From the office side it looks like this:
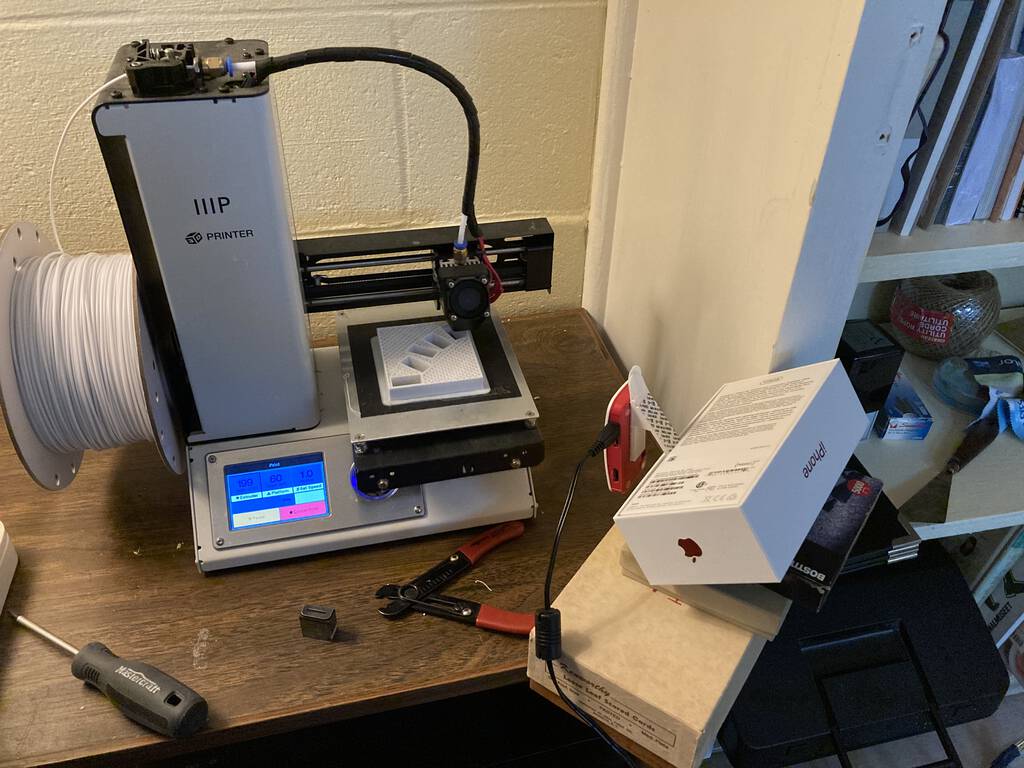
That’s the 3D printer on the left, and the Raspberry Pi Zero on the right, stuck into an iPhone box (it’s really really tiny, has the camera built-in, and only needs to be plugged into power to operate). With the YouTube stream set up, I was able to watch the printer from my phone:
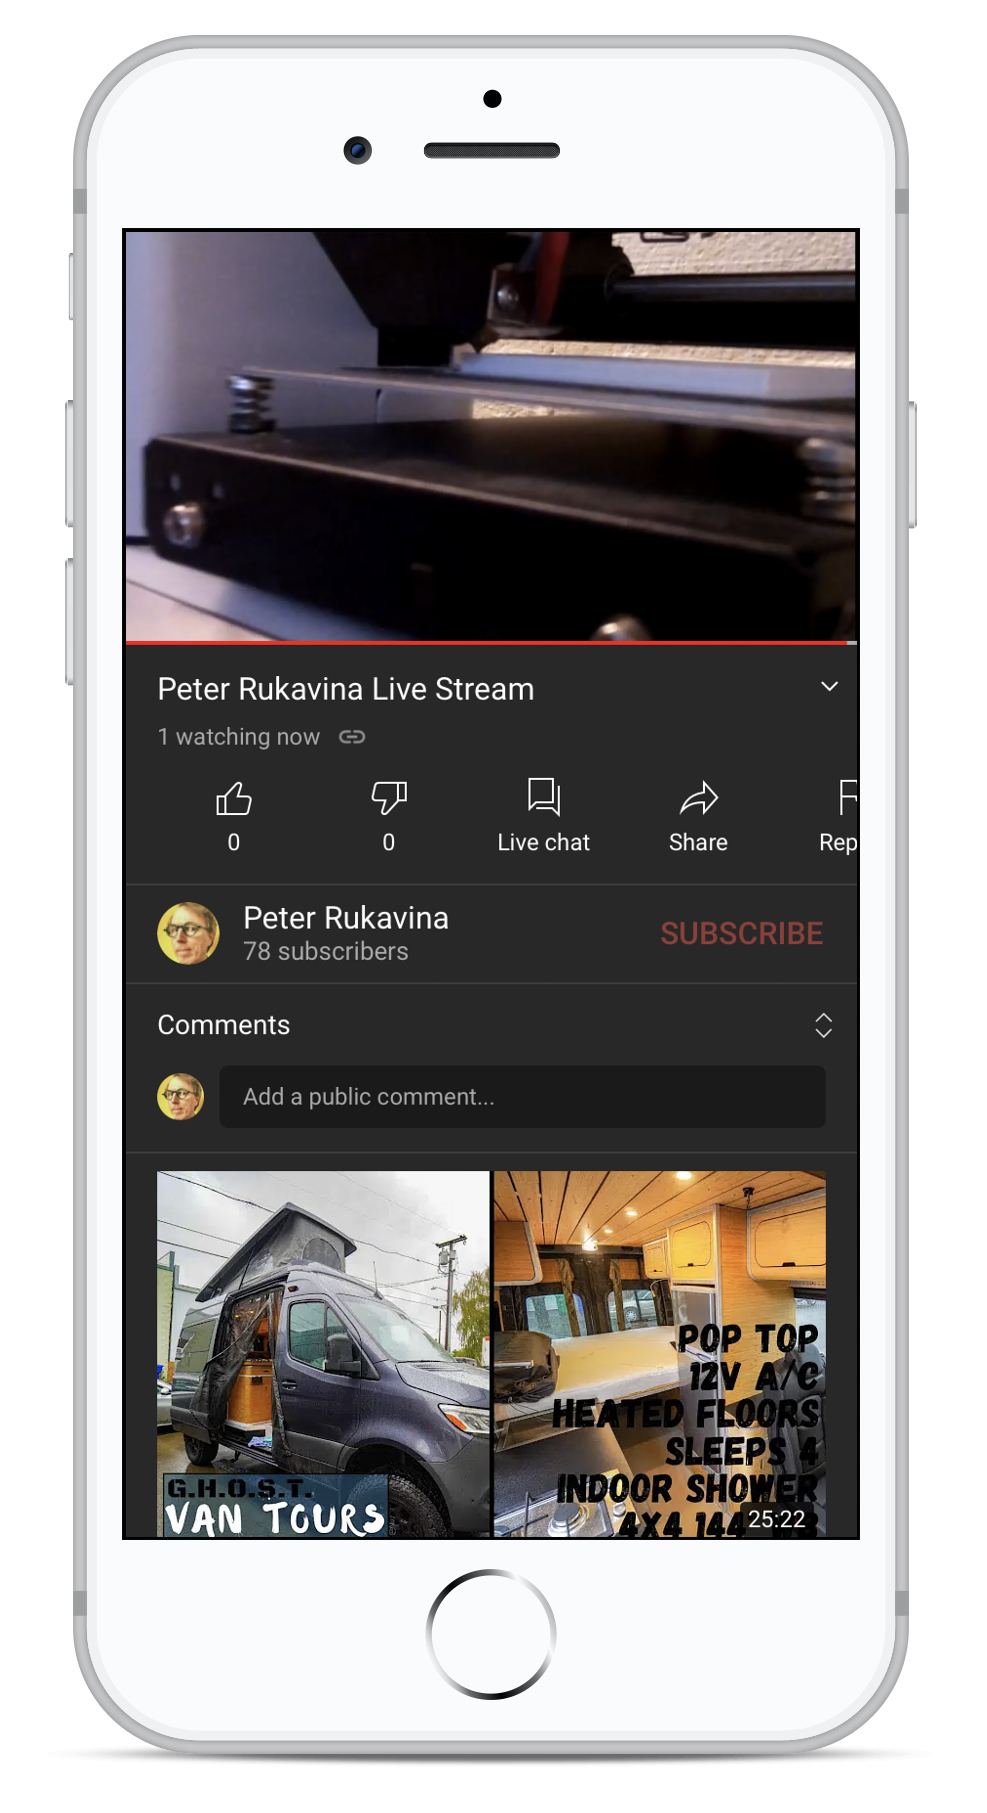
Even more helpfully, though, for something that I wanted to keep peripheral attention on for several hours, I was able to stream YouTube to my Chromecast, plugged into my screen projector, resulting in a hard-to-miss 3D printer monitor on my living room wall:
I kept an eye on the printer over supper, and afterwards, and came back to the office once things were getting close to complete.
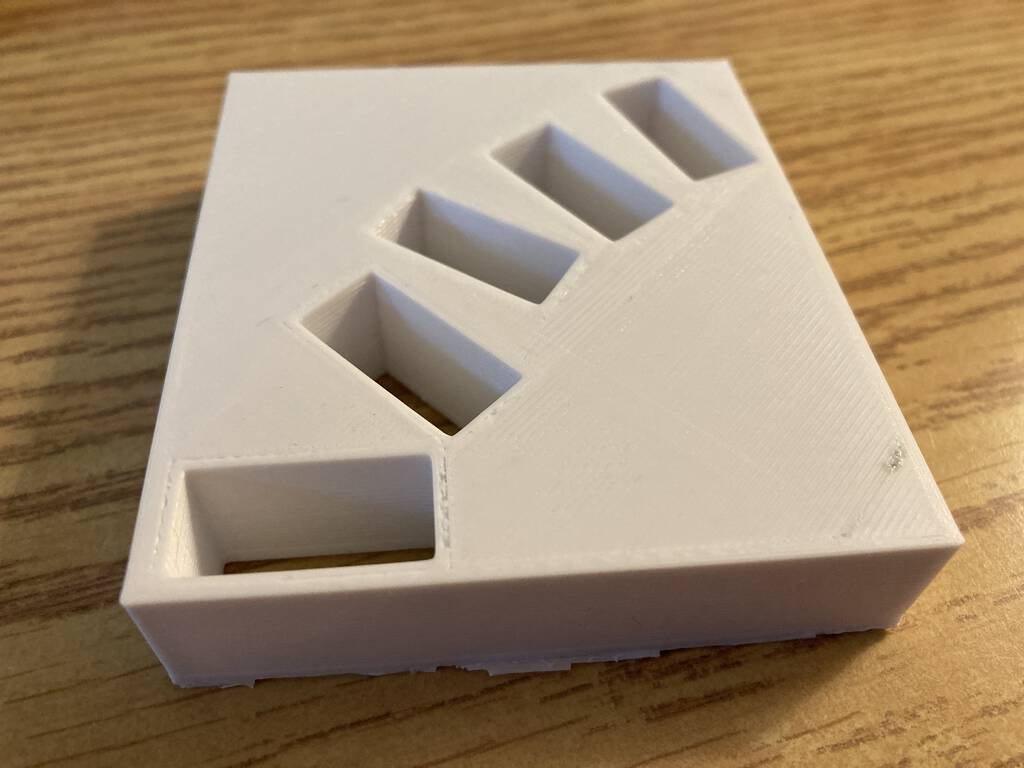
In the end, it took 5 hours and 41 minutes to print, and this was the result:
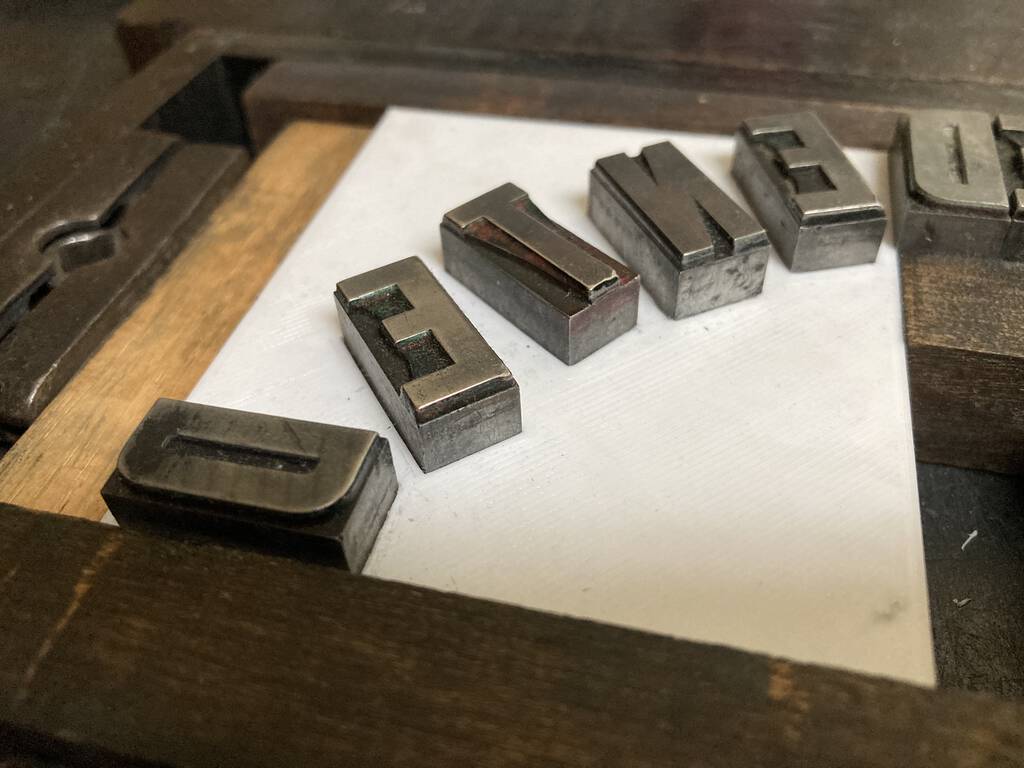
And here’s a sneak peak at what this was all in service of:
 I am
I am
Comments
Neato. Not that it would
Neato. Not that it would really scratch the same itch, but I wonder how much you’d have to pay to someone with a CAD-guided drill press or laser cutter to fabricate that from wood.
Add new comment