
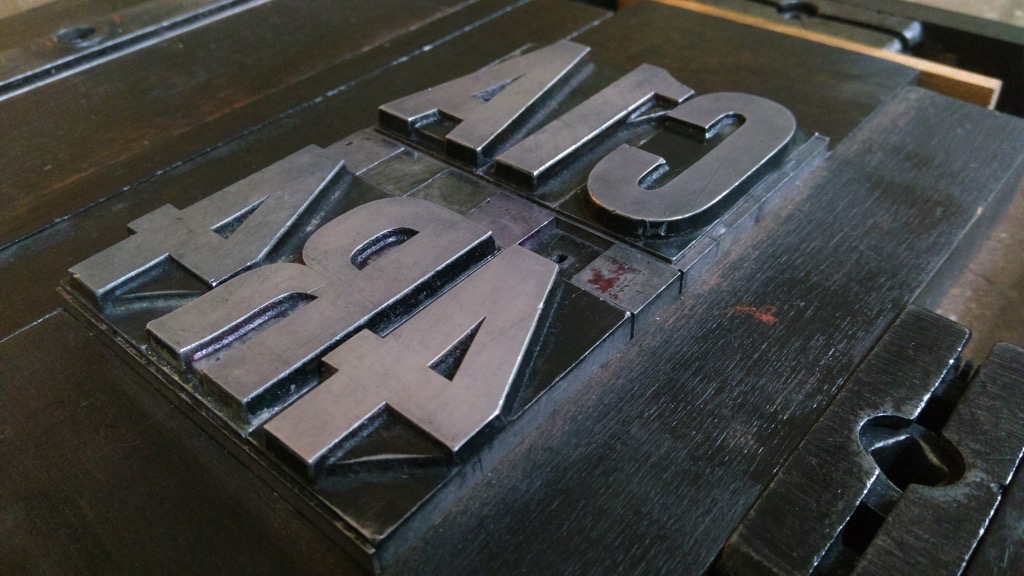
When I bought the Golding Jobber № 8 letterpress from Bill and Gertie Campbell, Bill generously spent a couple of hours with me showing me some of the trickier bits of using it.
One of the things he taught me is how to print envelopes. Because of the way they’re constructed, printing on envelopes often means printing on different thicknesses of paper at the same time. If you just print as you normally would, the impression will be uneven because the pressure will be uneven on different areas.
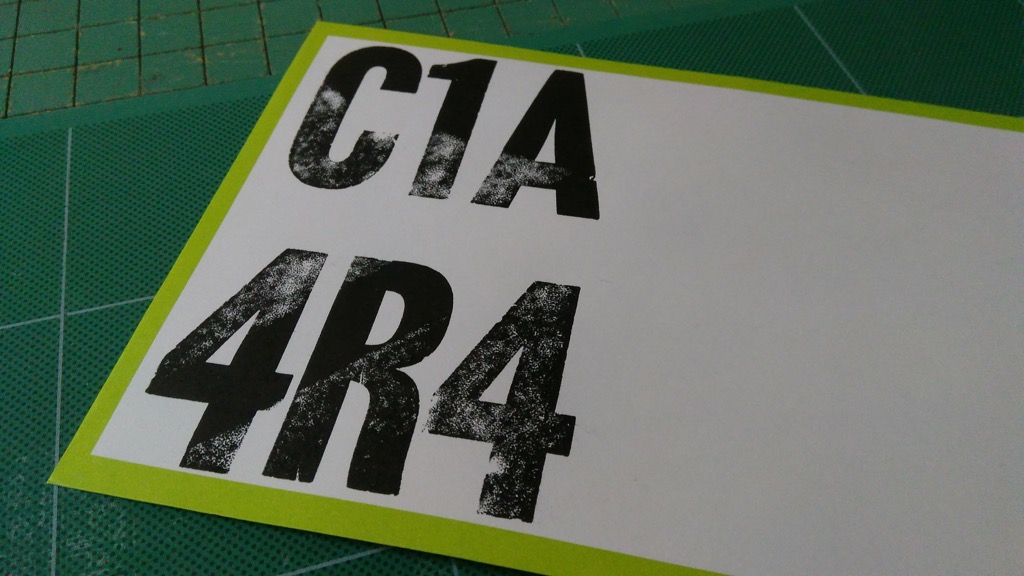
You can see the result in this first print of a C1A 4R4 envelope I printed today:
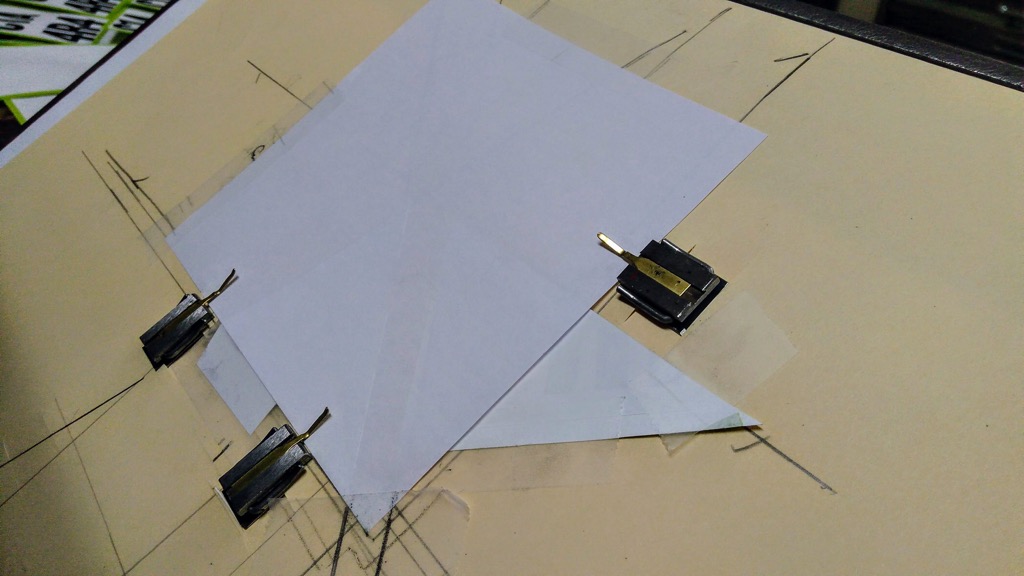
What Bill showed me is how to construct a sort of paper “shim” under the envelopes so that everything ends up being the same thickness when printing. To make the shim, I took the envelope I test-printed, and chopped it up with a knife, using the print as a template for the areas that needed buttressing. The result looked like this:

I covered the shim with a layer of paper to avoid it getting caught up in the envelopes while printing, ending up with this:
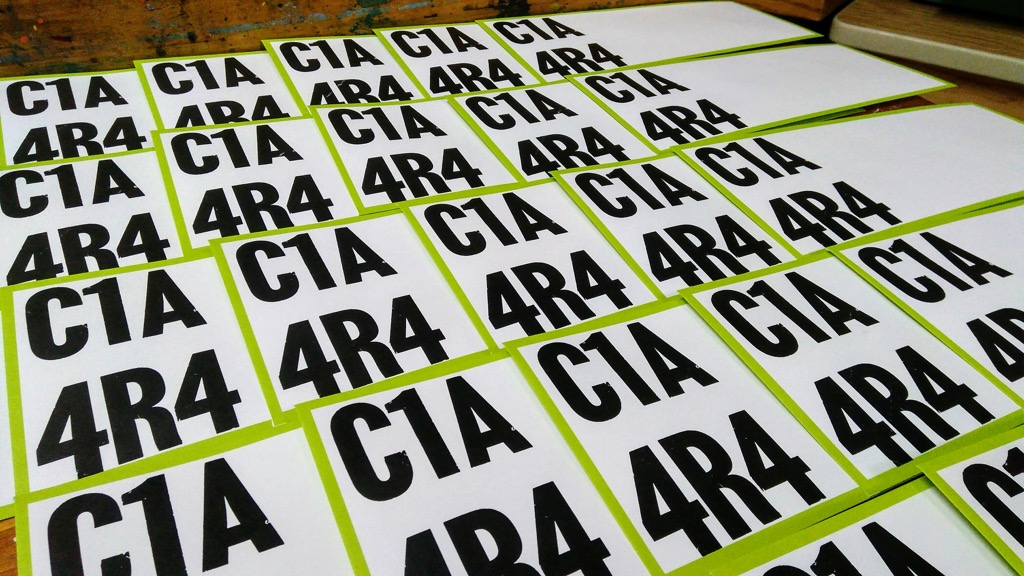
With the shim in place, the envelopes printed cleanly across the entire surface:
I’ve got one more run to take at these envelopes, printing a line, in red, between the C1A and the 4R4; I’ll do that once the black has dried.
About This Blog
 I am Peter Rukavina and this is my blog. I am a writer, letterpress printer, and a curious person.
To learn more about me, read my /now, look at my bio, listen to audio I’ve posted, read presentations and speeches I’ve written, see things I’ve favourited elsewhere, or get in touch (peter@rukavina.net is the quickest way).
I have been writing here since May 1999: you can explore the 25+ years of blog posts in the archive.
![]() You can subscribe to an RSS feed of posts, an RSS feed of comments, an RSS feed of favourites elsewhere, or a podcast RSS feed that just contains audio posts. You can also receive a daily digests of posts by email. I also publish an OPML blogroll.
You can subscribe to an RSS feed of posts, an RSS feed of comments, an RSS feed of favourites elsewhere, or a podcast RSS feed that just contains audio posts. You can also receive a daily digests of posts by email. I also publish an OPML blogroll.
Instagram • YouTube • Vimeo • ORCID • OpenStreetMap • Internet Archive • PEI.art • Drupal • Github.
Comments
looking good!
looking good!
Add new comment