Stumbling across the LIDAR data for Prince Edward Island made me think “I wonder if I can print 3D maps on my 3D printer” (this is called either “lateral thinking” or “getting easily distracted”).
So I decided to try my hand at it.
Here’s what I did.
First, I used the Natural Resources Canada Geospatial Data Extraction tool to grab a digital elevation model of the greater Charlottetown area.
Here are the options I selected:
- I zoomed the map into Charlottetown, and selected “Current Map Extent” for the “Clipping Area.”
- Under “Select Data” I chose “Elevation Model (CDEM).”
- Under “Data Options” I selected “Colour Relief.”
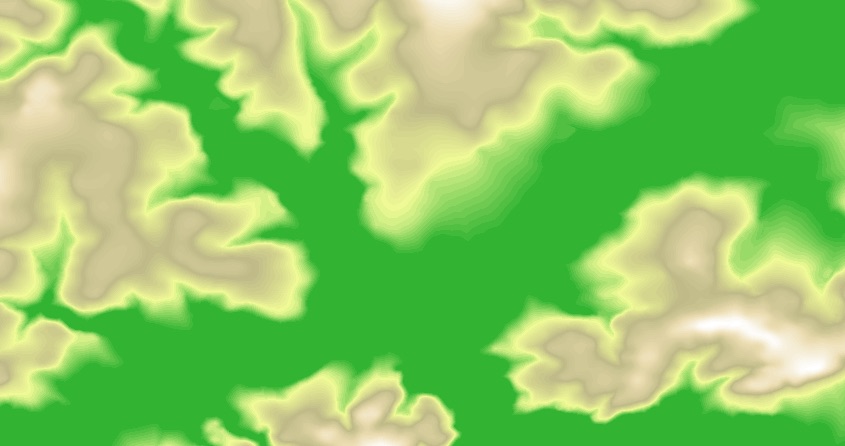
Everything else I left with the default settings. I submitted my request, and about 5 minutes later, I got a download link by email, and that download contained a GeoTIFF file that looks like this:
I loaded the GeoTIFF file into QGIS, enabled the DEM 3D plugin (Plugins > Manage and Install Plugins… > DEMto3D), and then, under Raster > DEMto3D, I selected DEM 3D printing and set the printing options as follows:
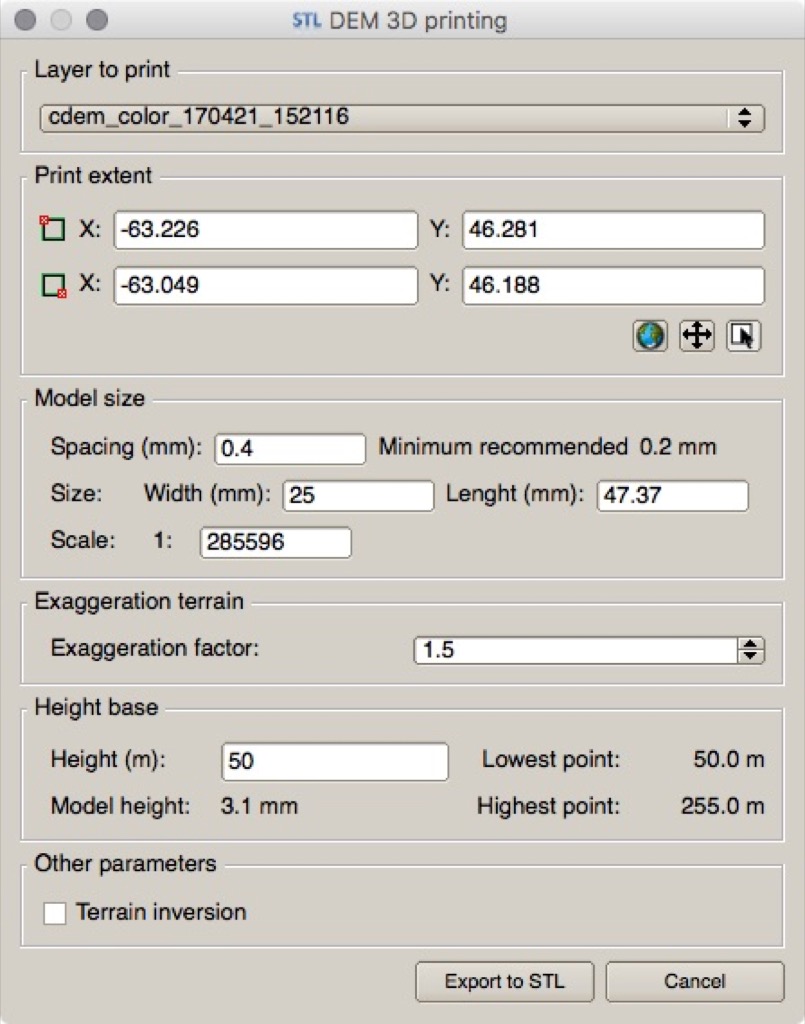
I set the “exaggeration factor” to 1.5 to have the terrain accentuated: Charlottetown’s not a hilly place, and with the resolution of the printer combined with the small size of the print (about 1 inch by 2 inches), I didn’t want to end up printing a formless void.
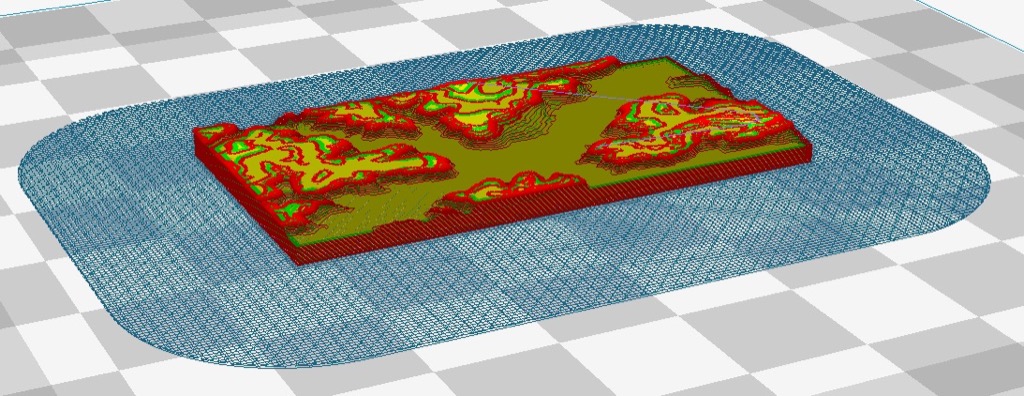
I exported an STL file and then loaded this STL file into Cura for slicing; in the “layers” view in Cura it looked like this (I added a removable “raft” around the the model to mitigate against warping; this may or may not have been useful):
The print took 61 minutes to print; here’s what it looked like when it was done:
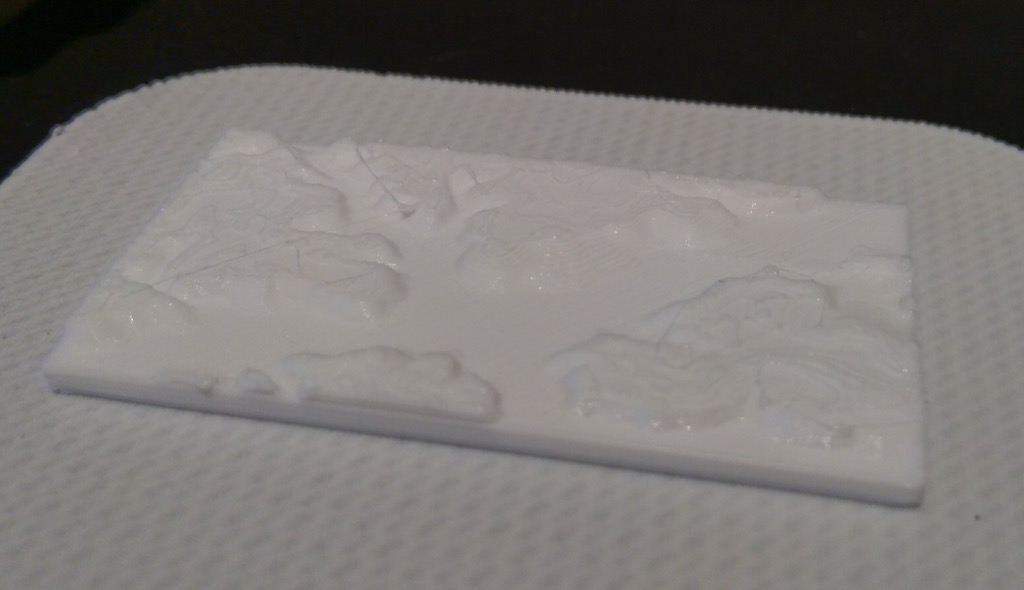
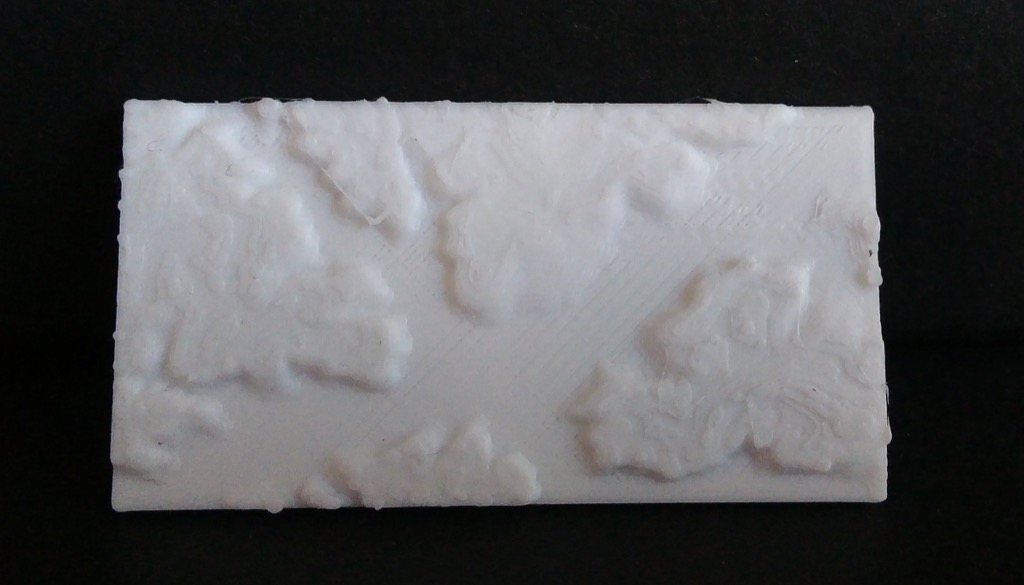
It’s not a stunning visual tour de force, but it’s a start–really a proof of concept more than anything else–that sets the path for more experimenting.
 I am
I am
Add new comment