
Early on in my relationship with Lisa, James, an old friend of hers, on meeting me for the first time, winked at me and said “I hope you like projects.”
He said this, I think, with more than a small touch of “do you know the enormity of what you’re getting yourself into.” Little did he know that, as much as Lisa finds completeness and comfort in projects, I too like biting into a quirky creation quite often. And thus, in this, we are both well-matched, and provided with a canvas upon which to paint our relationship.
The latest manifestation of this was our originally-quite-modest (but never, in truth, quite modest) plan for a holiday gift for friends and family.
It was something we’d been thinking about for awhile, after our collaboration last winter on a letterpress-printed box filled with Christmas candy (a project that, strangely, I wrote about almost not at all here). Without formally agreeing, I think we both went into this holiday season knowing that we were going to up the ante.
It all started innocently enough, on November 25, when I texted Lisa a link to this recipe for Sichuan chilli oil, along with:
Can we make the chilli oil?
Could the chilli oil become a Christmas gift?
Could we label the chilli oil with a Sichuan pepper print?
to which Lisa replied, 30 minutes later:
Sure:)
Sounds lovely.
And we were off.
We were well-served, in preparing for the project that was emerging out of the mists, by our 4-day relief printing workshop this fall: we knew we wanted to incorporate lino-block printing into the project somehow, and printing labels on spiced oil jars seemed to be as good a way as any.
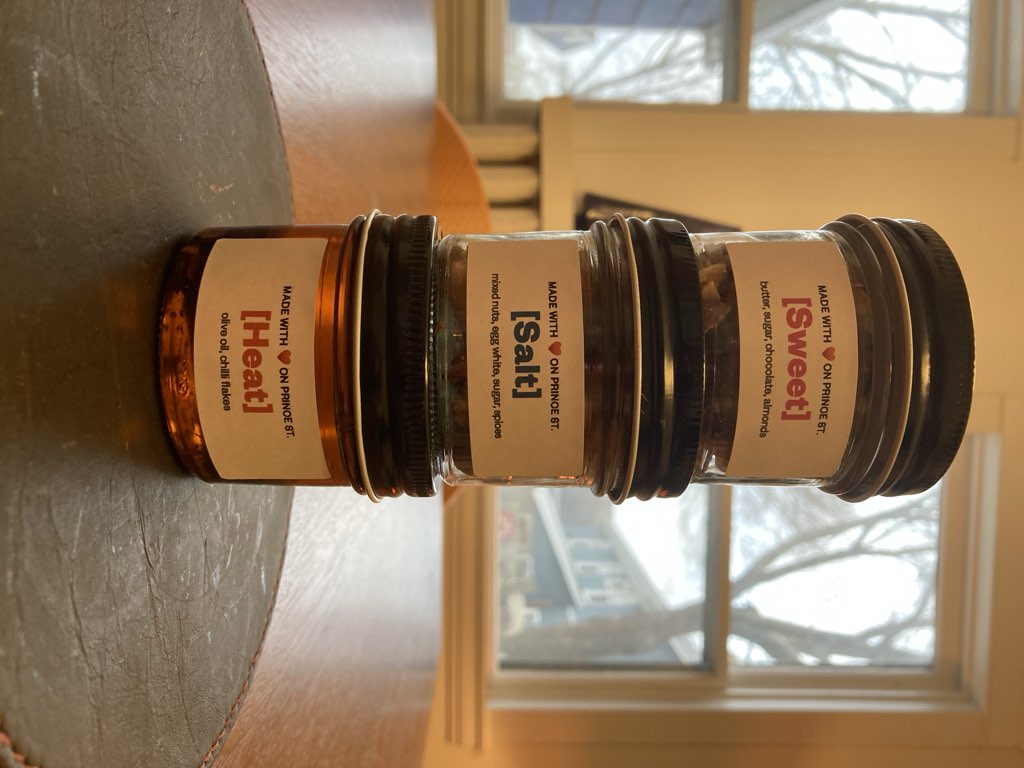
Very quickly “can we make the chilli oil,” in Lisa’s mind-prone-to-scope-broadening, became “let’s make jars of three things—hot oil, sweet candy, and salty nuts—and let’s print separate-but-related labels for each.”
And then we leaped into a ping-pong of I-can’t-remember-whose-idea-was-whose collaboration, an exercise that ended with a decision to, yes, produce three food products from scratch, with labelled jars, but also to package the jars in a custom-printed box.
While we were waiting for boxes to arrive once ordered, Lisa set to managing the food production, and we riffed on different approaches for producing the labels. Now that we were going to relief-print the box, we decided to letterpress-print the labels, and I made some prototypes:
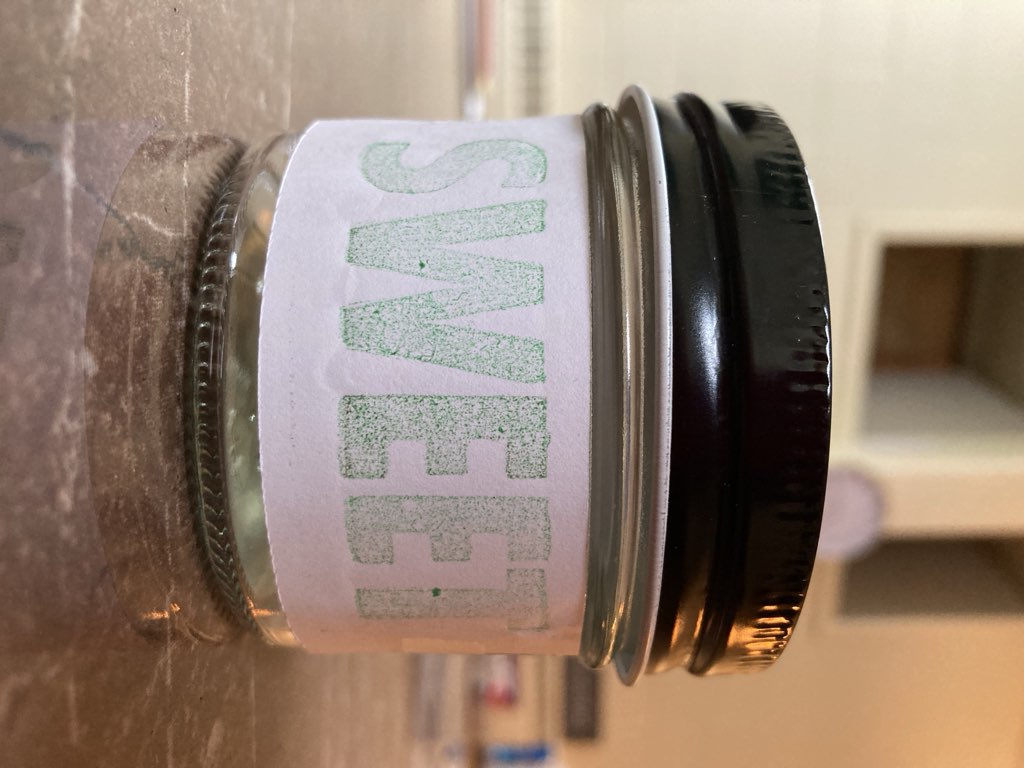
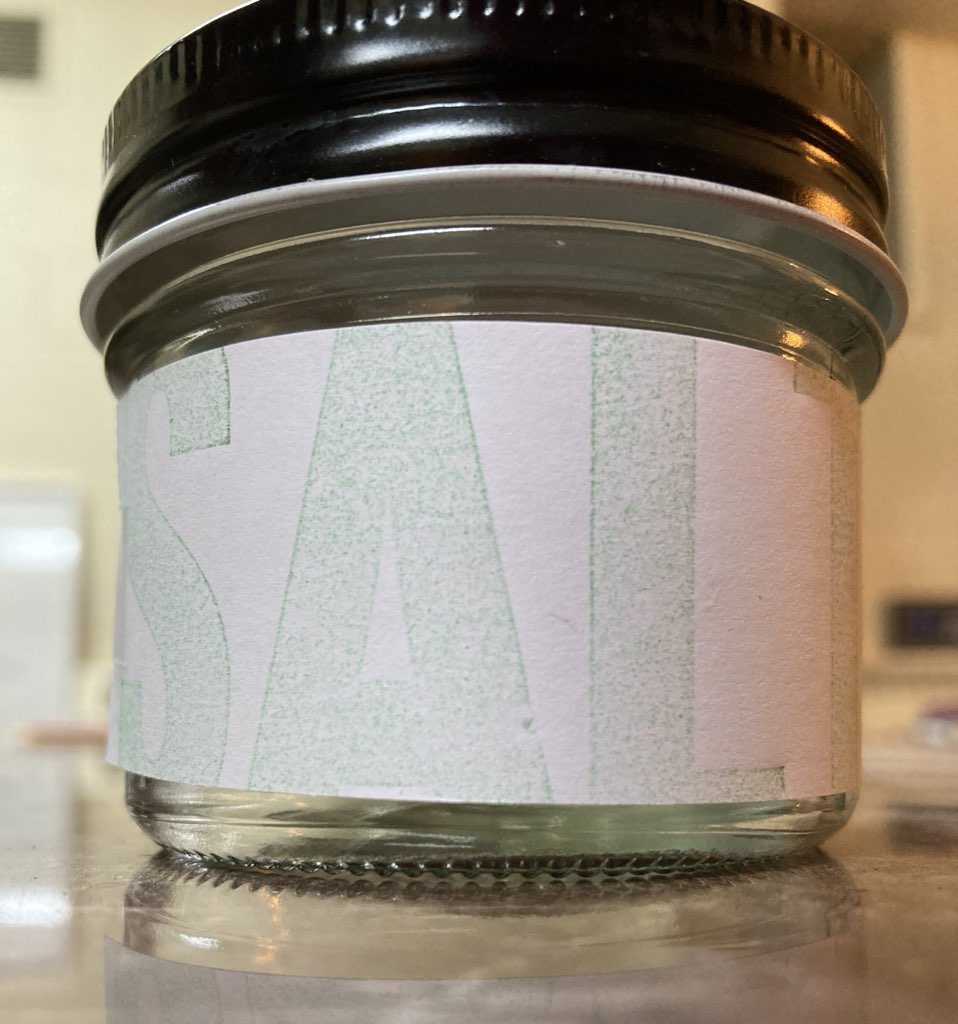
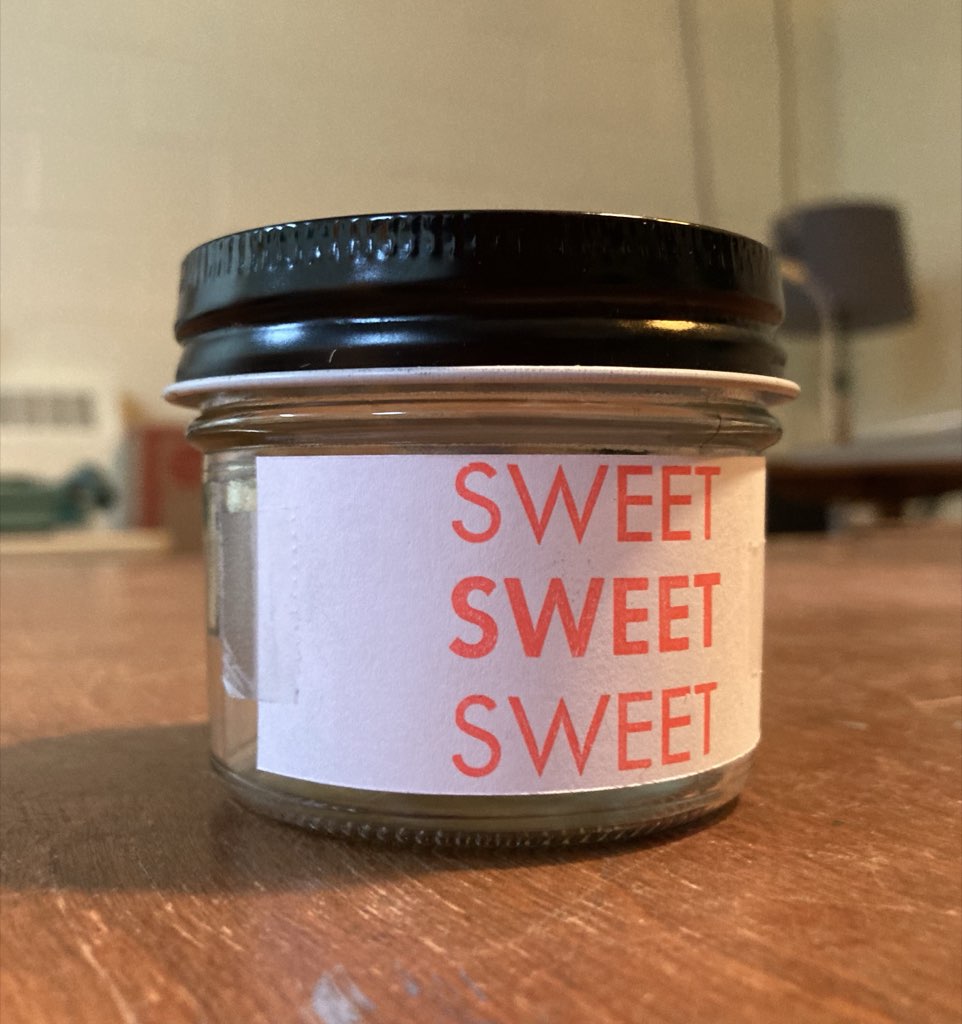
After a lot of back and forth with HOT, SWEET, SALT in various typefaces, we decided to revert to digital means for label printing, purchasing sticky labels from Staples, designing in Pages on my MacBook Air, and printing on an HP inkjet printer, the result of which was:
At this point we were ready to turn our attention to designing and printing boxes.
We ordered 250 box-board boxes (reverse tuck kraft boxes, 3”x3”x5”), uncoated so as to take well to the Akua water-based intaglio inks we planned to print with.
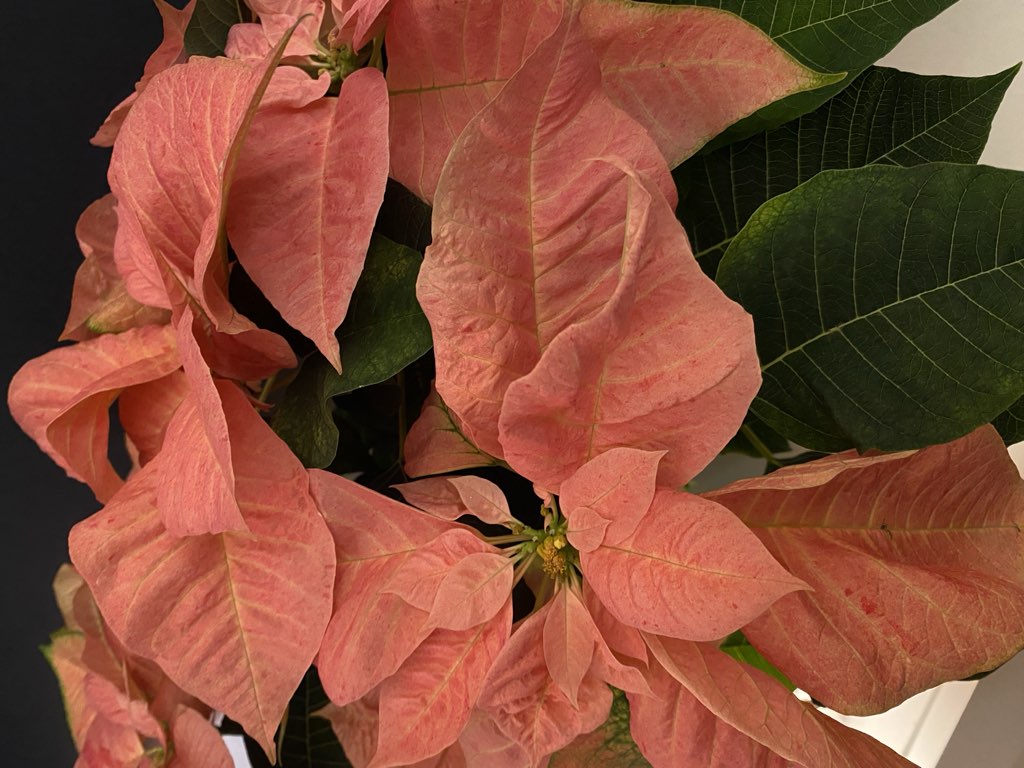
Lisa set out to carve a lino block with a floral pattern, something plausibly holiday, without being specifically Christmas. We’d recently brought some very nice poinsettia plants into the house, and these seemed to fit the bill. Lisa snapped some photos:
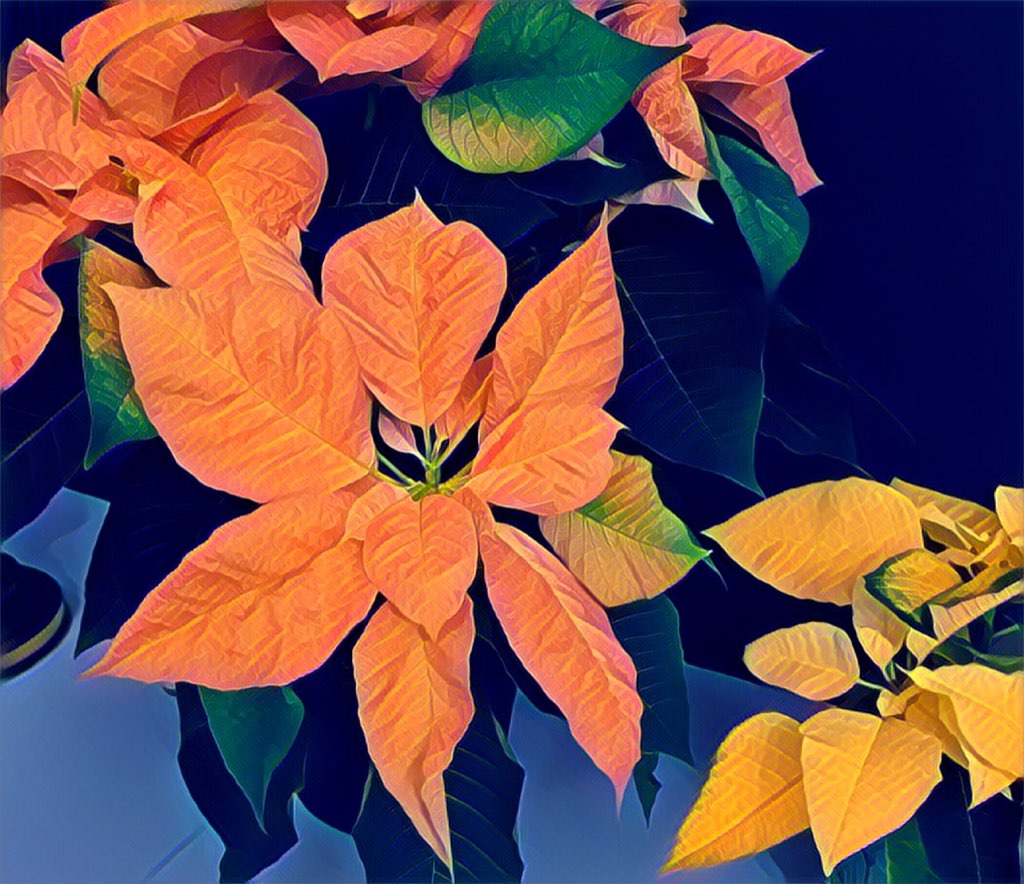
She took one of the photos, and, using the Prisma app on her iPhone, she enhanced the contrast and detail, to result in:
Lisa used that as the starting point for a freehand sketch onto the lino block, which she then carved with a set of wood carving tools we’d purchased earlier from Lee Valley Tools.
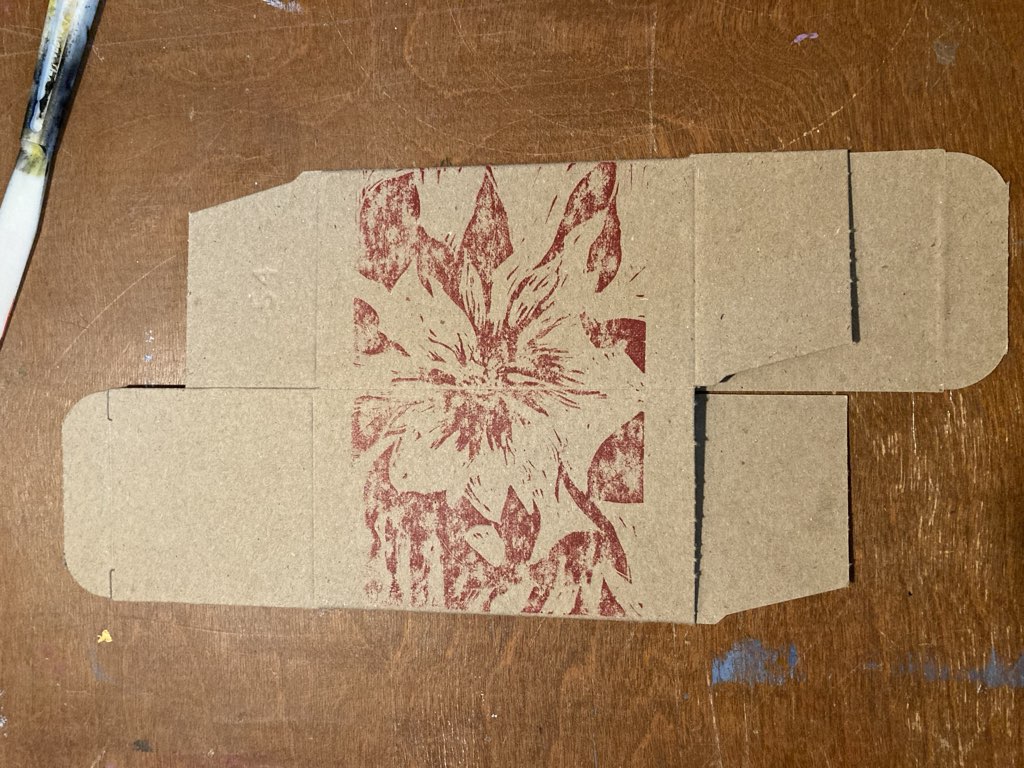
The boxes arrived just after Lisa started carving, and we were too eager to wait for her to finish, so I pulled a print from the block-in-progress onto one of the boxes, using simply the back of my hand for pressure:
We immediately realized a couple of important things.
From a design perspective, Lisa realized that she wanted to carve a lot more of the lino block, leaving more whitespace than “redspace.”
From a printing perspective, we realized that our hands weren’t going to be up to the job of hand-printing ~100 boxes, and so we set out to figure out how to use my letterpress to do the pressuring.
We also realized that we wanted to rotate the lino block 90 degrees, to fill the entire side of the box.
And, in another example of scope-broadening, Lisa set out to carve another lino block, an interlocking yin to the first block’s yang, to print the other side of the box in a way that the floral pattern on one side flowed seamlessly into the floral pattern on the other.
While Lisa kept carving, I knocked out a quick test carving to test the letterpress’ ability to print lino. I carved on a small pre-mounted lino block that, with a bit of supplementary packing, became pretty-well 0.918 inches deep, “type high” in letterpress parlance. The “quick” nature of this resulted in my forgetting (how could I!) the necessity of carving “backwards,” and so this block:
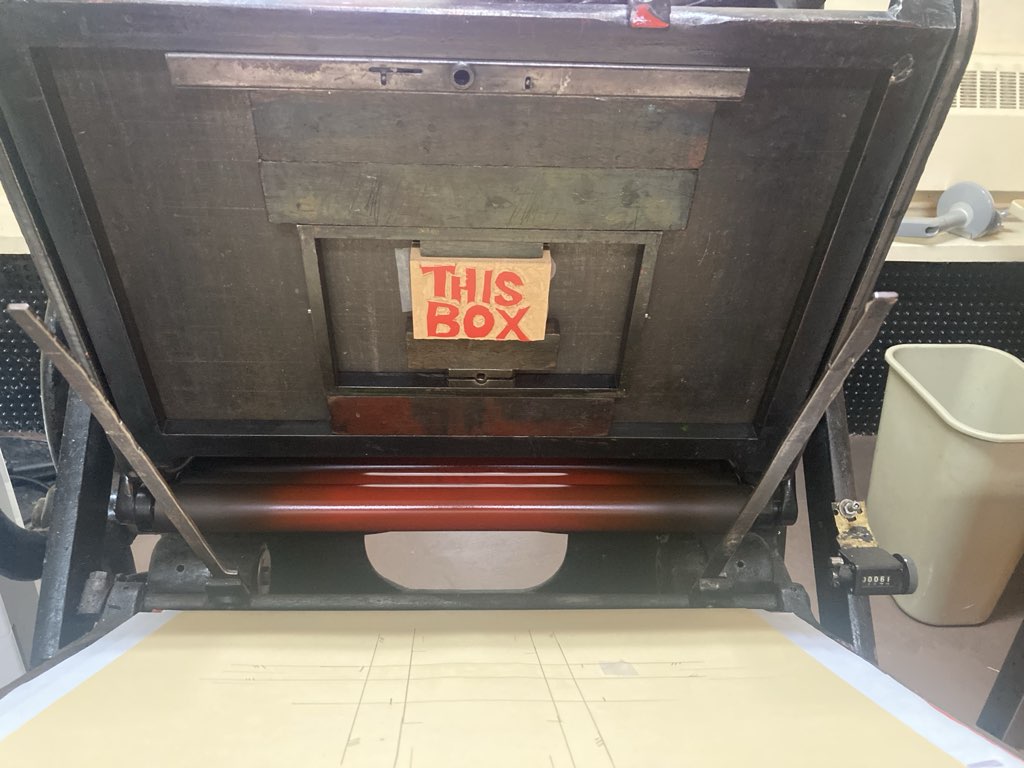
Became this box once printed:
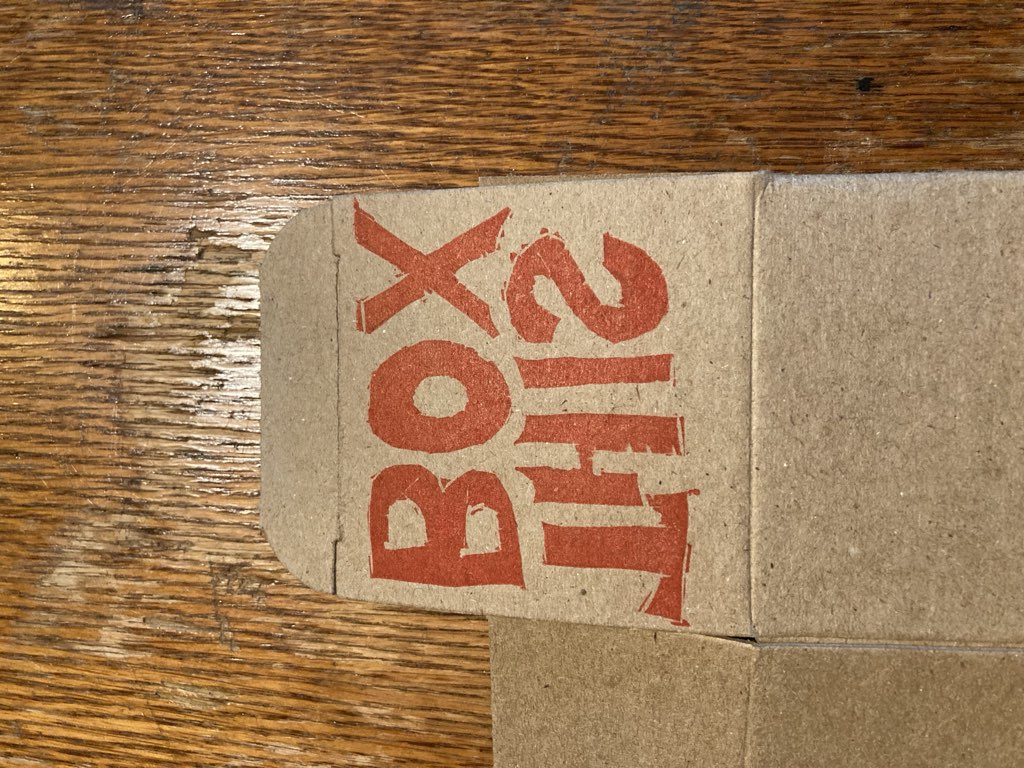
Ignoring my ignorance of a fundamental aspect of the geography of printing, a satisfying proof of concept that it was possible to lino block-print on the letterpress.
We tried the same approach using Lisa’s still-in-beta lino block:
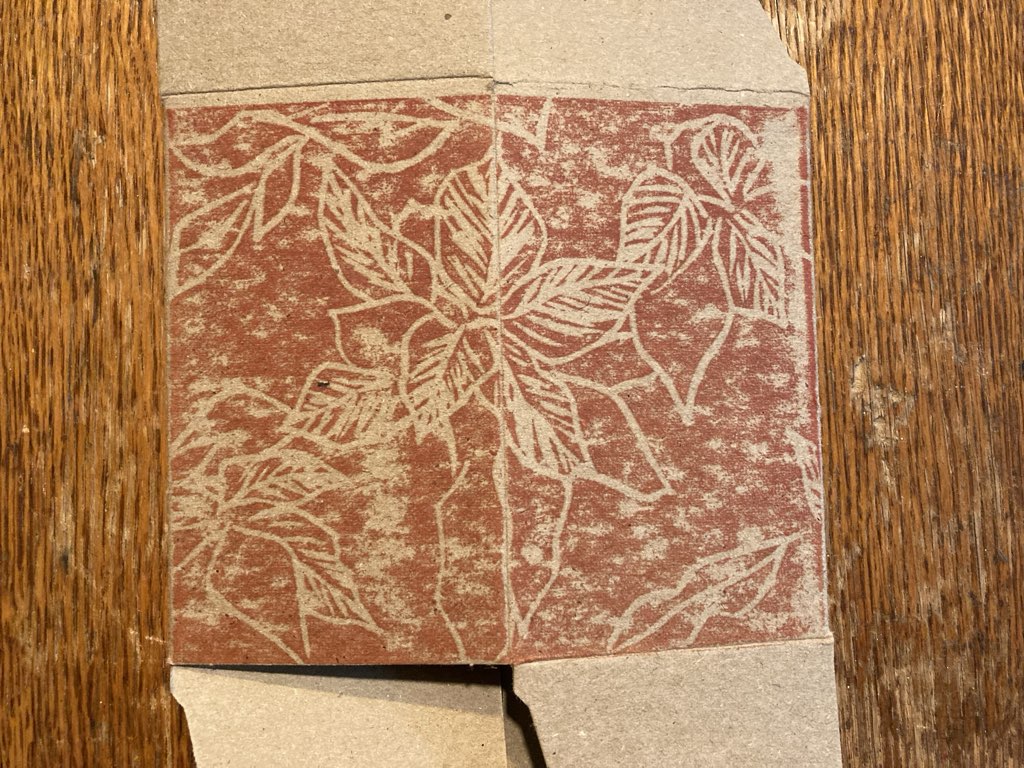
While the box wasn’t entirely satisfying, it was promising: with better precision, and more carving, we had hope for a better result.
Meanwhile, a larger purpose for the box was starting to emerge between us: we decided that we would give the boxes out, filled with their hot, salt, sweet treats, but with a call to action to the recipients to refill the boxes with something new and pass the “good” along. “This box is for good” became our rallying cry, and we experimented with different approaches to rendering this on the box in type:
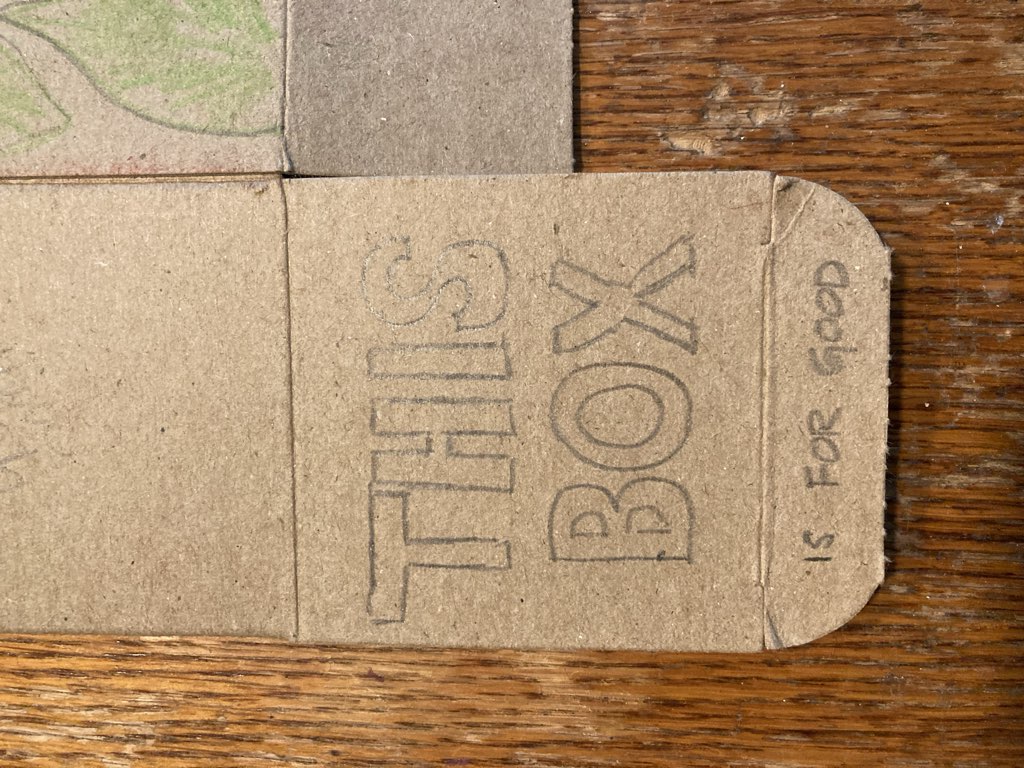
While Lisa carved and carved, I set out to realize our experiments in type; everything changes when the limits of fonts-available comes to play, and so the design evolved. My first idea was to leave ink out entirely, and simply deboss the lid of the box:
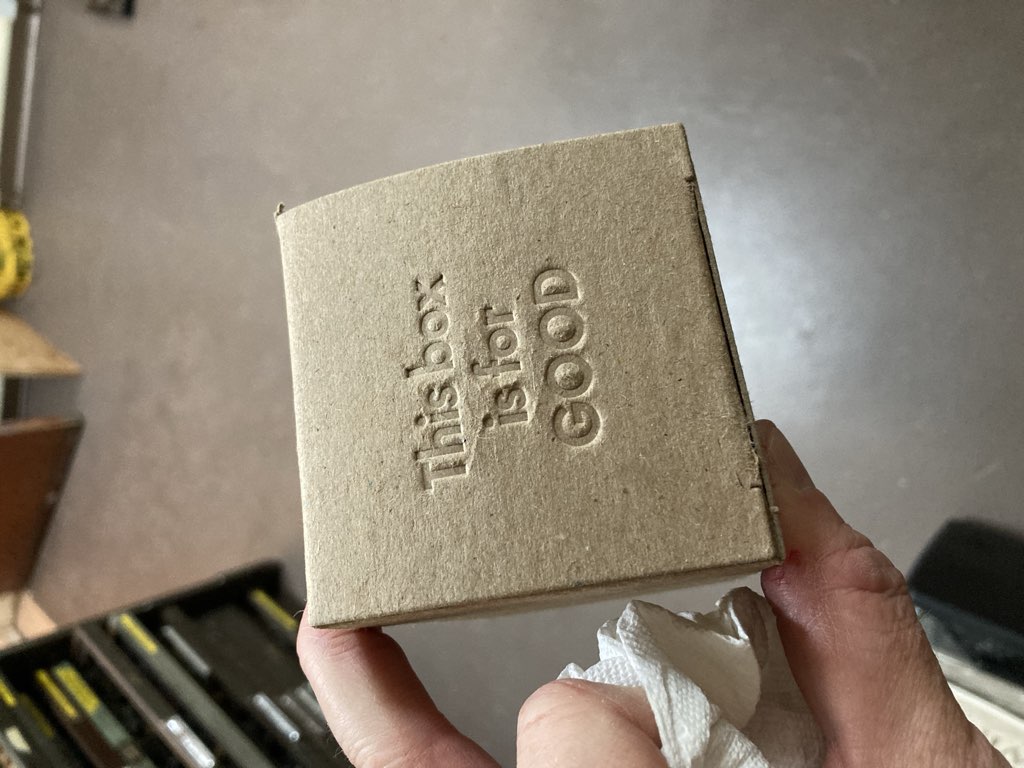
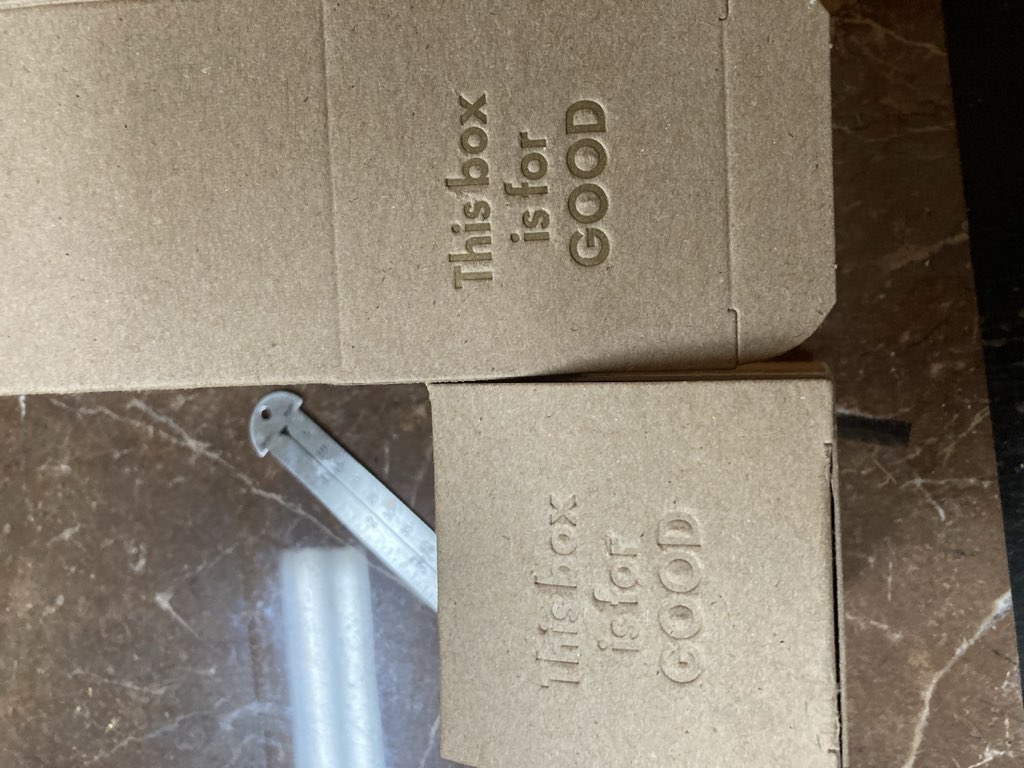
While this was rather satisfying from a tactile perspective, it turned out not to be all that readable in anything other than ideal lighting. And so I added some gold ink, and tried again, with a much more pleasing result:
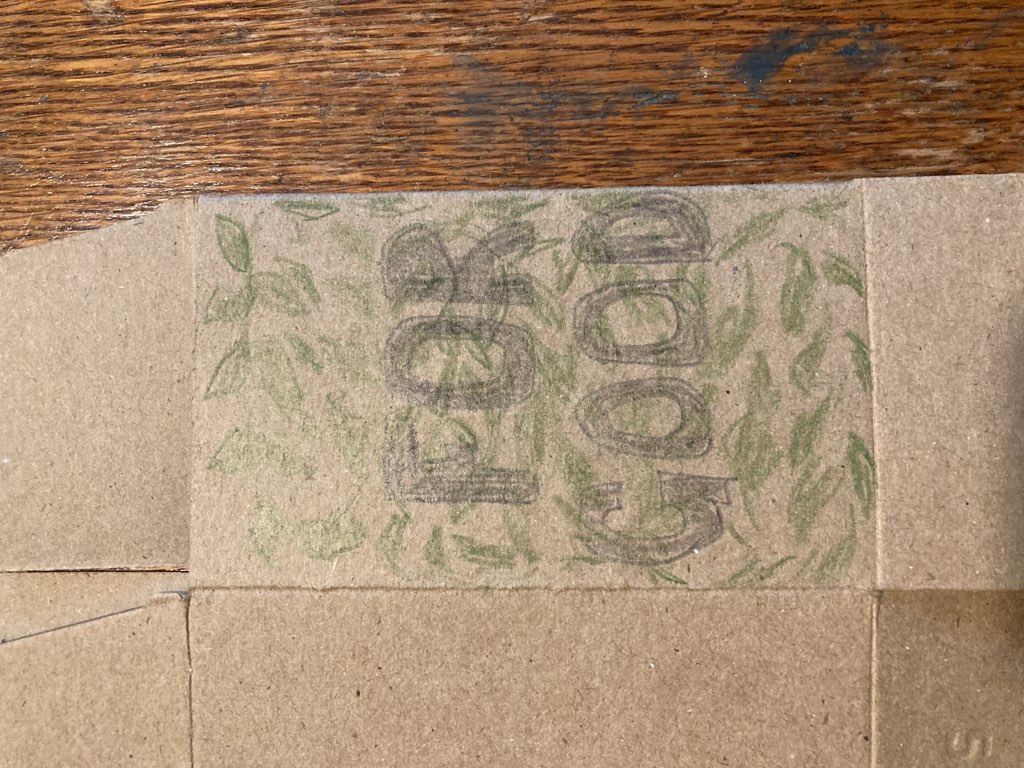
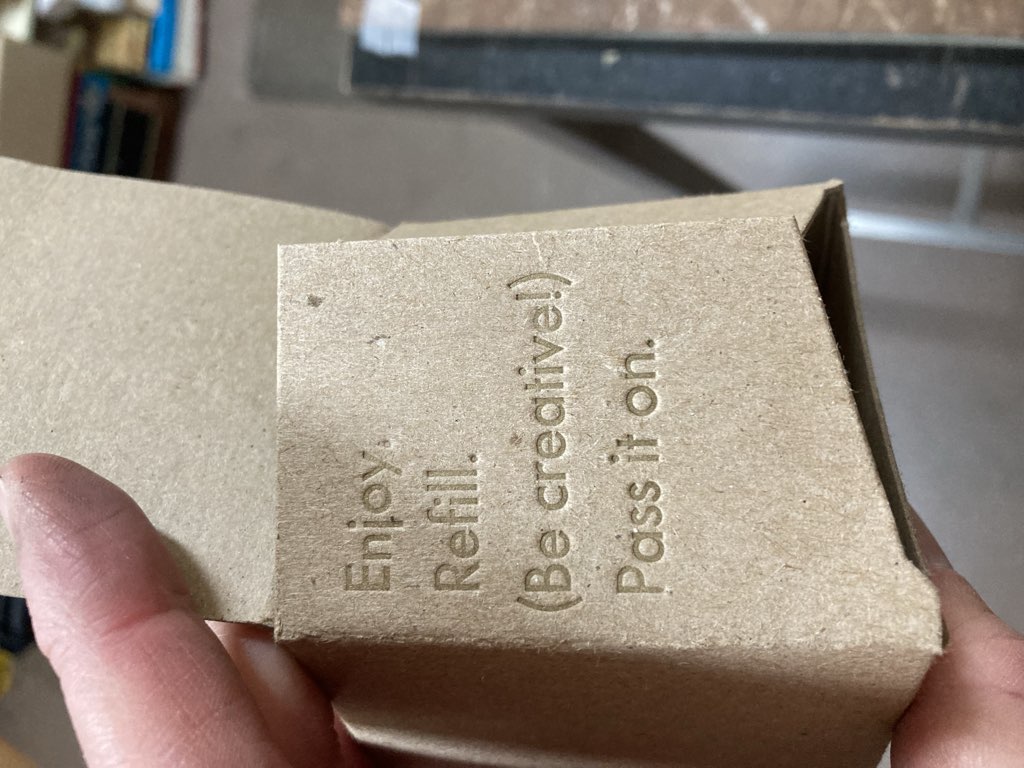
We both really liked the gold-on-cardboard effect, and so I continued that for the inner flaps of the boxes, which explained more about the “for good” part of the concept:
Doing the actual production printing required some fiddling, as various parts of the box were variously one or two layers of cardboard thick, so I had to buttress certain parts with a “shim” taped to the packing.
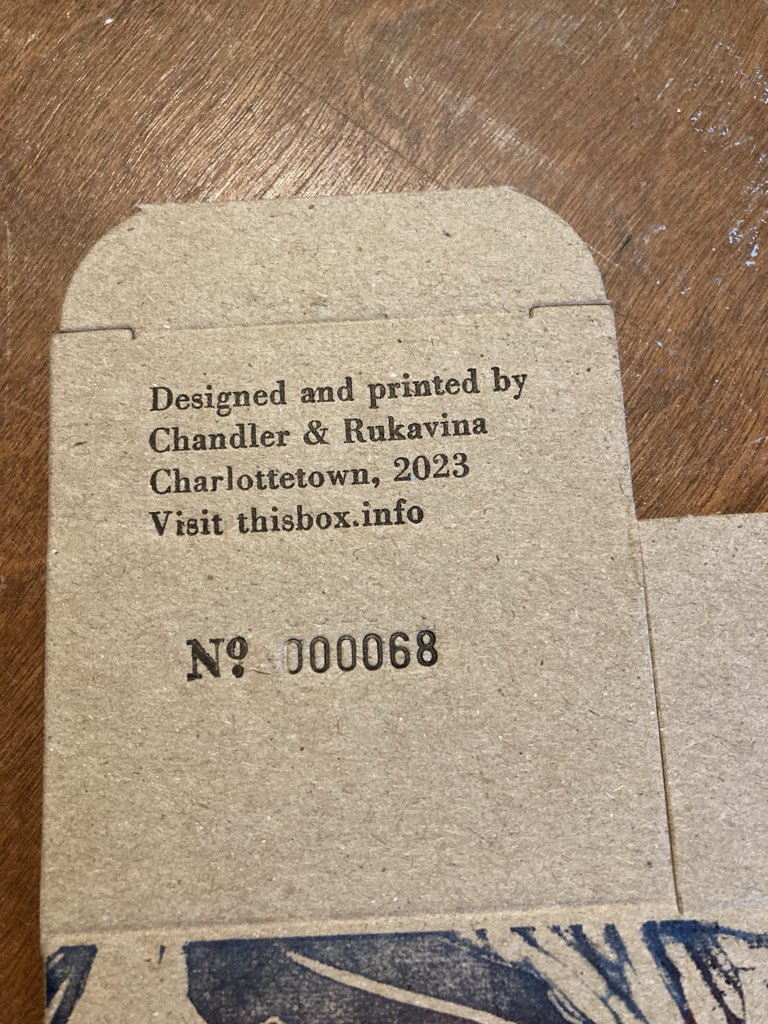
The final letterpress part of the job was to print instructions, with a registration website (yes, another example of scope-broadening) and a unique number for each box. These got printed in black, using an auto-incrementing numbering machine for the numbers:
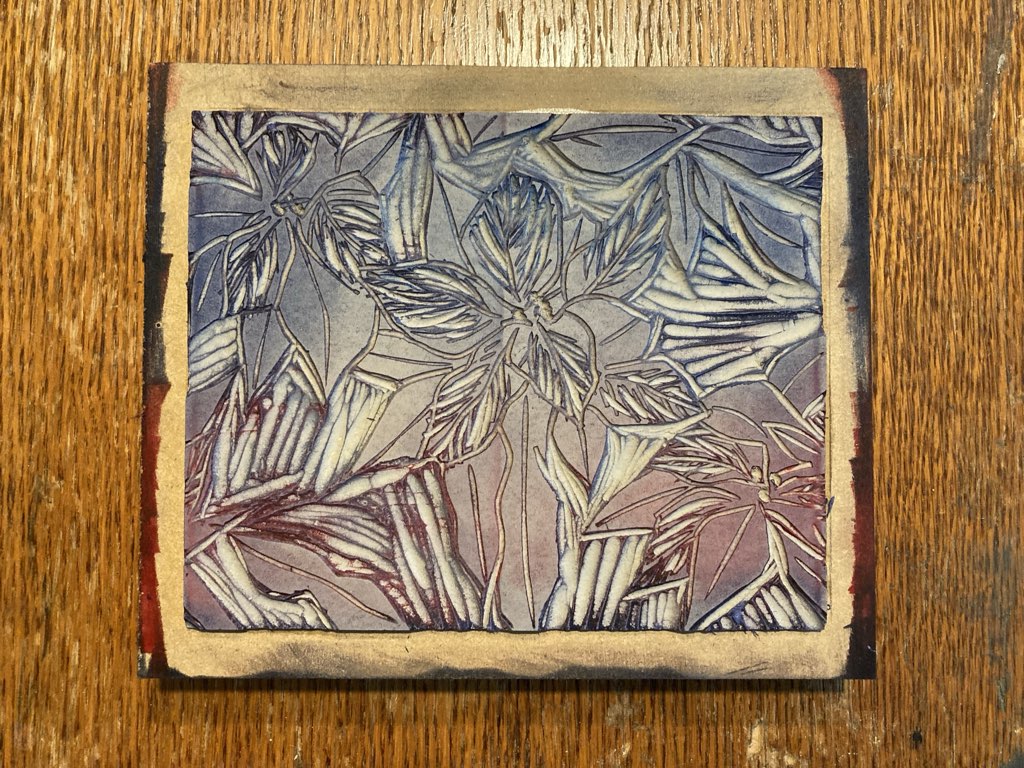
Meanwhile, the lino blocks! The blocks Lisa carved are in themselves things of beauty:
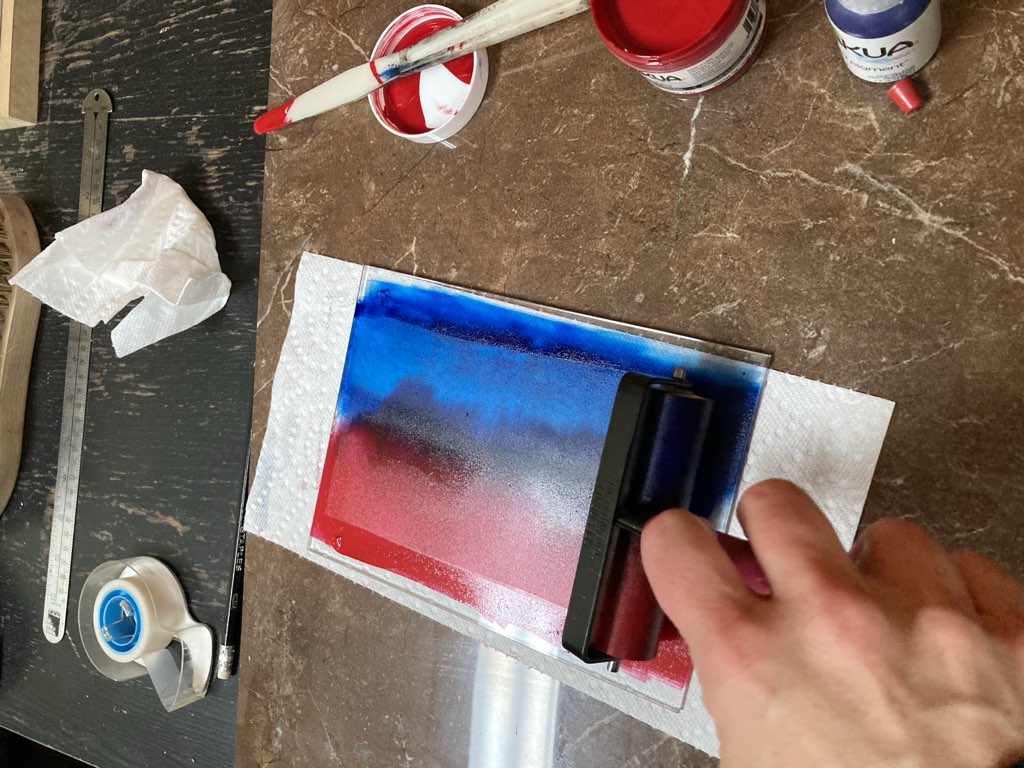
Lisa decided to hand-ink each box, using a “rainbow roll” technique we learned at the relief printing workshop, where two colours of ink are rolled out on glass in parallel, with some overlap:
We rolled the ink onto the lino block with the brayer for every print, initially on the table and, one we got rolling, on the press itself:
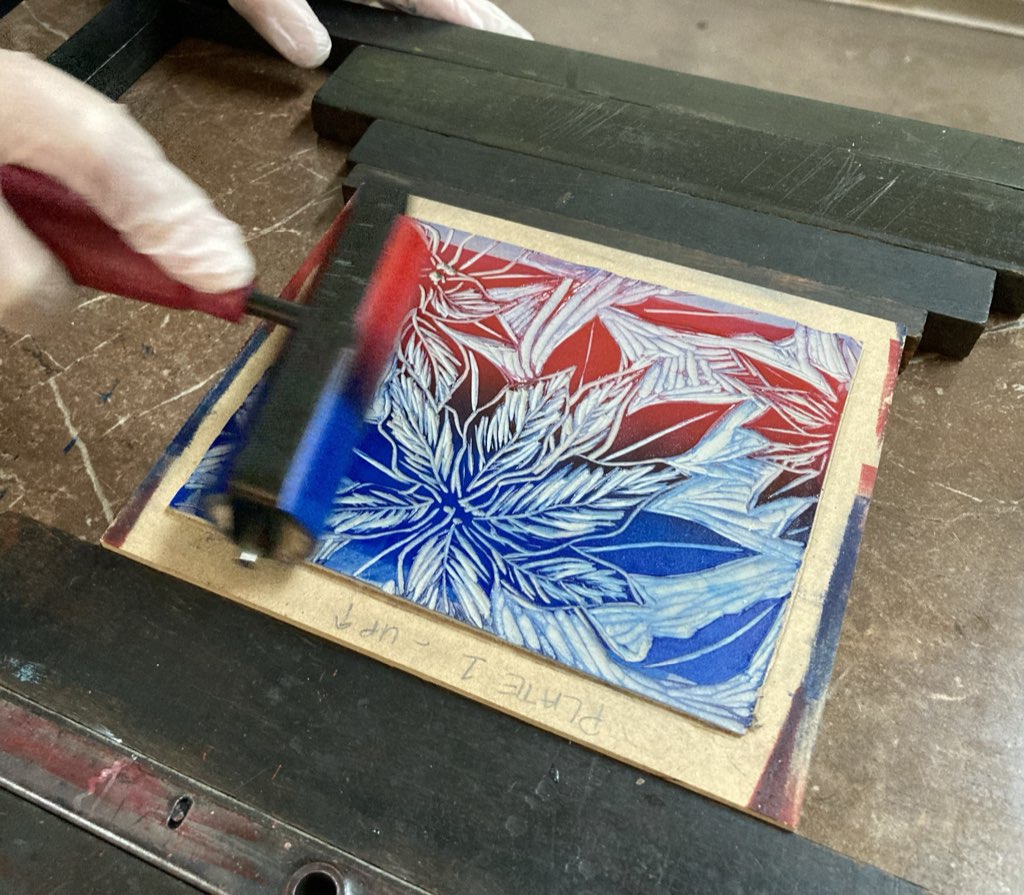
To get the lino block to “type high,” we secured some ¾ inch MDF from Home Depot, cut down (at no charge!) to the right size. This took the block to almost exactly type high, with the difference made up in the packing.
Because we opted to hand-ink each box, and because the lino block was slightly larger than our largest brayer, we needed to roll the block in several passes for each box; eventually Lisa settled on a three-brayer scheme that saw the rainbow roll rolled down the middle, with supplementary blue and red on separate brayers. It was a lot of work, but we got it down to a well-oiled printing dance together.
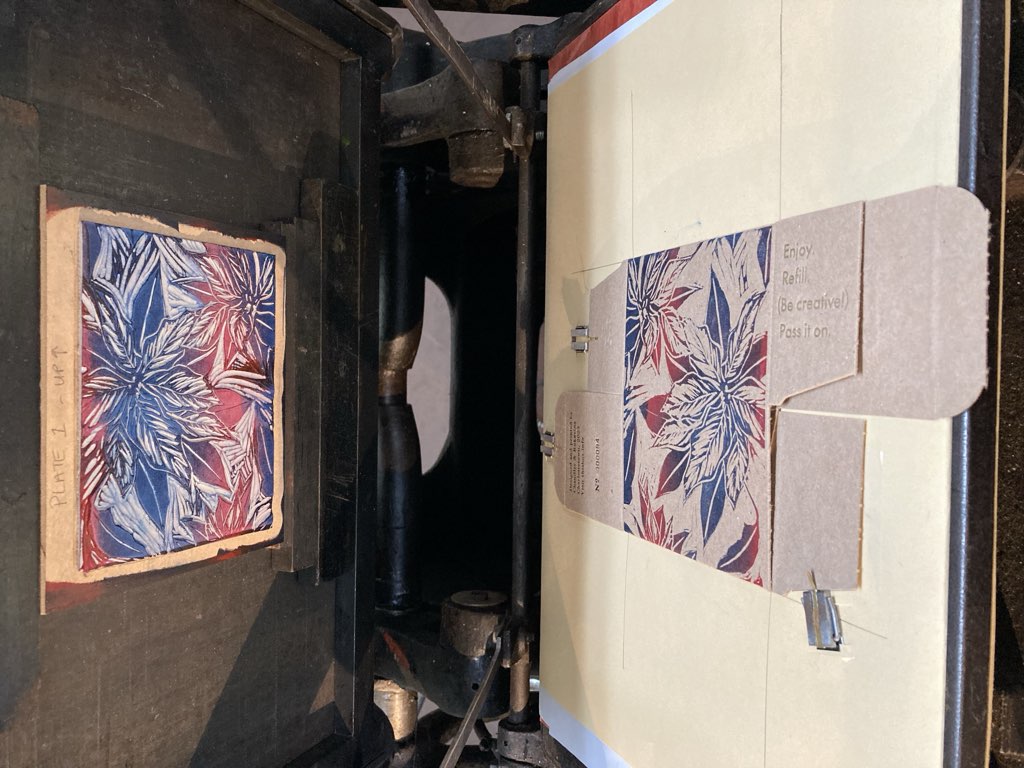
And, of course, every box needed to be printed with two lino blocks, one for each side. It was a process that spread out over almost two weeks.

All told, each box was printed seven times: one side each with lino-block, then four separate letterpress-printed messages on different parts of the box, and a final numbering run for the unique box numbers.
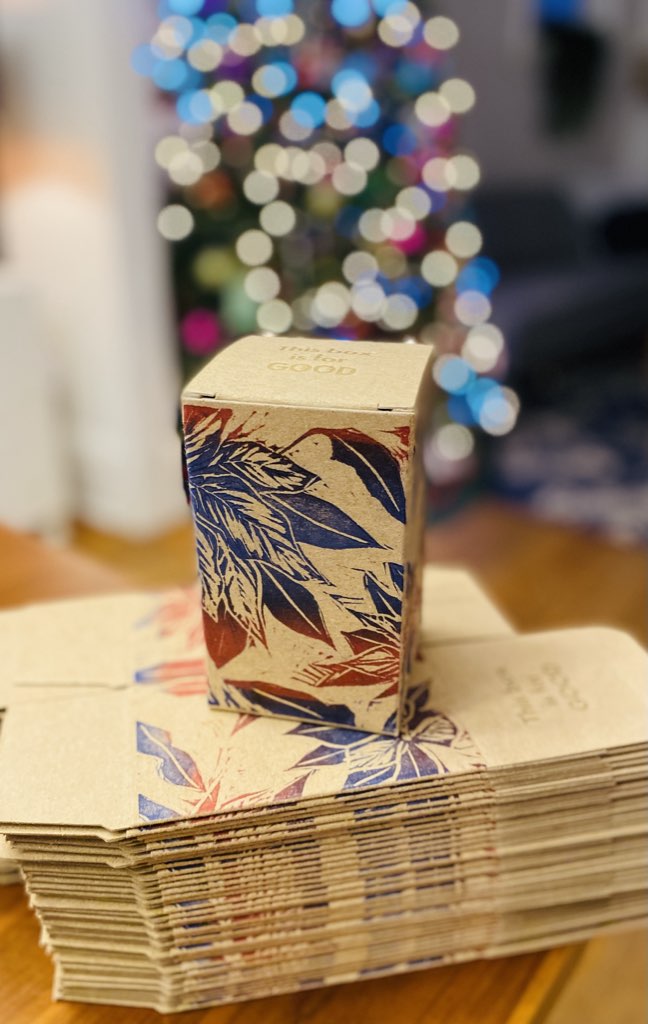
The finished box is something we’re both very pleased with:
With all the boxes printed and the ink dried, all that was left was to assemble each box, fill with two of the three bottles of treats, and then deliver them near and far, explaining the “for good” concept many many times.
Our hope is that boxes get received, refilled, passed on, many times; we built a little website (a Google Form, for now) to allow people to register their box number, so that we can follow their journeys around the world.
I can say with some assurance that I have never been involved in a collaboration—artistic, logistic, design, spirit—as connected as this one was. Lisa and I can both rightfully attest that what emerged from our collaboration was something that neither of us could have arrived at individually. It was a joyful, intimate exercise in creativity. One we hope to repeat over and over.
Yes, James, I like projects.
About This Blog
 I am Peter Rukavina and this is my blog. I am a writer, letterpress printer, and a curious person.
To learn more about me, read my /now, look at my bio, listen to audio I’ve posted, read presentations and speeches I’ve written, see things I’ve favourited elsewhere, or get in touch (peter@rukavina.net is the quickest way).
I have been writing here since May 1999: you can explore the 25+ years of blog posts in the archive.
![]() You can subscribe to an RSS feed of posts, an RSS feed of comments, an RSS feed of favourites elsewhere, or a podcast RSS feed that just contains audio posts. You can also receive a daily digests of posts by email. I also publish an OPML blogroll.
You can subscribe to an RSS feed of posts, an RSS feed of comments, an RSS feed of favourites elsewhere, or a podcast RSS feed that just contains audio posts. You can also receive a daily digests of posts by email. I also publish an OPML blogroll.
Instagram • YouTube • Vimeo • ORCID • OpenStreetMap • Internet Archive • PEI.art • Drupal • Github.
Comments
A beautiful gift.
A beautiful gift.
Google Form submitted and about to be passed on. 😊
Magnificent.
Magnificent.
Part ship in a bottle--tossed
Part ship in a bottle--tossed out into the world, part chain letter--adding something to pass along, and wholly creative & collaborative, plus great karma. What's not to love?
Lovely. We received our box
Lovely. We received our box last Saturday. Will pass it on later this week... https://www.zylstra.org/blog/2024/01/23781/
These boxes are amazing! And
These boxes are amazing! And the story how they came about was very entertaining! Congratulations to both you and Lisa for your success. Creative minds and great negotiation!
I find this project very
I find this project very interesting and would like to learn more.
Beautiful! Also impressive
Beautiful! Also impressive from beginning to end. The debossing (or does "embossing" work?) especially caught me by surprise, as something fancy and new.
I love your project so, so
I love your project so, so much. It felt a bit hard to pass it on so quickly, knowing how much labour you both put in. Nevertheless, we passed on our box to some dear friends. Looking forward to seeing how the box will travel around. And to your next project.
Add new comment