
Four years ago, with the help of my friend Don Moses, I designed, and then had printed on his 3D printer, a “desk hole filler”.
I went on to design a second iteration, with USB female jack, a few weeks later.
One of my reasons for wanting to acquire a 3D printer in-house is that, based on years of experience in the digital realm, I’ve found that having to go out of house for parts of the toolchain, whether it’s servers or parts or 3D printing, can be an insurmountable bottleneck. More steps slows down innovation.
So whereas Don was extremely generous with his time and printer, you can only get so far if the printer is a few miles away and dependent on someone else’s good graces.
And so, by way of iterating on this project, I decided to print a desk hole filler here on my new Monoprice Select Mini, just to get a refreshed baseline sense of the project, with an eye to modifying the design now that I can crank out new versions on a whim.
To start, I printed what amounts to exactly the same thing that Don last printed out for me, minus the USB text (which was printed backwards in any case); you can grab the model from Tinkercad if you want to play along.
It took 2 hours and 39 minutes to print, and looked like this when it was done and before I removed the brim:

Once I’d removed it from the base, trimmed off the brim, and inserted it into my desk, it looked like this:
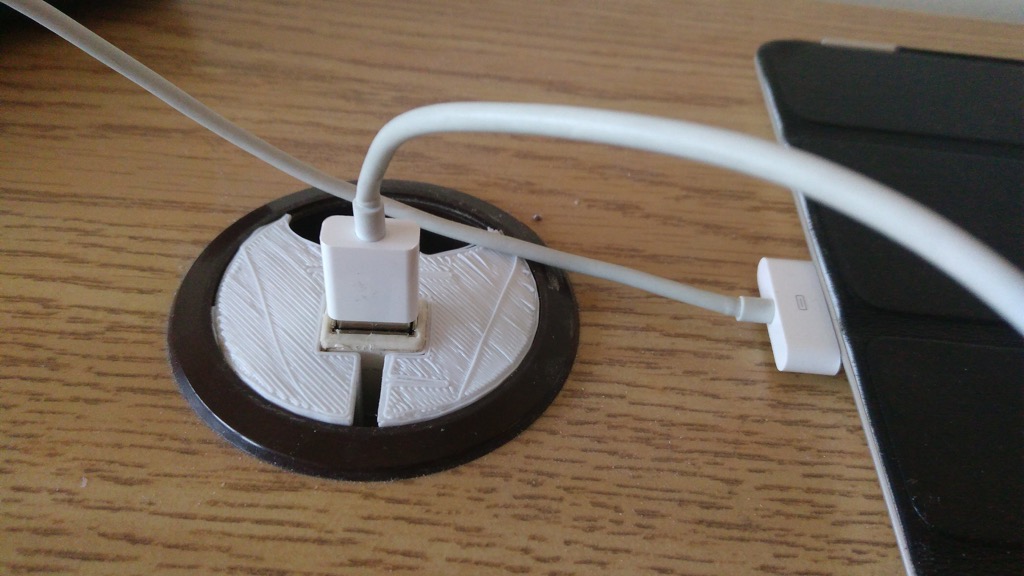
The USB female jack is the end of a USB cable that slots into the desk hole filler, runs down through the bottom of it, and then runs across the bottom of my desk and up through the opposite end where it plugs into a USB hub for power.
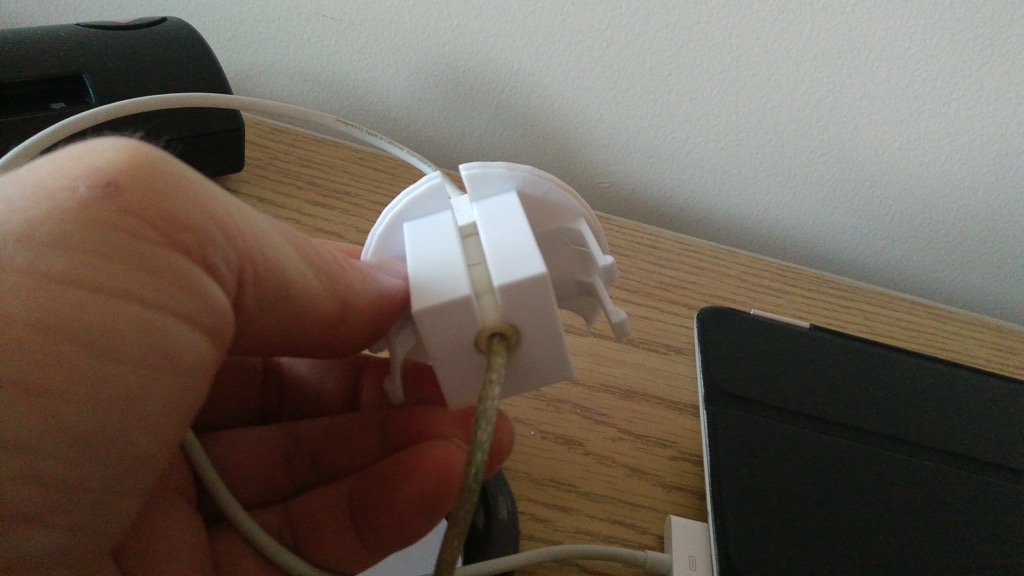
Compared to the version that Don last printed for me in 2013, I think (by chance rather than skill) I got the leg “springiness” right, as they had the right amount of give on insertion, and didn’t snap off. Don’s “face” was much smoother than mine, which is all ugly and stringy and rough-looking, so I’ve got that to iterate on to start.
About This Blog
 I am Peter Rukavina and this is my blog. I am a writer, letterpress printer, and a curious person.
To learn more about me, read my /now, look at my bio, listen to audio I’ve posted, read presentations and speeches I’ve written, see things I’ve favourited elsewhere, or get in touch (peter@rukavina.net is the quickest way).
I have been writing here since May 1999: you can explore the 25+ years of blog posts in the archive.
![]() You can subscribe to an RSS feed of posts, an RSS feed of comments, an RSS feed of favourites elsewhere, or a podcast RSS feed that just contains audio posts. You can also receive a daily digests of posts by email. I also publish an OPML blogroll.
You can subscribe to an RSS feed of posts, an RSS feed of comments, an RSS feed of favourites elsewhere, or a podcast RSS feed that just contains audio posts. You can also receive a daily digests of posts by email. I also publish an OPML blogroll.
Instagram • YouTube • Vimeo • ORCID • OpenStreetMap • Internet Archive • PEI.art • Drupal • Github.
Add new comment