About 8 years ago the word on the street here in Charlottetown was that you could get a great deal on adjustable desks at the Summerside Clearance Centre. I ended up buying two, one for myself and a smaller one for Johnny, and the boys at silverorange bought a number of them as well. They are great desks: solid, durable, and easily adjustable up and down. Here’s what mine looked line on moving-in-day at the old office:
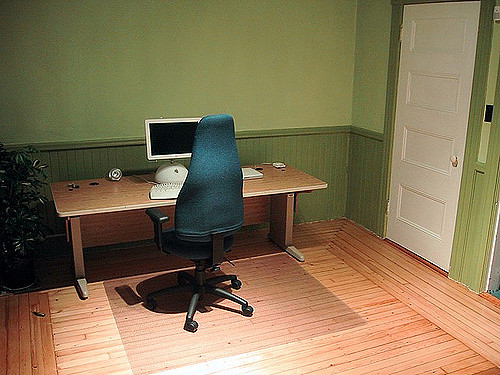
There are two types of plastic parts on the surface of the desk, one type for the “cable pass through” holes and one for the crank that allows the desk to be adjusted up and down. Over the years we’ve had both go missing here in the office, and with nowhere to turn for replacement parts, we just lived with this.
With the availability of 3D printing at the University of Prince Edward Island, however, I realized that I could simply fabricate my own parts, using the originals I still have as models. The return of the browser-based Tinkercad design tool last week coincided with this inspiration, and so I set to work with my Canadian Tire digital calipers to take the measurements of the originals and translate them into Tinkercad models.
Once you grasp the basics of Tinkercad – assembling simple shapes together to make complex shapes – it’s surprisingly easy for a know-nothing like me to make a complex model:
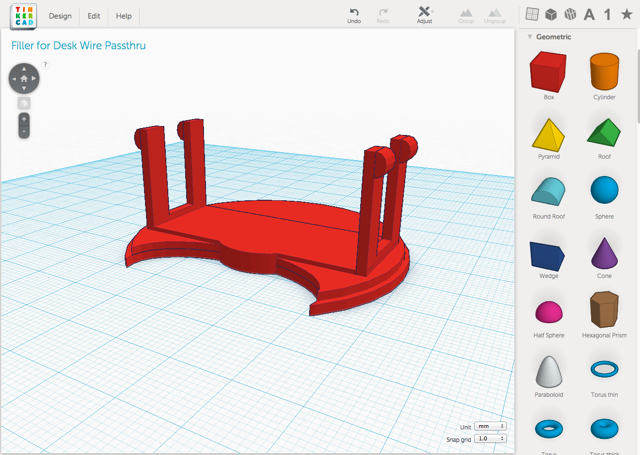
That model is two cylinders in the base, with a box on top, four boxes for the “legs” and four “round roofs” for the little nubbles that hold the part in place inside the desk.
With the model designed and measurements checked, I fired up Tinkercad’s fuction for generating a .STL file:
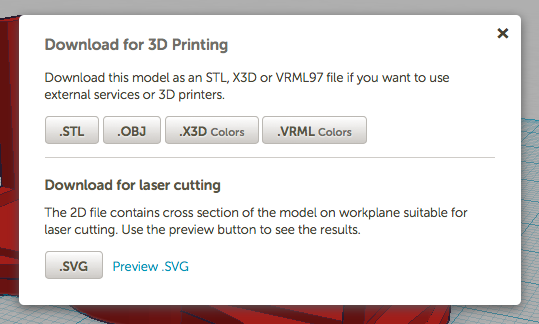
…and sent the .STL file off to Don Moses at Robertson Library for 3D printing. The next day I got an email back from Don that the part had printed and was ready for pickup. And so here it is:
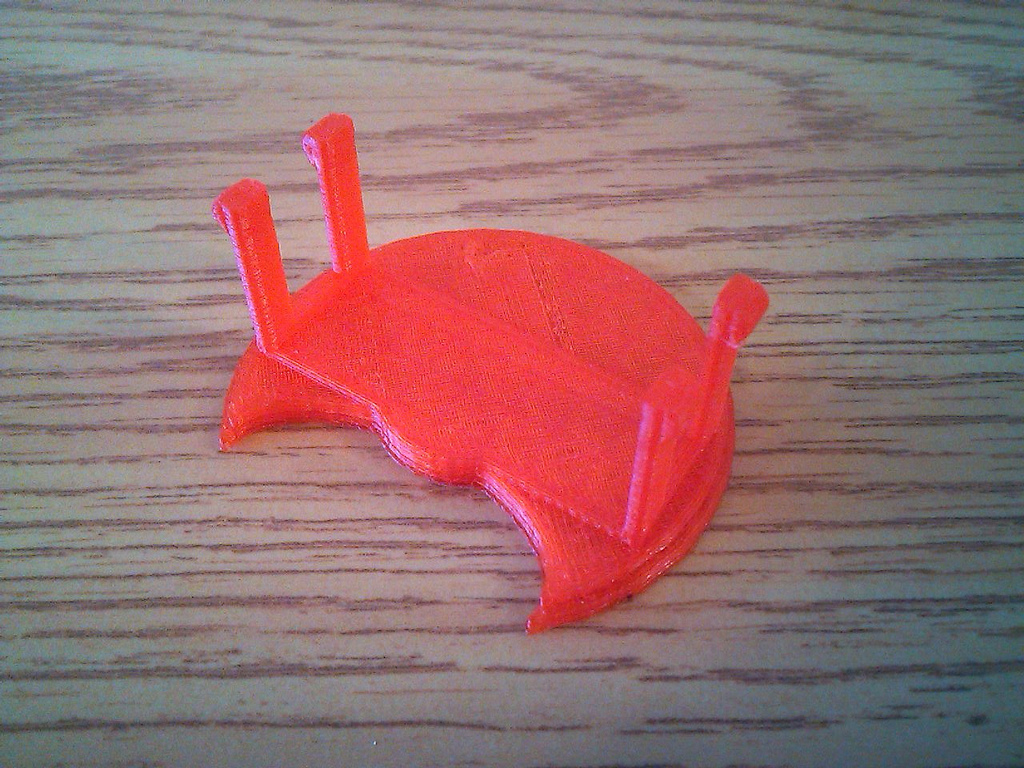
And here it is snapped into place in the desk:
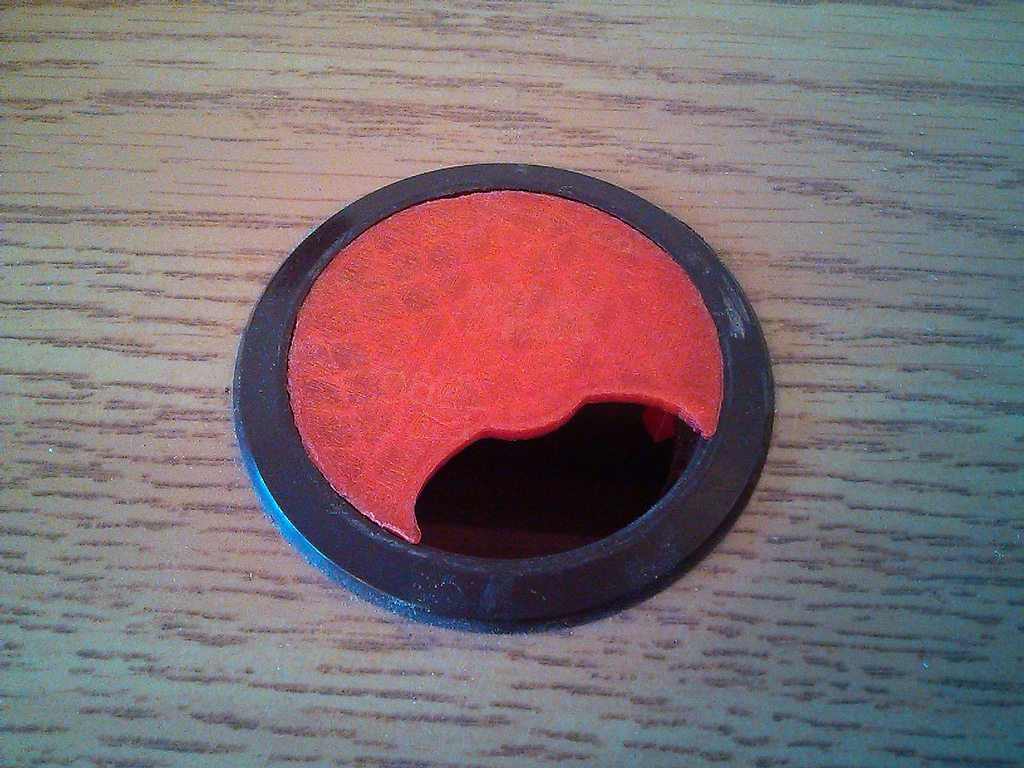
If you have the same or similar desk, you can go and grab the Tinkercad model for this part, tweak it as needed, and print your own.
This was so much fun that I kept on going and designed up the “crank cover” in Tinkercad too:
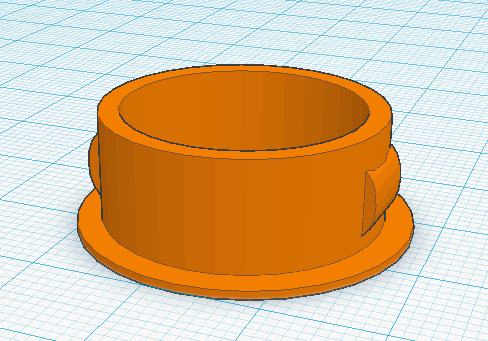
It came out of the 3D printer looking like this:
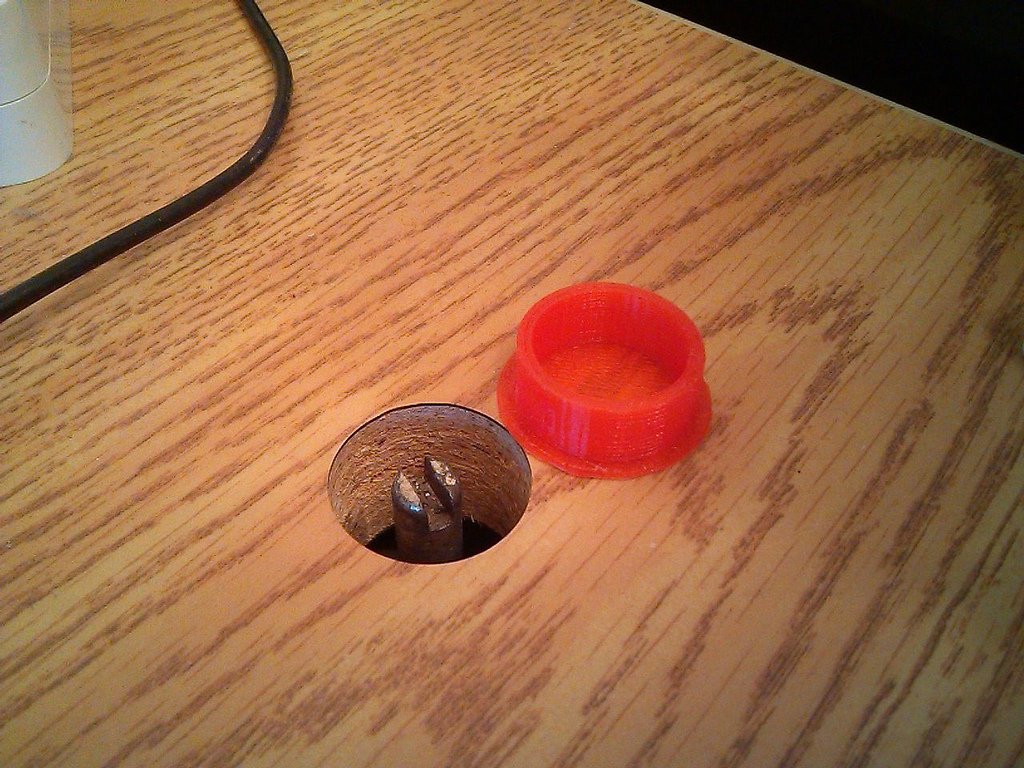
You can grab the Tinkercad model for that part too.
Both parts, I was delighted to find, find into their respective holes like a glove.
To this point I’ve thought of 3D printing as a novelty, an impression only strengthened by the propensity of people with 3D printers to print cats and key chains and parts for more 3D printers. Being able to print parts for my desk, parts there was simply no way to produce until this point, has me thinking there might be something to all this.
I’m going up on Monday for a tour of UPEI’s about-to-be-a-Fablab, which is an exciting development in this regard; I’ll report back on what I learn.
 I am
I am
Comments
So thrilled at this
So thrilled at this
Awesome.
Awesome.
Is the 3D printing service at
Is the 3D printing service at UPEI available to the general public? How much did it cost to get those parts printed?
Found somebody that does this
Found somebody that does this! https://www.3dhubs.com/moncton-nb/hubs/michael
The library is in the process
The library is in the process of figuring out how it will offer 3D printing to the university and general communitues; details haven’t been finalized yet, but it’s in the cards.
You could print plastic
You could print plastic letters in fonts of your own choice or design to use on white boards and such—bring your printing interests all into alignment.
It seems to have taken a good
It seems to have taken a good while... :)
"3D Printing is coming to Robertson Library
Starting Nov. 7, 2017, Robertson Library will have a 3D printer available for public use. There will also be three 3D printing workshops for an overview of the 3D printing process."
I was searching for a 3D Printer local to PEI when I came across your blog post.
Add new comment