
My friend Elmine graciously took me on a visit to the Fablab in Enschede yesterday — my first visit to a bona fide Fablab — and, to my surprise and delight, she asked “so, shall we make something.” It’s nice to have maker friends. So this is what we made:
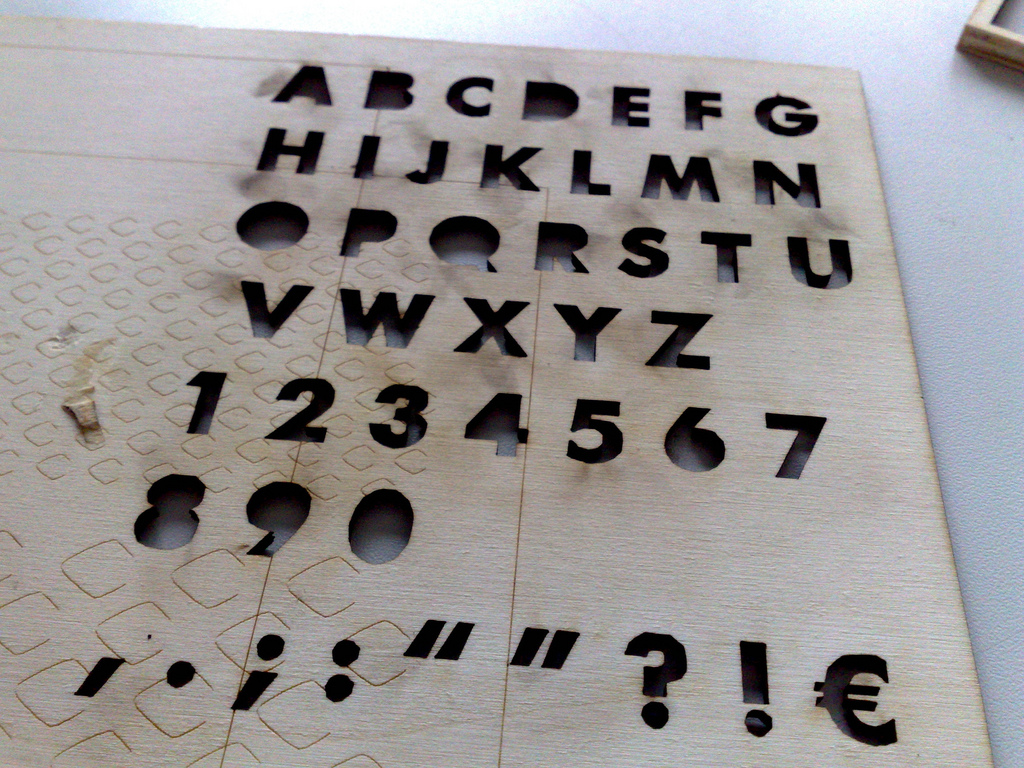
The process started in Adobe Illustrator where we (and when I say “we” here I mean “Elmine”) set up the job, a simple alphabet in Futura, reversing it because, well, it’s type:
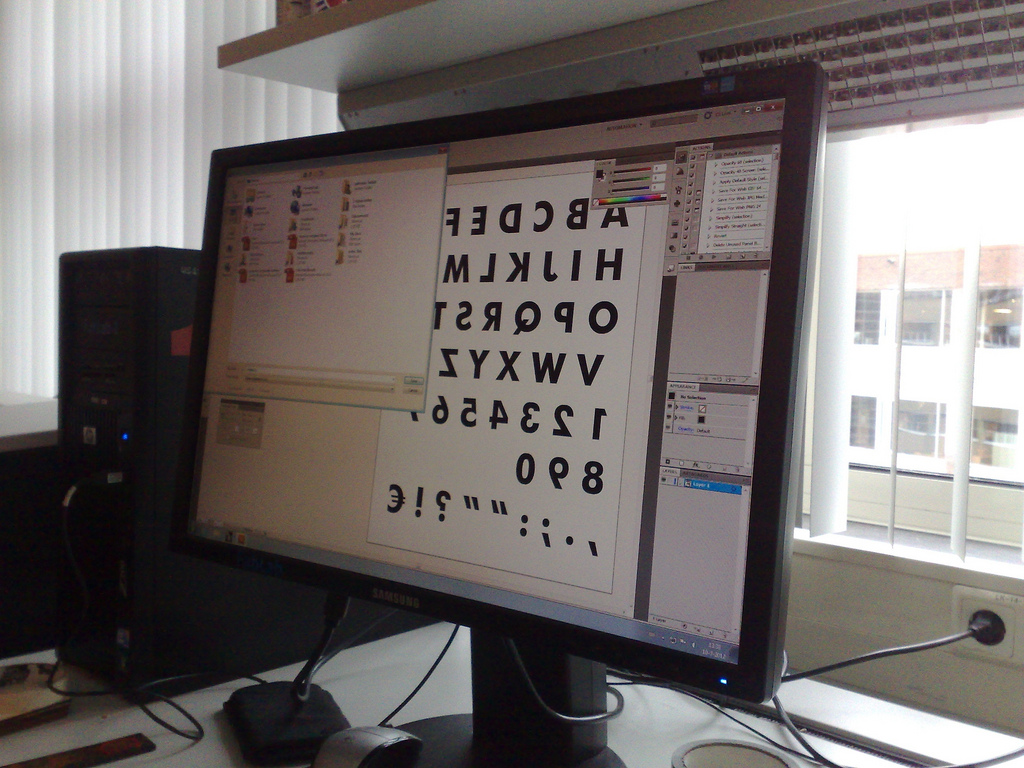
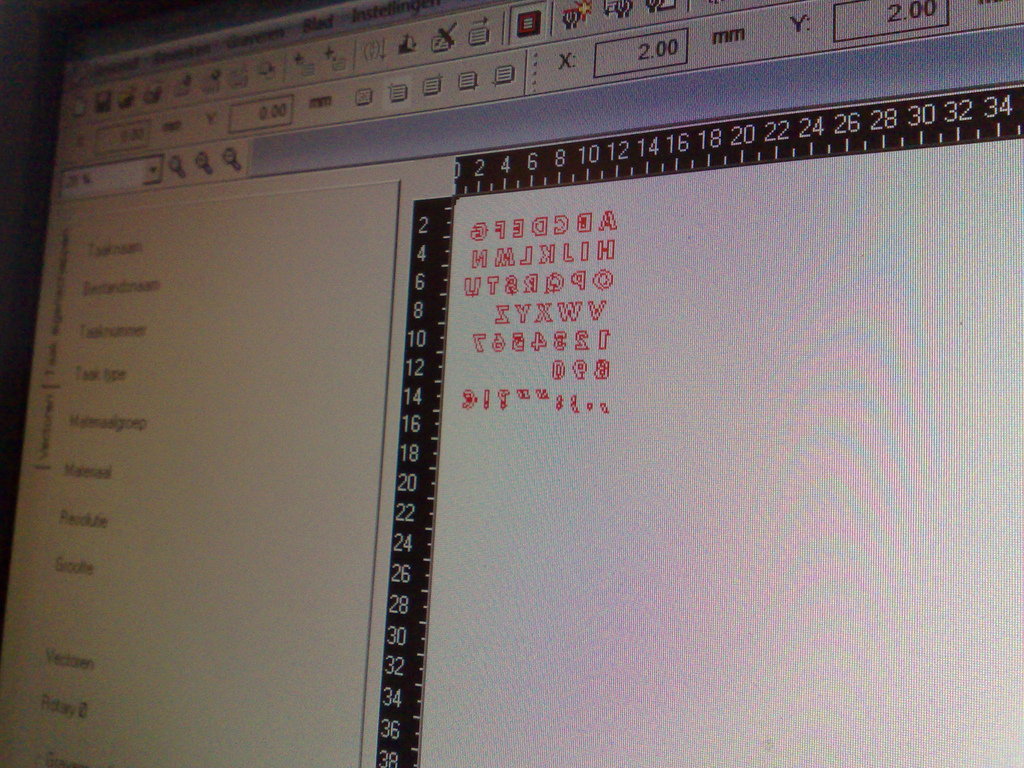
We “printed” this to a virtual printer set up for the Trotec laser cutter. The job then appeared in the queue in the Trotec job management software, where we aligned it on the cutting surface, set the DPI (the cutter will do up to 1000dpi) and selected the material (we cut both 4mm and 6mm plywood).
Then it was a simple matter, after placing the plywood on the cutter bed and focusing the laser, of clicking “go” and the job started; here’s a video (note that the job in the video is the one where we forgot to reverse the type first, which is why it’s right-reading).
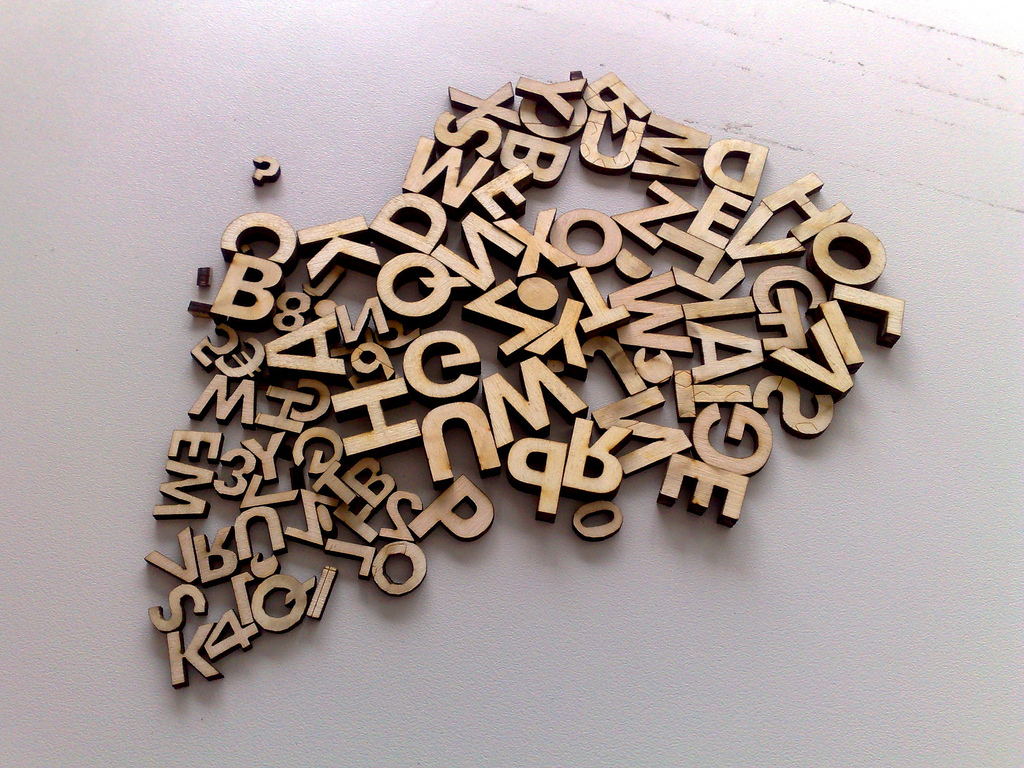
The job took about a minute, and was incredible to watch. When it was all done the letters popped out, and what was left was this (this is the reverse side, so it reads properly):
My next step, when I get home, is to figure out a way of mounting the letters so that they’re “type high” (0.918 inches) so that they work properly when mounted on a letterpress. Then the challenge becomes seeing whether the material is strong enough to withstand the pressure of being printed with, and whether I need to shellac the material before I use it (I suspect yes). My inspiration in all of this is this project to make a font of Winchell by a chap in Buffalo, NY. Stay tuned.

Comments