I first wrote these instructions last year, and I’ve updated them in September 2014 to keep up with the latest version of Minecraft, which we installed at Birchwood Intermediate yesterday (version 1.6.4 build 20).
Because of the enthusiasm shown for Open Minecraft Lab, I’ve been working with teachers to see how feasible it would be to run a Minecraft server and Minecraft clients in computer labs in Prince Edward Island schools.
Turns out that it’s actually pretty feasible, at least if the hardware in your lab is relatively modern and the workstation you choose to run the server on has at least 1 GB of memory.
Install Minecraft Server
You need one Minecraft Server in your classroom, running on a PC that won’t be used by any of your Minecraft-playing students. The “teacher workstation” is usually the best choice, although any PC in the classroom will do.
Before you start, you need to urchase a license for MinecraftEdu - this is a special version of Minecraft, both the server and the client, optimized for schools. It’s only $41 US for a “single, one-time purchase for schools and includes all the software you need to use with any number of clients and servers”, which is an amazing deal given what a wonderful, helpful package it is.
Once your purchase is complete, you’ll be emailed a link to a special password-protected web page at MinecraftEdu.com where you can download the Minecraft software.
Now you’re ready to install the software.
Login to a computer lab workstation as a teacher or administrator (regular student accounts, and perhaps even some teacher accounts, don’t have the rights to install software; you may need to talk to the STC in your school if you don’t have the rights you need).
In a web browser, visit the special MinecraftEdu.com page, logging in with the username and password you were emailed, where you can download the “Automatic Installer.” Save it to your “My Documents” folder on your shared network drive (usually your G: drive).

Run the installer you just saved, and, when prompted, make sure you check the box for the “Minecraft Edu ServerTool” and the box for “Place MinecraftEdu Shortcut on your Desktop.”

Once the software is installed, you should have a shortcut on your desktop for the “MinecraftEdu Launcher.”
Double click on this to start the launcher.
![]()
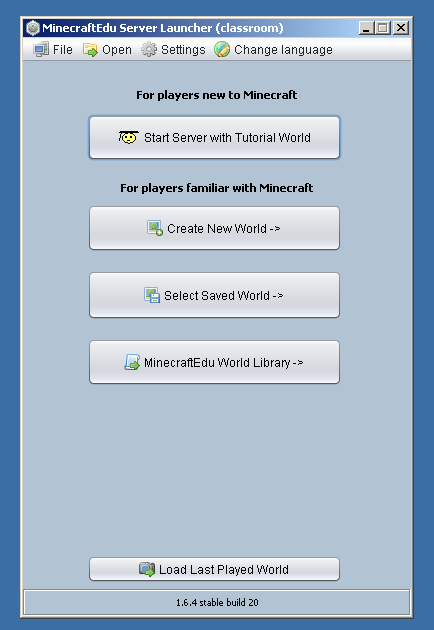
Click on the button for MinecraftEdu Server Launcher:

The first time you launch the server, you’ll be prompted for a Teacher Password; just make one up and enter it (and note it down somewhere, as you’ll need it again later);

You’ll be given the option of selecting a Minecraft world to launch the server in:

You can start in a tutorial world (an excellent option if you’re introducing new people to Minecraft), create a new world, or load a saved world if you’ve saved a world elsewhere.
If you opt to create a new world, you’ll have several options; “Generate a Random World” if you want to see a variety of terrain, with mountains and trees and water, etc., or select “Generate a Completely Flat World” if you want to start with, well, nothing at all.

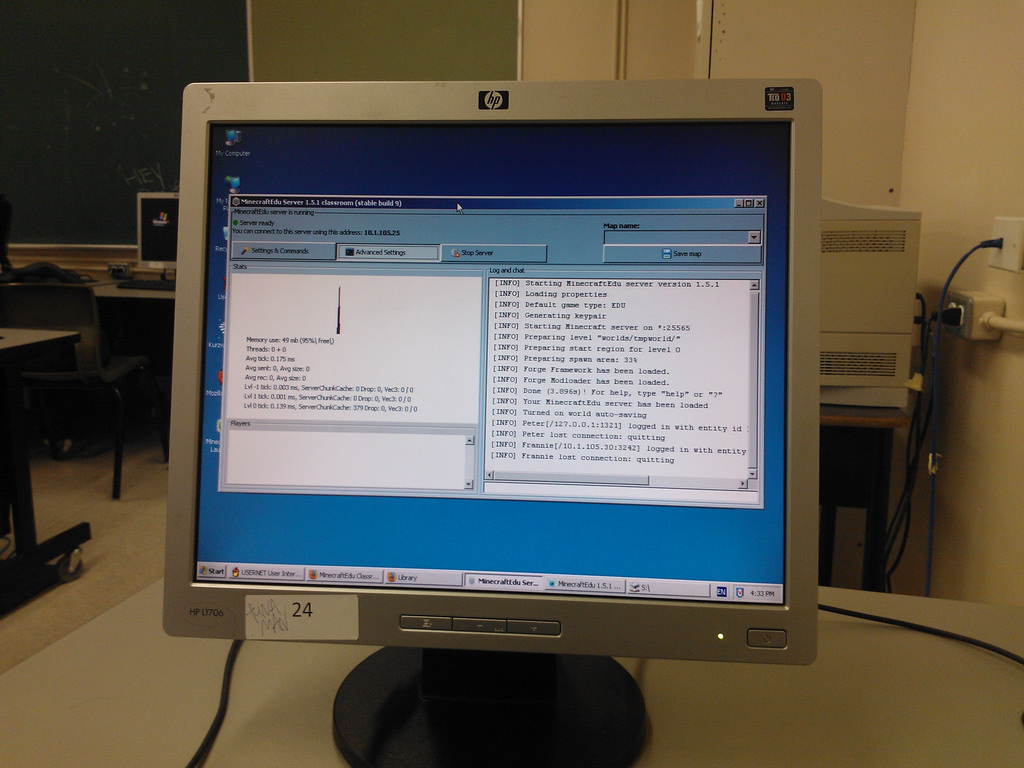
After some world-creating delay, the MinecraftEdu server will launch, and it will look like this:

The important things to look for here are “Server ready” in the top-left (which tells you everything has launched and is ready to go) and the IP address – 10.1.105.150 in this example – which you’ll need to give to students to access the server from their workstations.
At this point you’re ready to install the Minecraft client software on the other workstations in the classroom for students to use.
Install Minecraft Clients
The “Minecraft client” is otherwise known as “the game” or “Minecraft.” It’s what your students will launch to “play Minecraft” and it needs to be installed on each student PC in the lab separately. On each PC you need to:
Login as a teacher or administrator.
From your “My Documents” folder (again, likely your G: drive), double click on the same Minecraftedu_classroom application you launched when installing the server above.

Do not select the option to install the MinecraftEdu Server Launcer – you only need the client, not the server.

When finished, you should, as above, have a shortcut on your desktop for the “Minecraft Launcher.”
![]()
MinecraftEdu is now installed on this PC. Logout of the PC and go on to the next one.
Running Minecraft for Students
Now that you’ll installed the Minecraft Server on one PC and the Minecraft client on all of the classroom PCs, you’re ready to let your students play Minecraft!
Start up your Minecraft Server and jot down the IP address it gives you and write this on the blackboard: students will need this in a moment.
Each student can login with your regular student username and password. They should find the MinecraftEdu Launcher on the desktop and should double-click on it to start.
Once the launcher starts, students should select Start MinecraftEdu:

MinecraftEdu will start in a moment, and students will be prompted to enter their name and select their gender (they don’t need to use their actual name if you’re okay with that, and they can select either gender: the only thing gender affects is the selection of avatars presented to them to represent themselves):

Once they’ve entered their name, selected a gender, and clicked Continue, the MinecraftEdu start screen will appear:

Students need to click Multiplayer at this point, which will change the screen to this:

At this point they should click Direct Connect and enter the IP address you noted earlier for your server:

After entering the IP address, they should click Join Server and if all is working as it should they should be asked to select whether they are a student or a teacher (selecting “teacher” will require entry of the Teacher Password that you selected earlier).

After a brief delay, they’ll be launched into the Minecraft world you’ve created:

That’s it! Students can now interact with the Minecraft world, build, survive, etc.
The number of students who can play Minecraft at the same time while connected to your server will depend on the amount of RAM in the server. Your experience may vary, but I’ve seen references to a computer with 1GB of RAM being able to support 12 players, and a computer with 2GB of RAM being able to support 24 players.
Important Things to Note
- Minecraft demands a relatively modern version of Java on the server and client workstations; it seems, however, that this is part of the current “image” installed by IT Shared Services, so that shouldn’t be a problem.
- The process outlined above might not work for everyone; it’s not entirely clear why it’s possible to run Minecraft from the desktop as a student once the teacher account has installed it, and this might be an accident, or a fluke of the account we tried this process out with.
- There is no impact on the school Internet connection from students playing Minecraft in the lab with each other; it’s unlikely, because of the firewall installed on the school network, that students will be able to connect to external Minecraft servers (it requires port 25569 to be open, which it probably isn’t), but if they can do this, then there likely will be an impact on the school Internet connection, so this should be avoided, at least during instructional hours.
- Don’t run the Minecraft client on the workstation that’s running the Minecraft server; it will just bog everything down.
Photo Evidence
Here’s the Minecraft server running in a school computer lab:

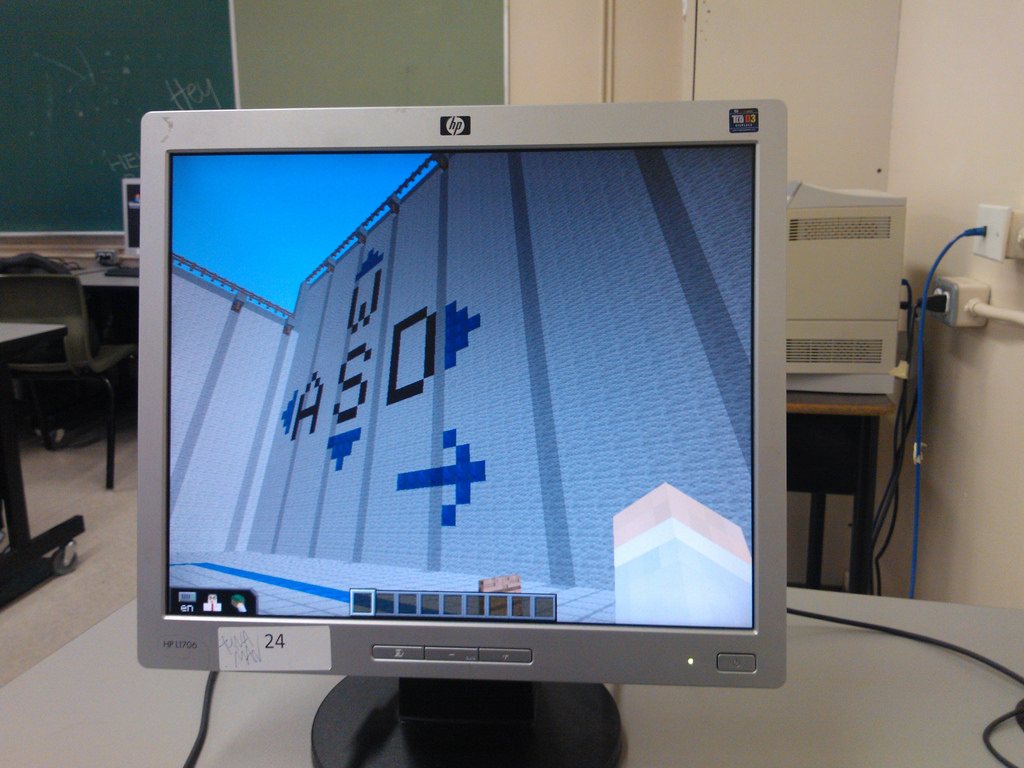
And here’s the Minecraft client running in the lab:

 I am
I am
Add new comment