
I’ve been a member of the home and school association at Prince Street School since my son Oliver started there six years ago. Oliver’s moving on to intermediate school in the fall, and I’d been searching a way of marking the end of his time at the school; when I heard Mark Leggott sing the praises of the library’s Espresso Book Machine as a community resource at a conference session in May, I decided that “making a book” seemed like a good project to take on.
Literacy is important at any elementary school; there’s a particular focus on literacy at Prince Street, and the school holds a “Young Author’s Night” to celebrate student writing every May; every grade 6 student prepared a piece of work for that night, and, upon hearing of my idea, the school’s two grade 6 teachers, Jo-Anne Parsons and John Macfarlane reasoned that those pieces of writing would make good material to assemble into a book.
Robertson Library’s Espresso Book Machine is an amazing piece of technology: you send it a PDF of the insides of a book and a second PDF of the cover and it spits out bound paperback books that look, well, just like bound paperback books. The machine is available to any individual or group on Prince Edward Island who wants to publish a book; it’s not difficult to do, and I thought I’d outline the process I went through so that others can follow, especially others who want to assemble student writing into a book.
Getting the Writing
The plan was to set aside a single page of the book for a piece from each student. The writing was already typed into a word processor – Microsoft Word on the computers in the school’s lab, stored in the individual students’ personal account.
For John’s class, the technology coordinator at the school, Philip Brown, had the smart idea to use the opportunity to teach the students how to send an email with an attachment to me; as a result I ended up with 17 email messages in my inbox one day, one from each student in John’s students.
For Jo-Anne’s class I received a single Word document with all of her students’ writing, directly from her by email.
I double- and triple-checked the documents to make sure I had something from every student, and asked Philip to double-check every name for spelling.
Assembling a Book
I use the Mac OS X Pages word processor every day, so I decided it was the tool I would use to make the book.
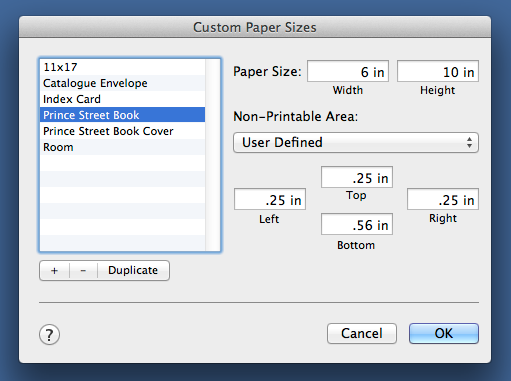
I like books that are tall and narrow, so after playing with some different sizes I decided on 6”x10” for this book (the Espresso Book Machine will print books as small as 4½”x5” and as large as 8¼”x10½”). So to start I set up a custom page size in Pages (File | Page Setup | Paper Size | Manage Custom Sizes) of 6”x10”:
I then opened each of the Word files I received and cut-and-pasted the text into a new Pages document, removing any formatting in the process (Edit | Paste and Match Style) and inserting a page break at the end of each piece.
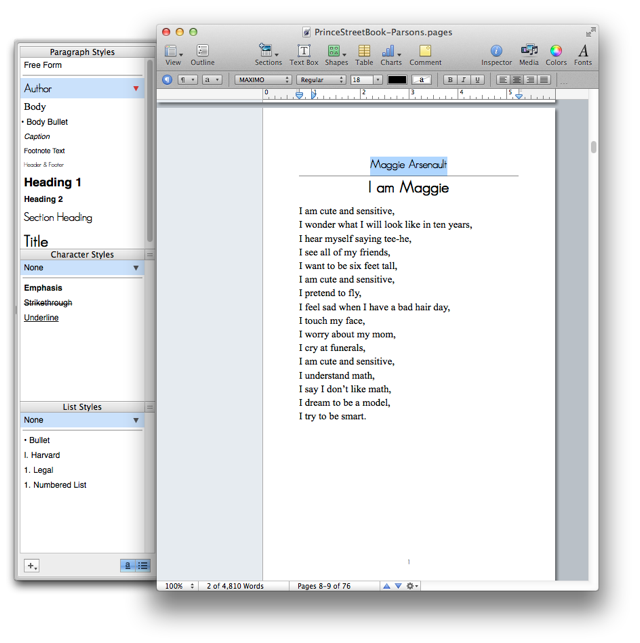
I then created “styles” in Pages for the author’s name (“Author”), for the title of the piece (“Title”), and for the body text (“Body”) and went through the document highlighting text and assigning styles as needed:
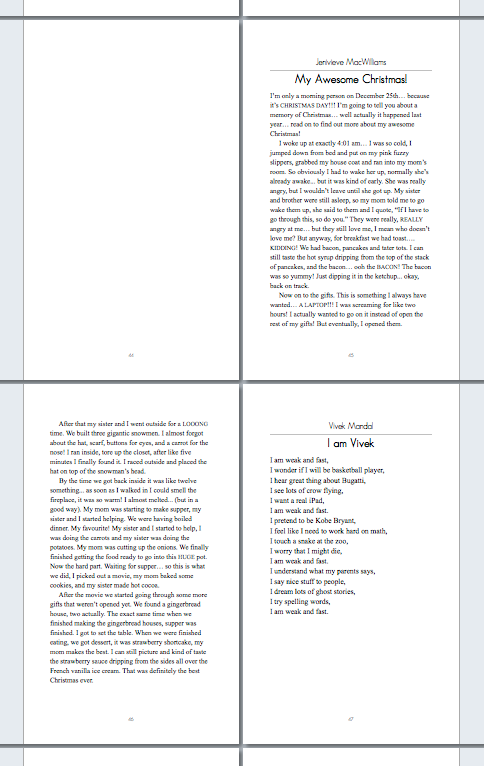
It became apparent that the plan of “one page per student” wasn’t going to work out: some of the pieces were only a paragraph, some were 5 or 6 paragraphs. It turns out, however, that a technical requirement solved this problem for me: the Espresso Book Machine needs books to be 80 pages at minimum, and so I needed to make the book “thicker” and I did this by assigning two pages per student, a right-facing one to start and then, if needed, continuing onto the next left-facing page:
This format made for a nice 76-page book, which was close enough to 80 pages to make it workable for the machine.
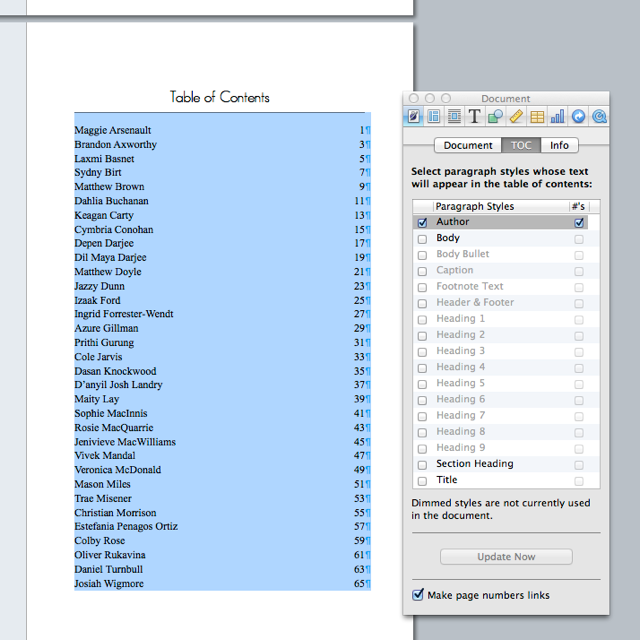
I decided to organize the book by alphabetical last name of students so, with some additional cutting-and-pasting, rearranged the pieces into this order. I then decided that it would be nice to have a table of contents, so I used the “Table of Contents” feature on Pages (Insert | Table of Contents) to do this, setting the “Author” style that I’d already used for formaating to be the paragraph style that defined a table of contents item:
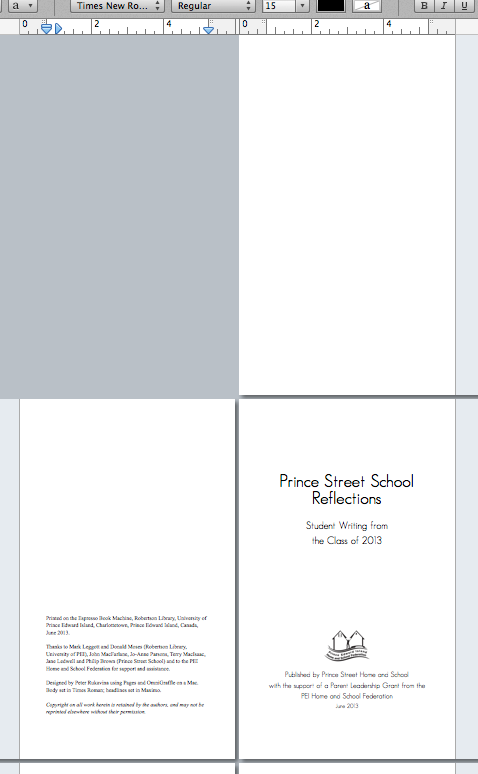
Finally I created the introductory pages of the book, starting with a blank right-facing page, then a “thank you” page with credits, and finally a “title” page:
Making a Cover
My original thought was to use something photographic for the cover (the Espresso Book Machine can print black and white on the inside and full colour for the cover), but I was too late to have time to assemble photos of all the students, didn’t have a good photo of the school itself, and nothing else presenting itself, so I decided to use the students’ names as the cover.
The helpful Creating an EBM Ready PDF prepared by the library has a formula for determing the size of the cover. My book was 6”x10”, so to begin with the cover (back plus front) would be 12”x10”, but there needs to be an allowance for the spine, and this depends on the number of pages and the thickness of the paper. In my case the calculation went like this:
76 pages ÷ 377.3585 = 0.2014 inches
I opened a new Pages document and created a second custom paper size of 12.2014”x10” for the cover:

I copied the names of the students from the table of contents in the book into the cover document, removed all of the carriage returns, and then set each student’s last name in a different colour, choosen at random. And then copied-and-pasted the names until they filled up the page and inserted a text box (Insert | Text Box) for the title:

I made sure that the title box was centred inside the right-hand 6 inches of the front cover so that when the book was printed it would be centred.
The names ran over to a second page, but that was fine as when I printed the cover to a PDF I just limited the printing to the first page (having them run over meant that the last line, ending with Dil, was fully justified).
Printing the Book
With the inside and the outside of the book in Pages my final step was to print to a PDF (File | Print | Save as PDF). There was nothing special that I needed to do when I did this; it was just a regular old PDF.
I emailed the two PDF files up to Robertson Library, and the next day was alerted that the was a proof copy of the book ready for me to take a look at. I jumped on my bicycle and was there 30 minutes later, eager to see what the final product look like.
Here’s what the book looks like coming out of the Espresso Book Machine:
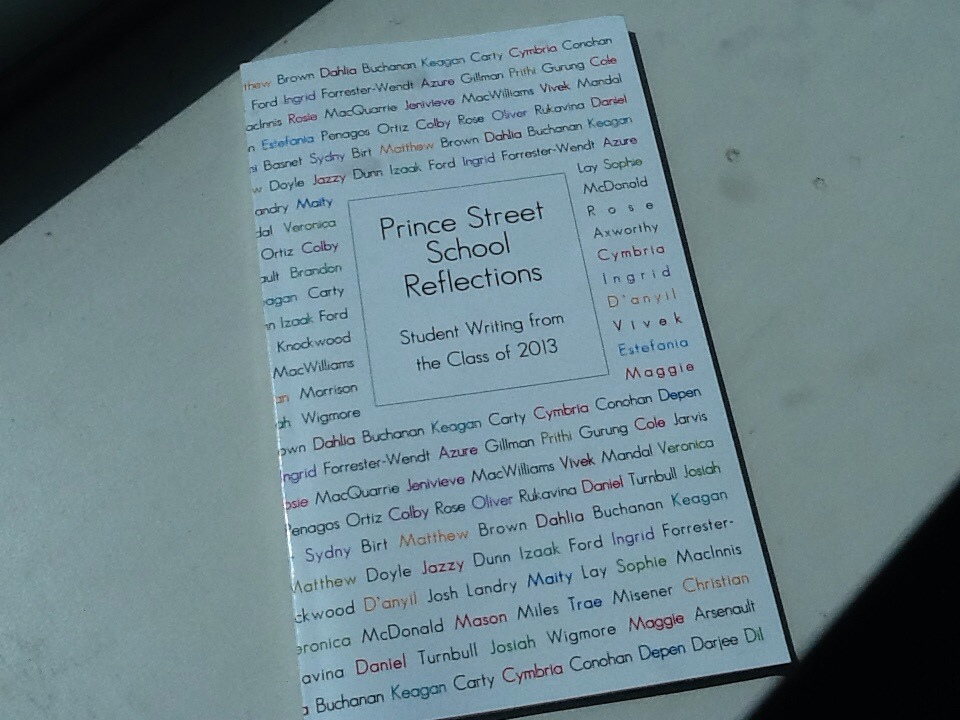
And here’s what the printed book looks like:
I read through the proof carefully, didn’t find anything that needed changing, so gave the go-ahead to print 50 copies of the book. By the end of the week they were ready and so I drove up to Robertson Library on Monday morning and picked them up and dropped copies off at the school for distribution – on the second last day of school, as it turned out.
Reaction from the Students and Teachers
I wasn’t at the school when the books were distributed, but fortunately CBC’s Island Morning radio programme sent a reporter up to the school to interview Jo-Anne Parsons and some of her students; I think the piece captures the reaction well, and listening to it made me feel happy that we’d done it.
Distribution of the Book
It was important to me, and to the teachers, that book be available not only to the students – who each received a copy to take home, for free – but also that the book enter the collections of the school, public and university libraries, so copies were sent to each and they’ll be catalogued and available to the public.
I also uploaded the book to the Internet Archive for preservation, both as a PDF (the same PDF that was printed), and as an ePub-formatted ebook.
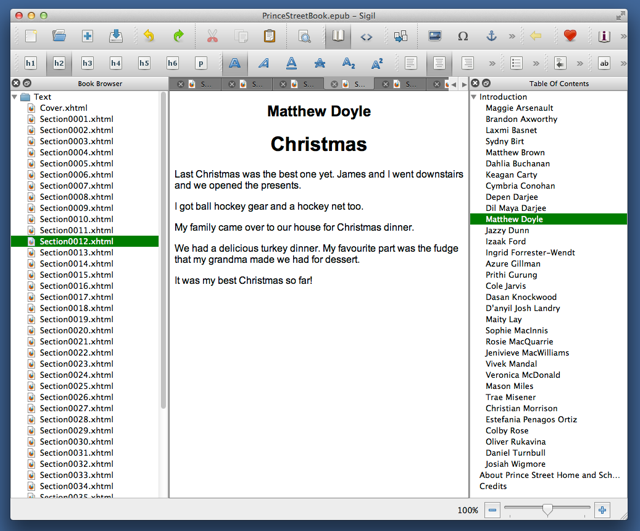
I created using the ePub version of the book with the Sigil open source ePub editor); I’d originally tried Pages’ own “Export as ePub” function, but I found that this resulted in an ePub that was too heavily-formatted to be useful on ereaders, so I started from scratch in Sigil, exporting the text from Pages as “Plain Text” and then cutting and pasting into Sigil with one ePub “section” for each piece. When it was done, it looked like this:
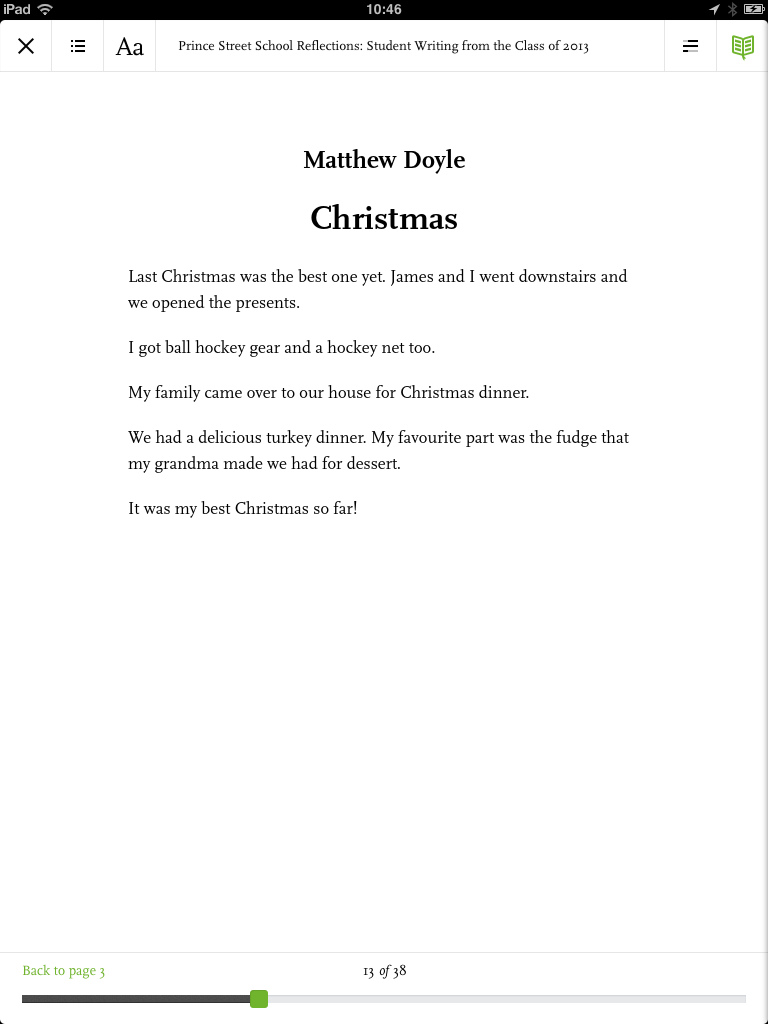
And in Readmill the ePub is quite readable:
About This Blog
 I am Peter Rukavina and this is my blog. I am a writer, letterpress printer, and a curious person.
To learn more about me, read my /now, look at my bio, listen to audio I’ve posted, read presentations and speeches I’ve written, see things I’ve favourited elsewhere, or get in touch (peter@rukavina.net is the quickest way).
I have been writing here since May 1999: you can explore the 25+ years of blog posts in the archive.
![]() You can subscribe to an RSS feed of posts, an RSS feed of comments, an RSS feed of favourites elsewhere, or a podcast RSS feed that just contains audio posts. You can also receive a daily digests of posts by email. I also publish an OPML blogroll.
You can subscribe to an RSS feed of posts, an RSS feed of comments, an RSS feed of favourites elsewhere, or a podcast RSS feed that just contains audio posts. You can also receive a daily digests of posts by email. I also publish an OPML blogroll.
Instagram • YouTube • Vimeo • ORCID • OpenStreetMap • Internet Archive • PEI.art • Drupal • Github.
Add new comment