Here’s a photographic journey through the process I took to set, print and bind a book of klischees. Making books, it turns out, is well within the realm of the possible for everyday people: all you need is paper, glue and patience.
Printing
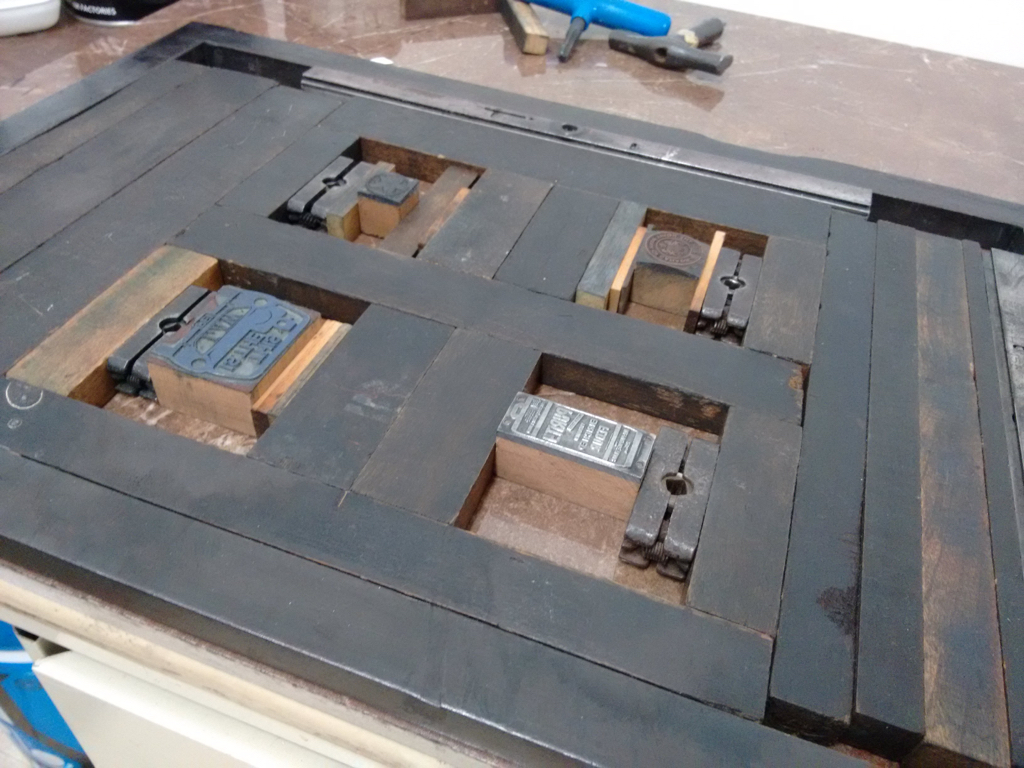
I started by printing the signatures for the book. On standard letter-sized card stock I printed four klischees on each side. The setup in the chase looked like this:
And a prototype of the finished signatures looked like this:
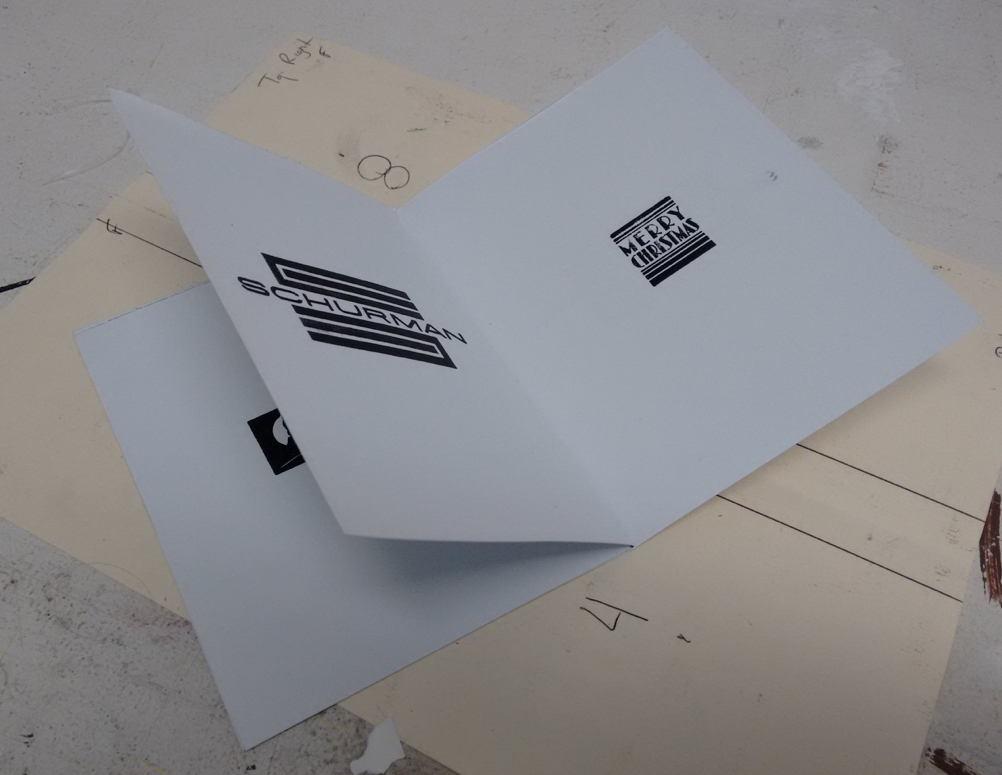
The printing took several weeks, off an on when I had time. I printed in batches of 2 or 3 pages a session, and ended up with seven pieces of 8-1/2 x 11 inch card stock printed double-sided. When I sliced these in half I had fourteen pieces of 4-1/4 x 11 inch card stock, ready for folding.
Scoring and Folding
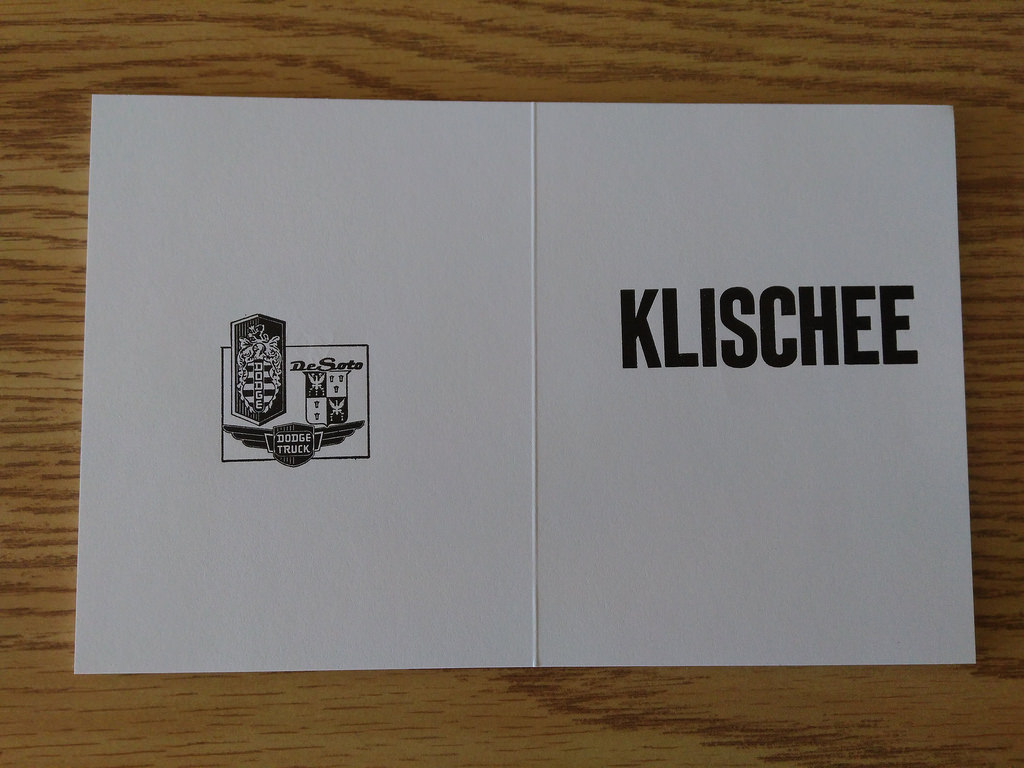
I scored each of the 4-1/4 x 11 inch pieces:
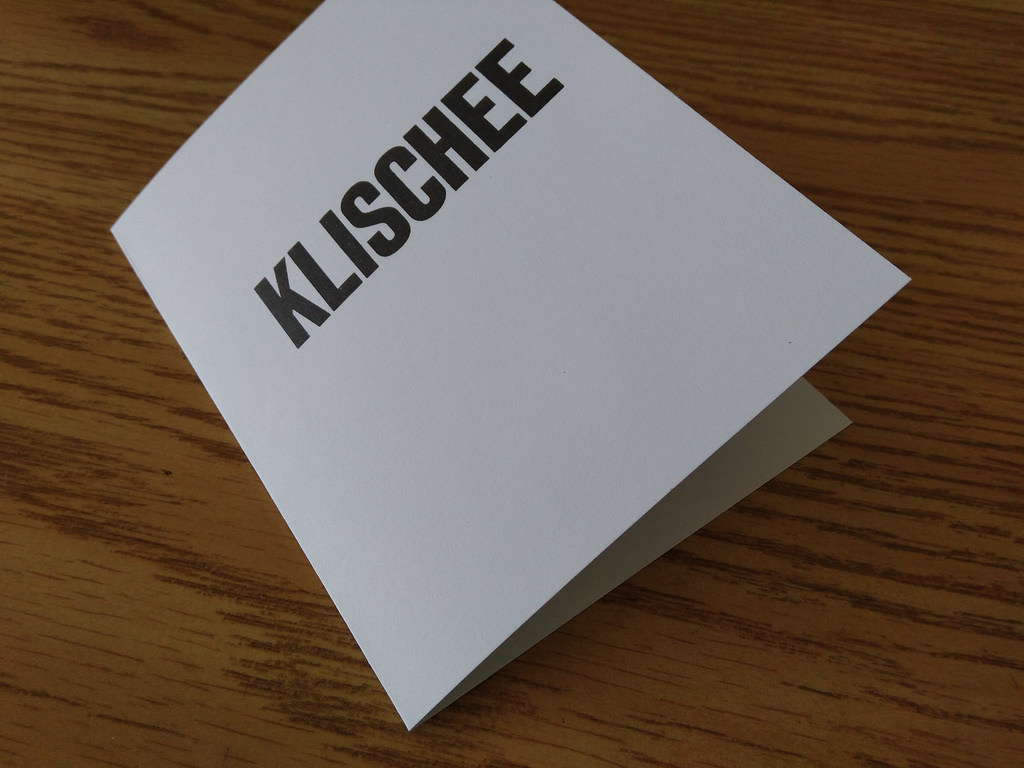
Then folded each on in half along the score:
I then used a bone folder – an invaluable tool that only appears to have any utility once you actually use it for something – to enhanced the folding a little:
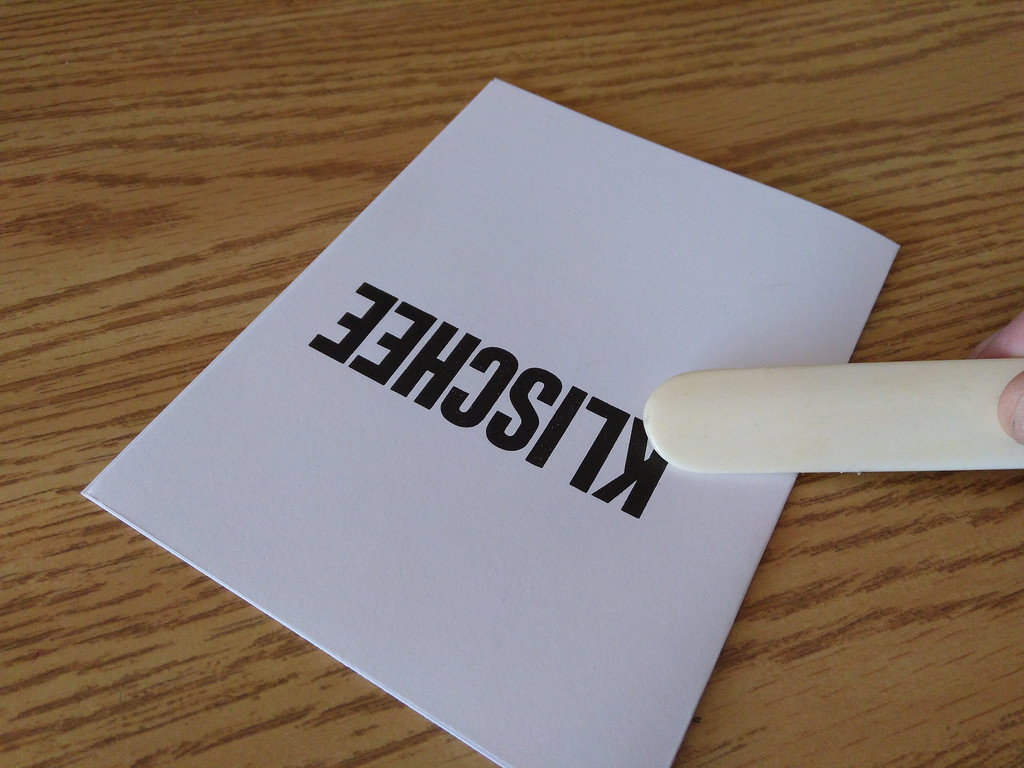
I ended up with a stack of folded signatures:
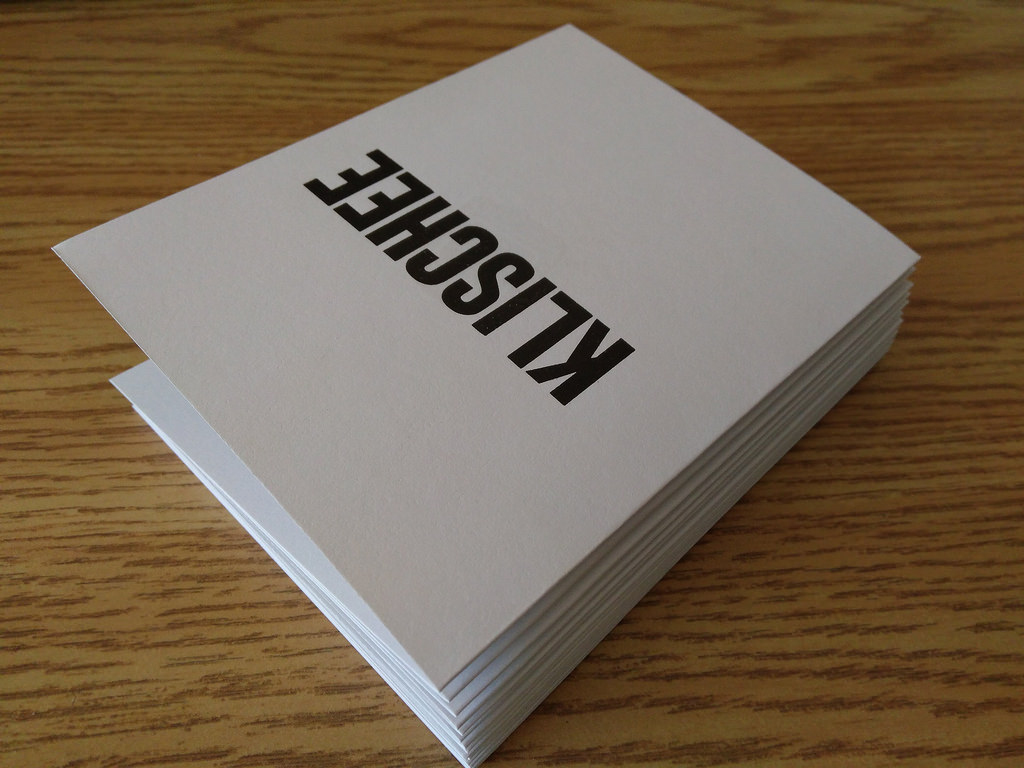
Which I then compacted with the bone folder (this turns out to be a key step: it’s what takes “ragtag collection of folded pieces of paper” and turns them into something book-like):
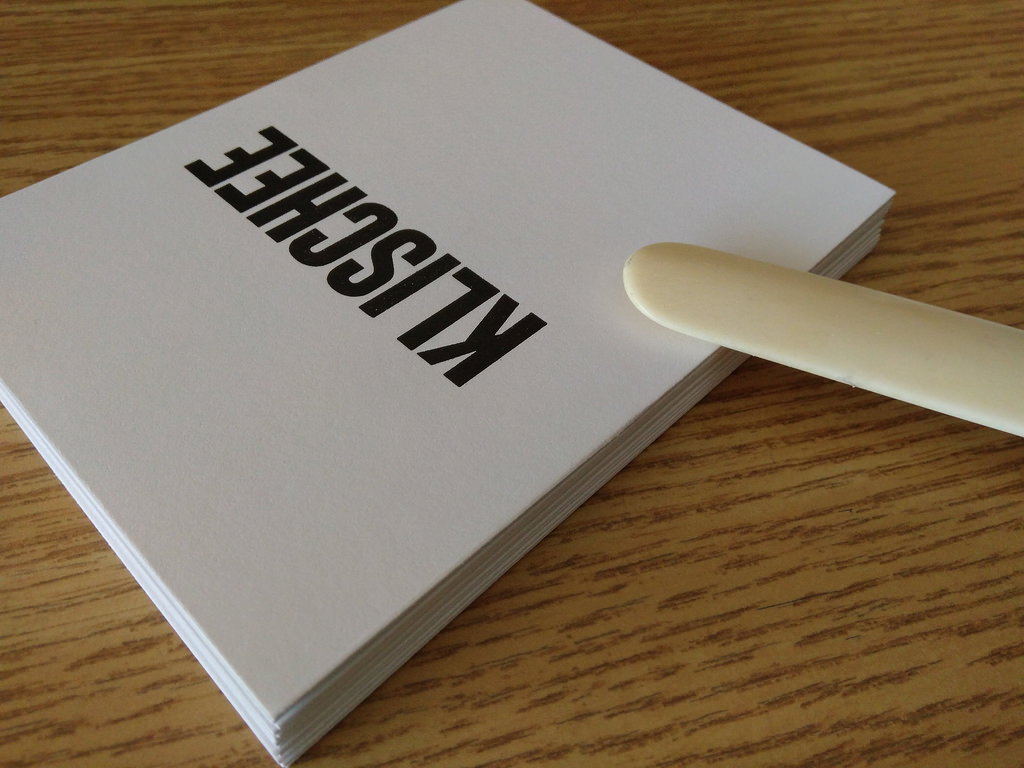
Next, I pulled two pieces of Japanese paper out of my paper closet and cut them to size (4-1/4 by 5-1/2 inches) to go at the start and end of the book:
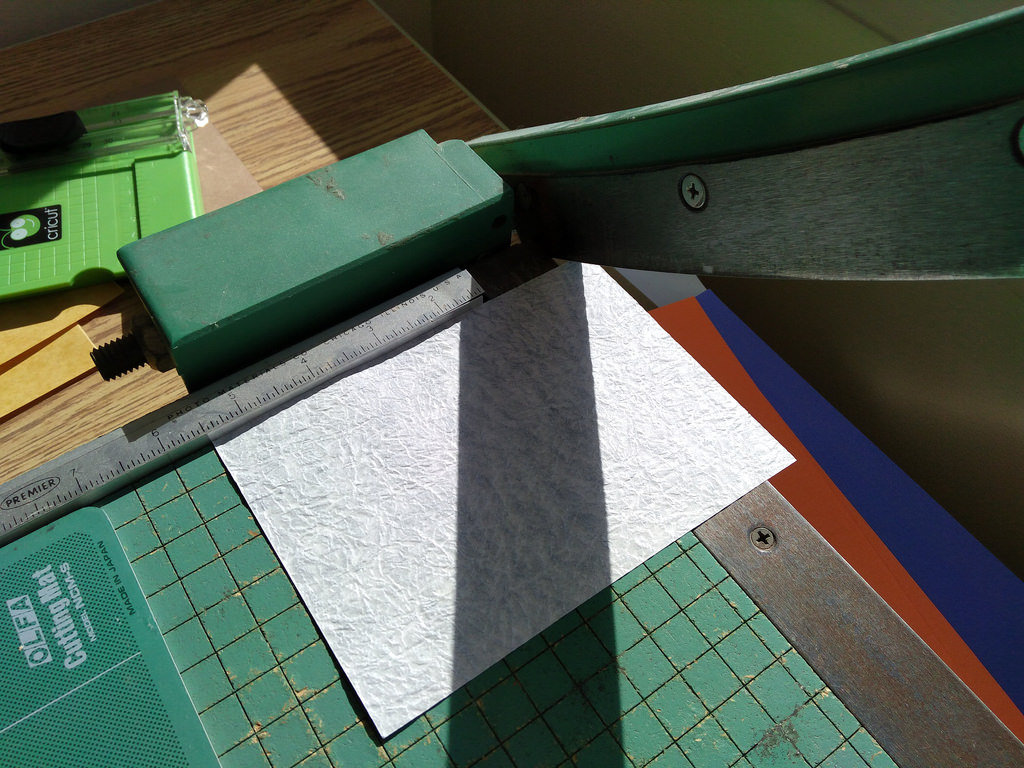
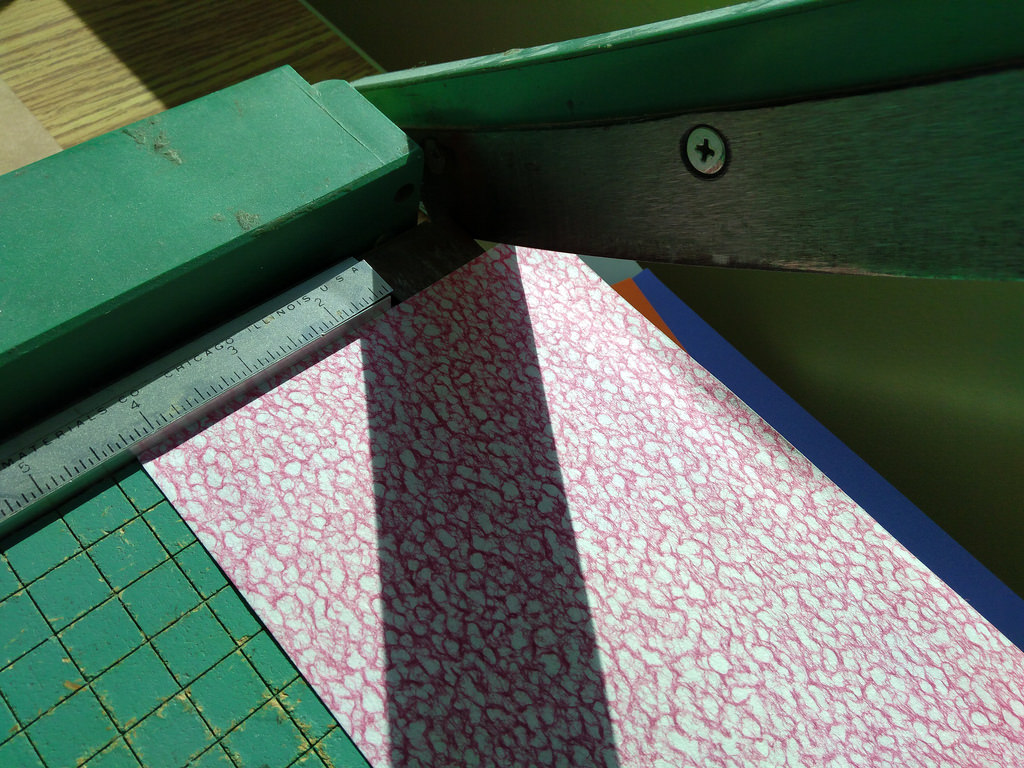
The finished product, before gluing, looked like this:
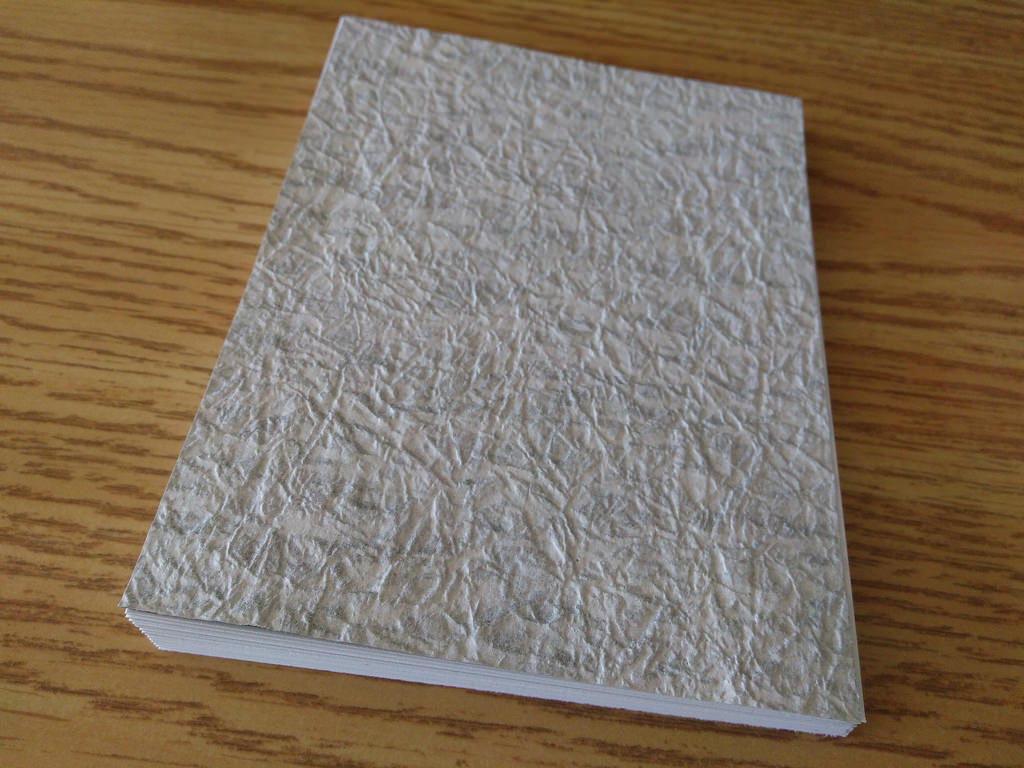
Gluing
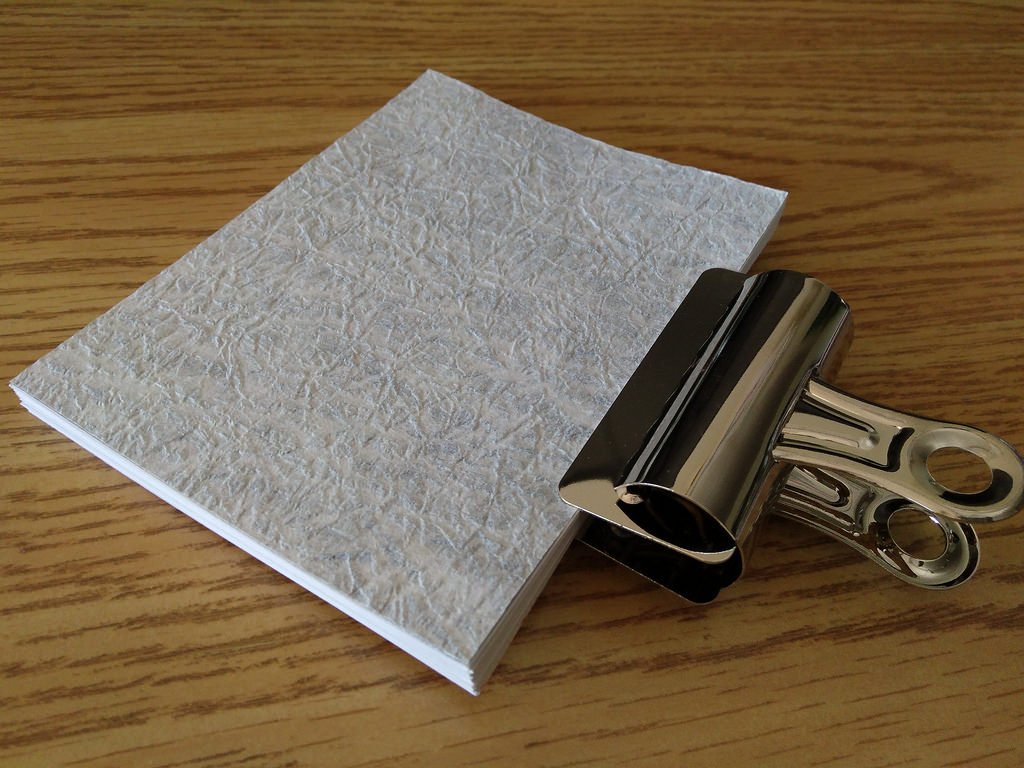
With the book ready for glue, I clamped everything together with a binder clip; this is so helpful in keeping everything in alignment, and this kind of binder clip is much easier to manage than the more common “black with silver parts that fold back” kind, especially when it comes to removing it:
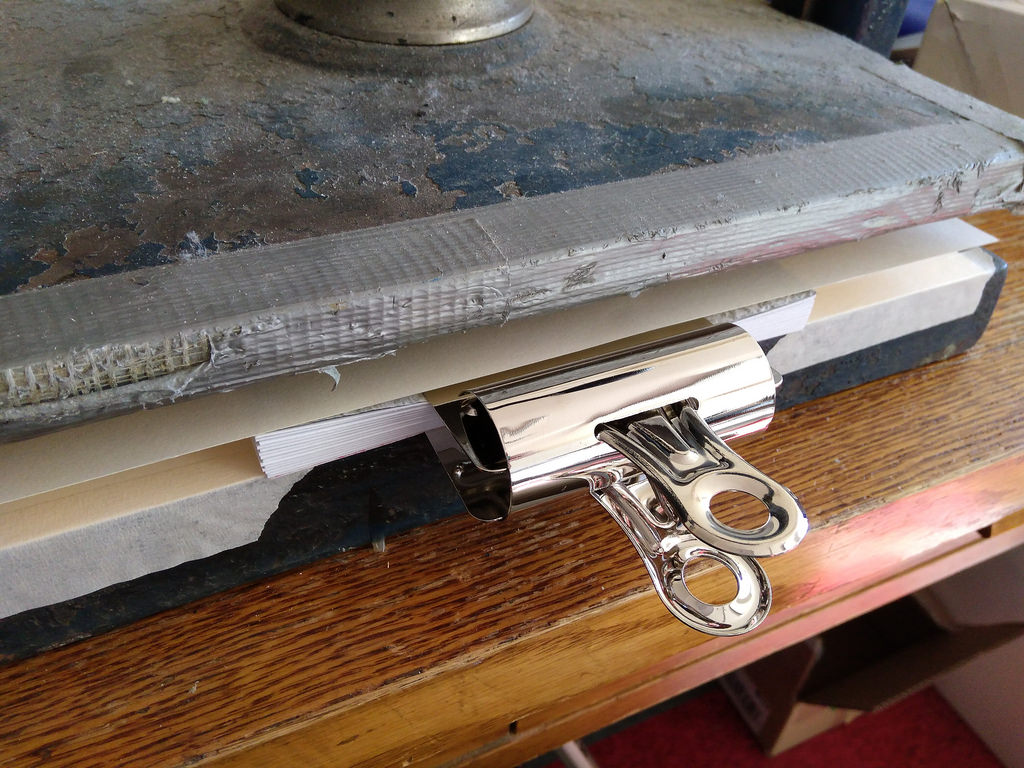
I slipped the clamped signatures into a book press (a piece of equipment helpfully left in my office by the previous occupants), and then clamp the whole thing tight in the press, while gingerly removing the binder clip:
I then used a cheap paintbrush to spread a thin layer of regular old white glue (I used Aleene’s Original Tacky Glue, but I imagine any brand would do) along the edge of the book:
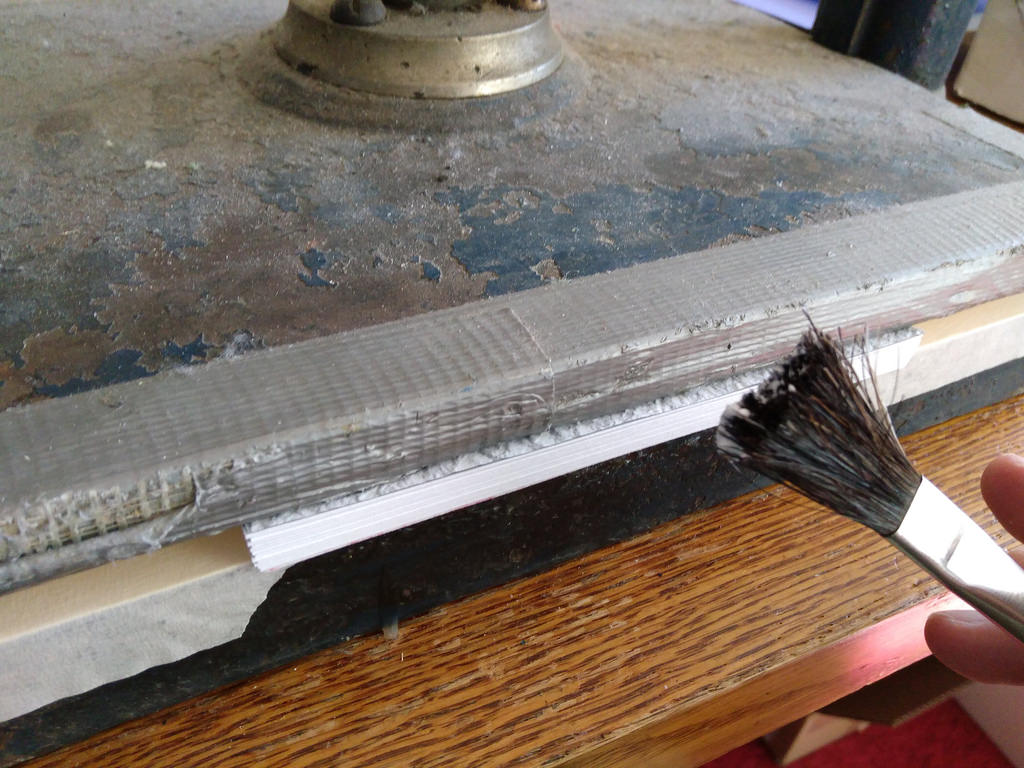
The brush is very useful for creating a really smooth layer of glue. I repeated this process again once the first layer of glue dried (this may not be technically required, but it afforded me some gluing-piece-of-mind):
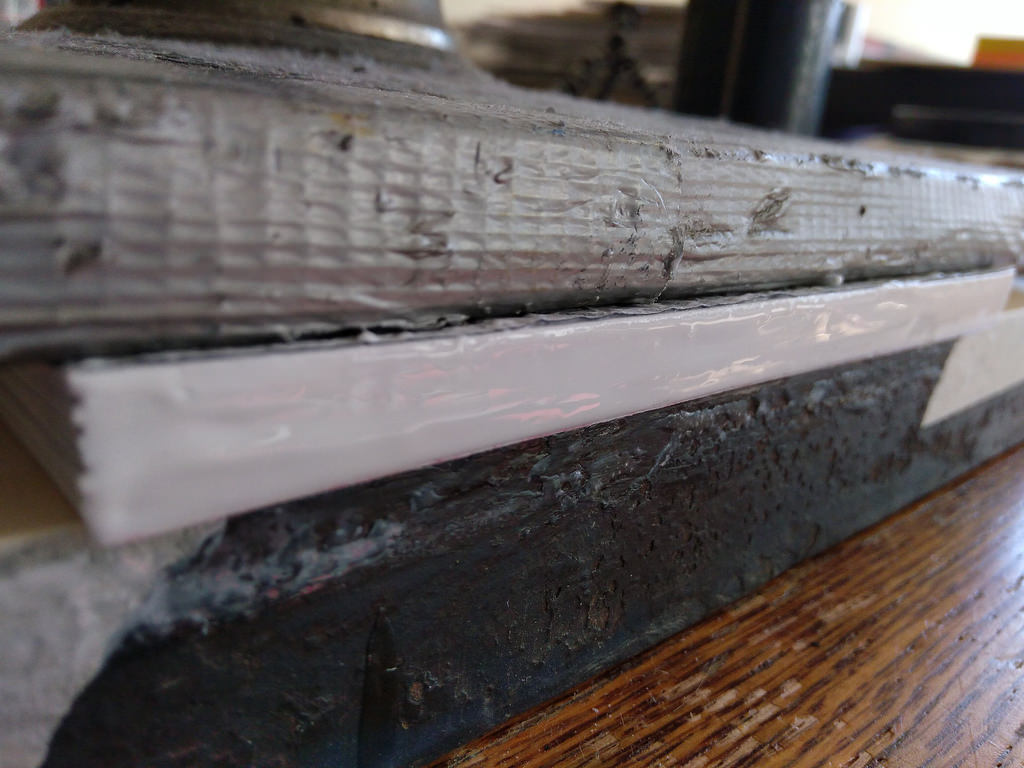
Preparing the Cover
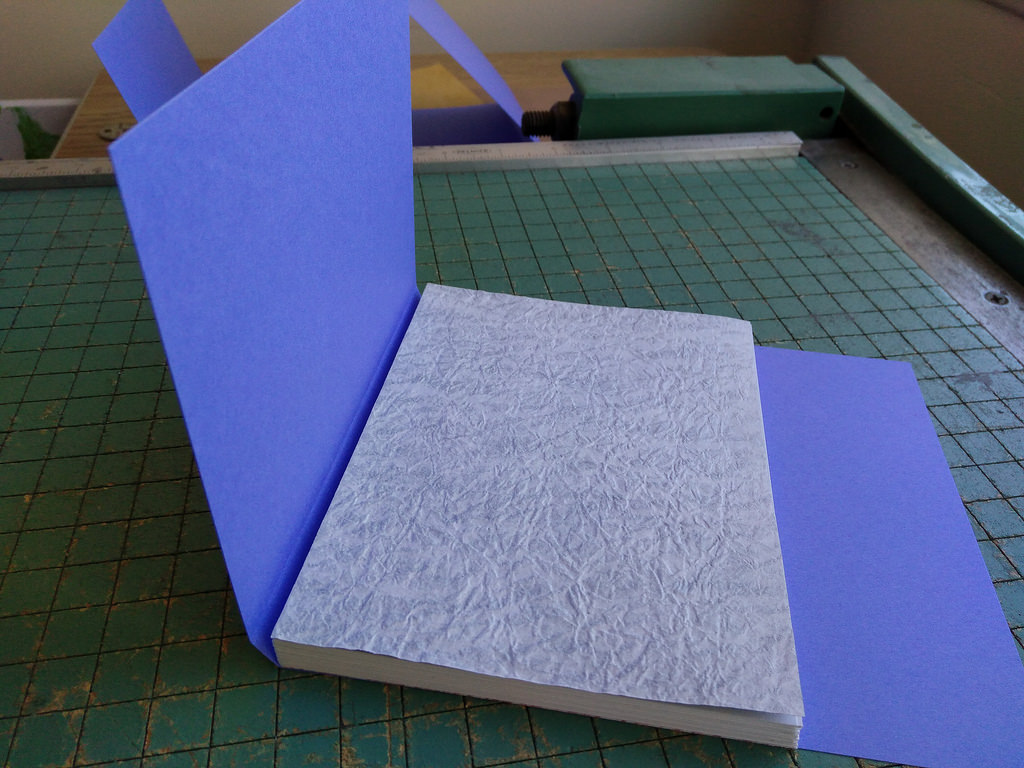
While waiting for the glue to dry, I took a piece of letter-sized purple card stock and trimmed it down to 5-1/2 by 11 inches, and then scored it 4-1/4 inches in:
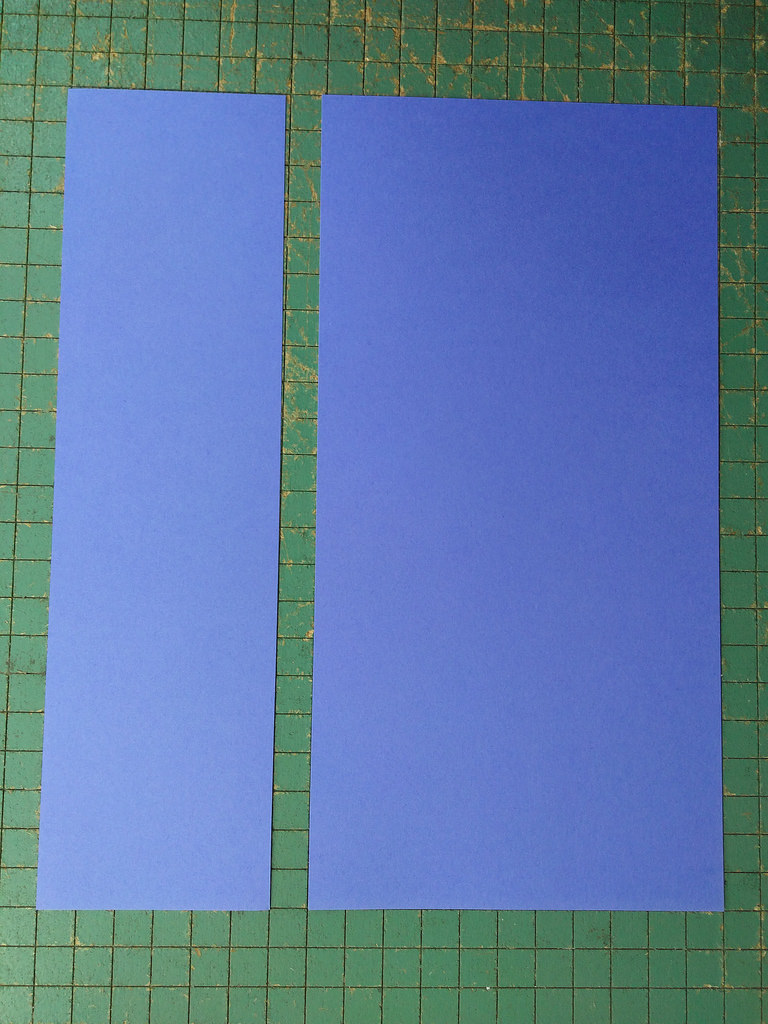
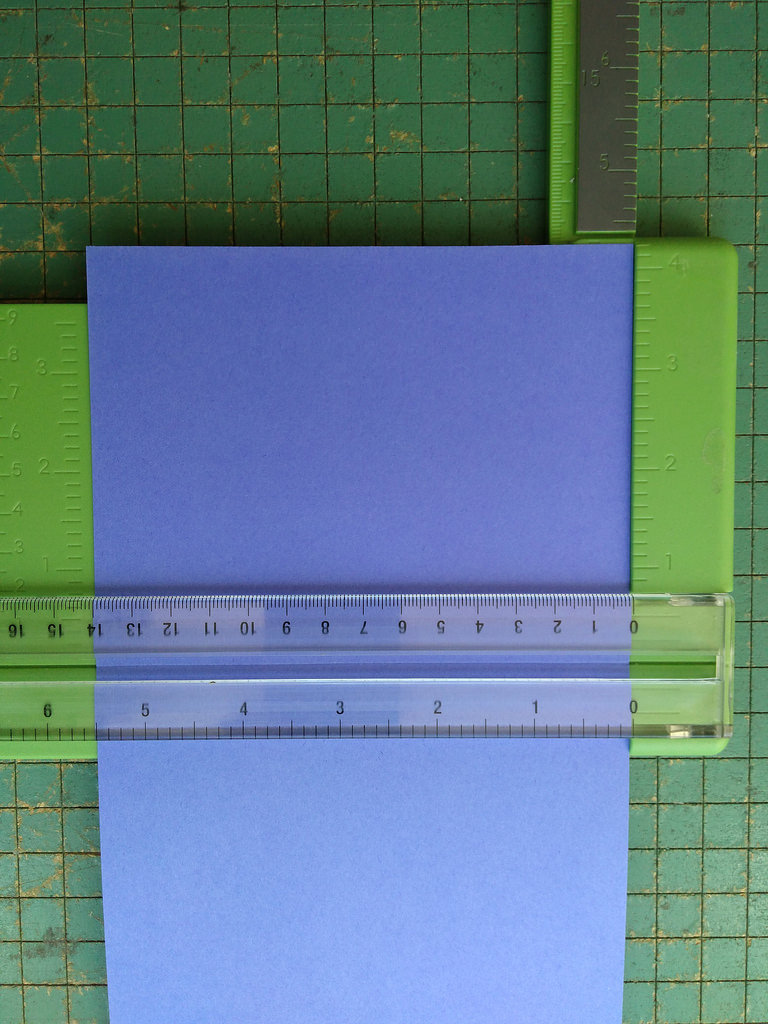
I then added a second score, using the glued book block as a guide to the location. The result was a front cover, spine, and back cover; I left the back cover to trim after the cover-gluing:
Gluing the Cover
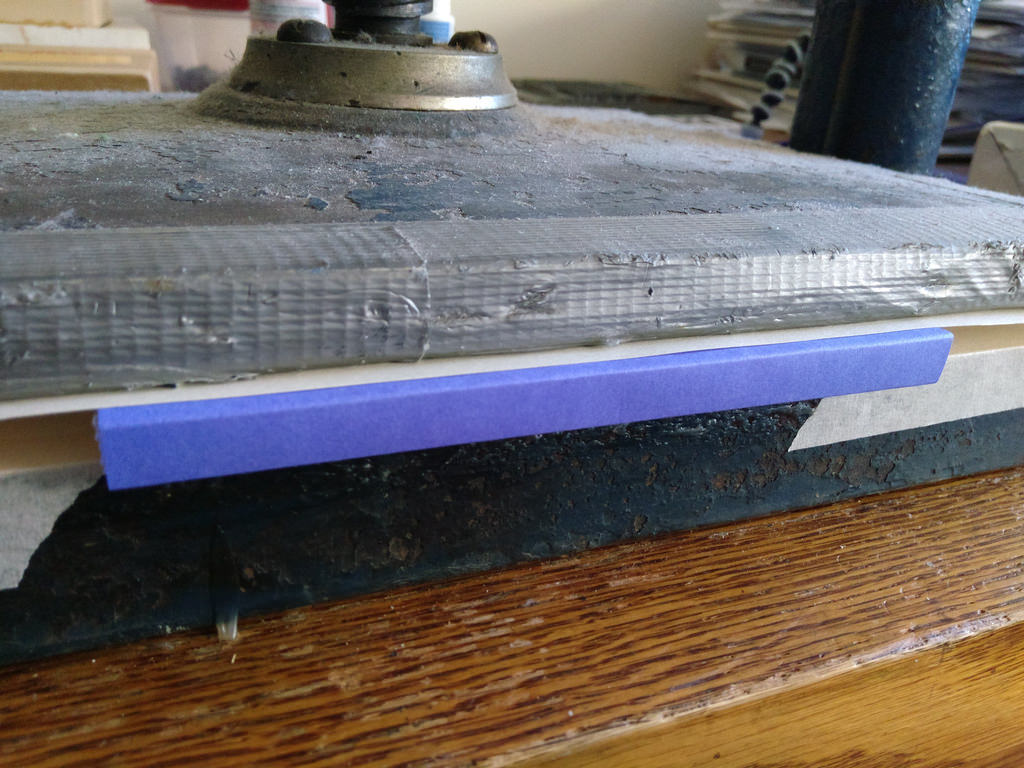
I spread a layer of glue along the spine of the book block, put the cover in place, and then clamped the result into the book press (not so much for the pressure as to have it clamped in place so I could apply some pressure to the spine of the book with my thumb to remove glue bubbles):
Trimming the Cover
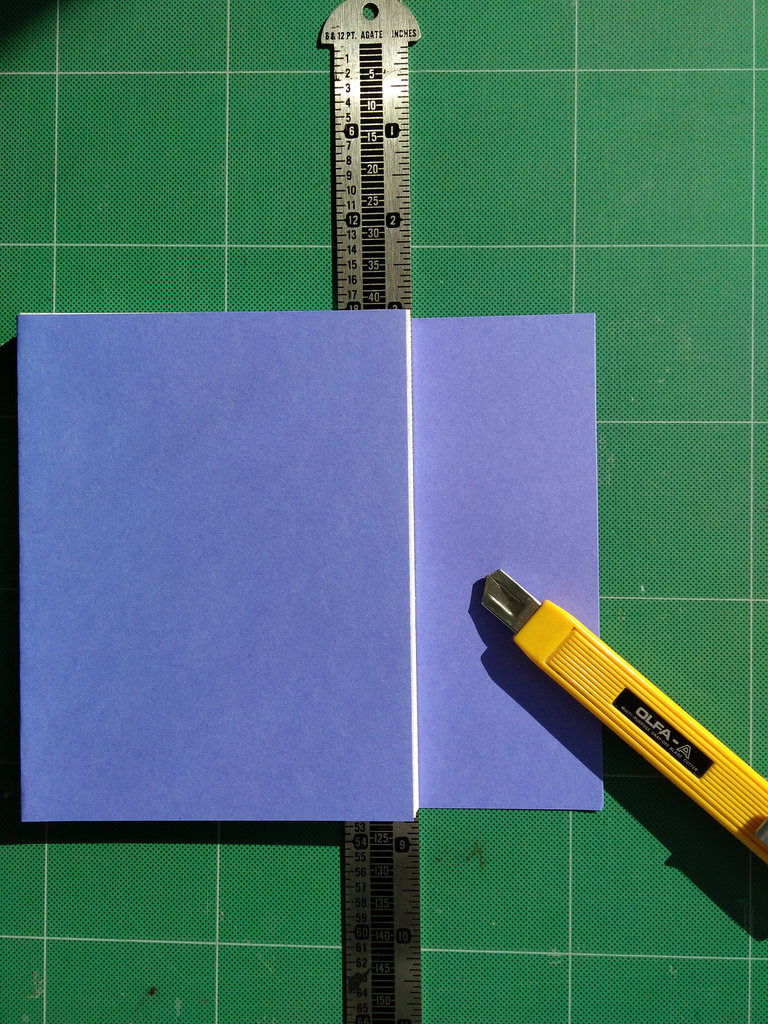
Once the spine had dried, I removed it from the book press and, using a straight edge as a guide (an excellent tip I picked up from a YouTube bookbinding video), I trimmed the back cover:
The Finished Book
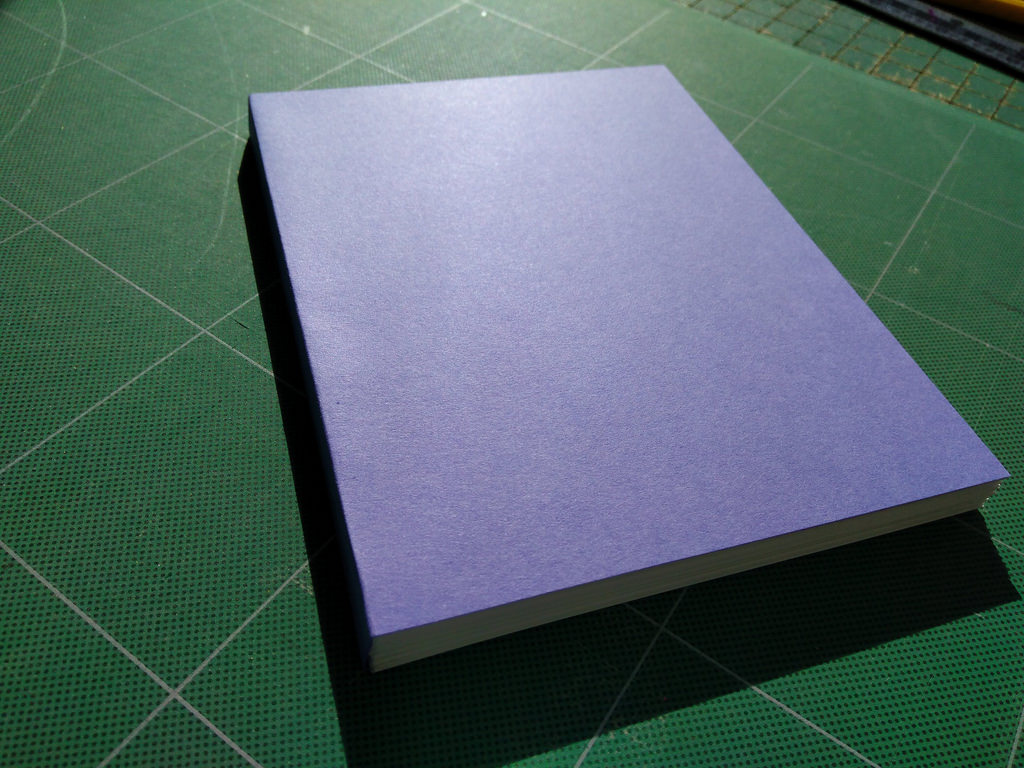
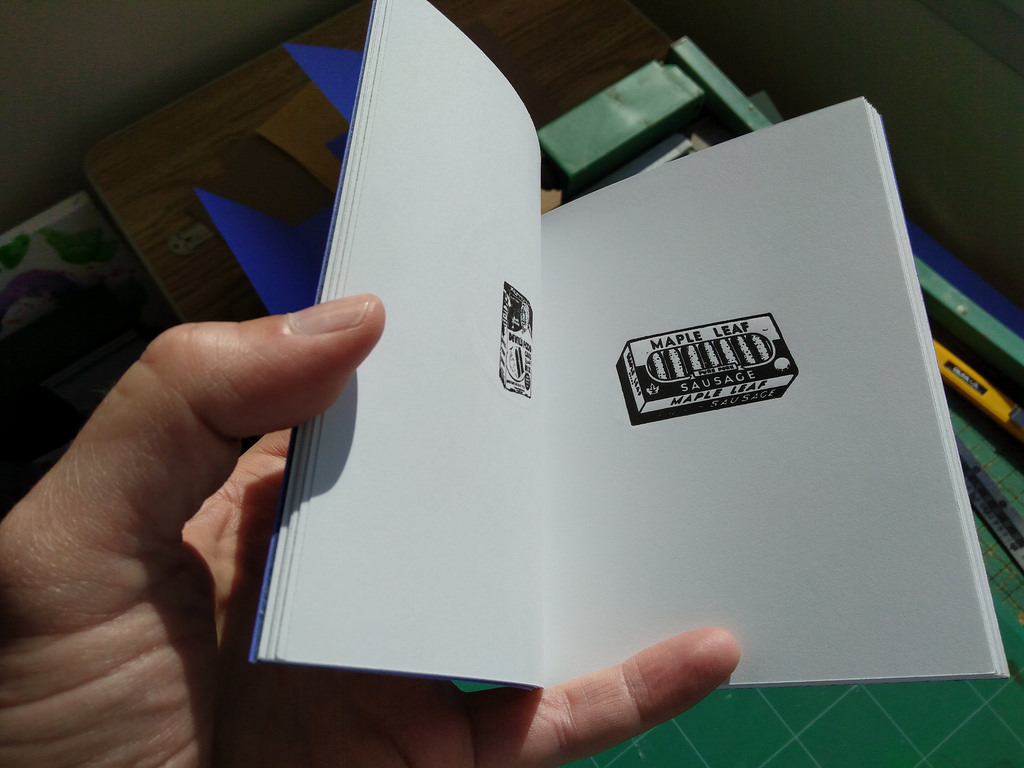
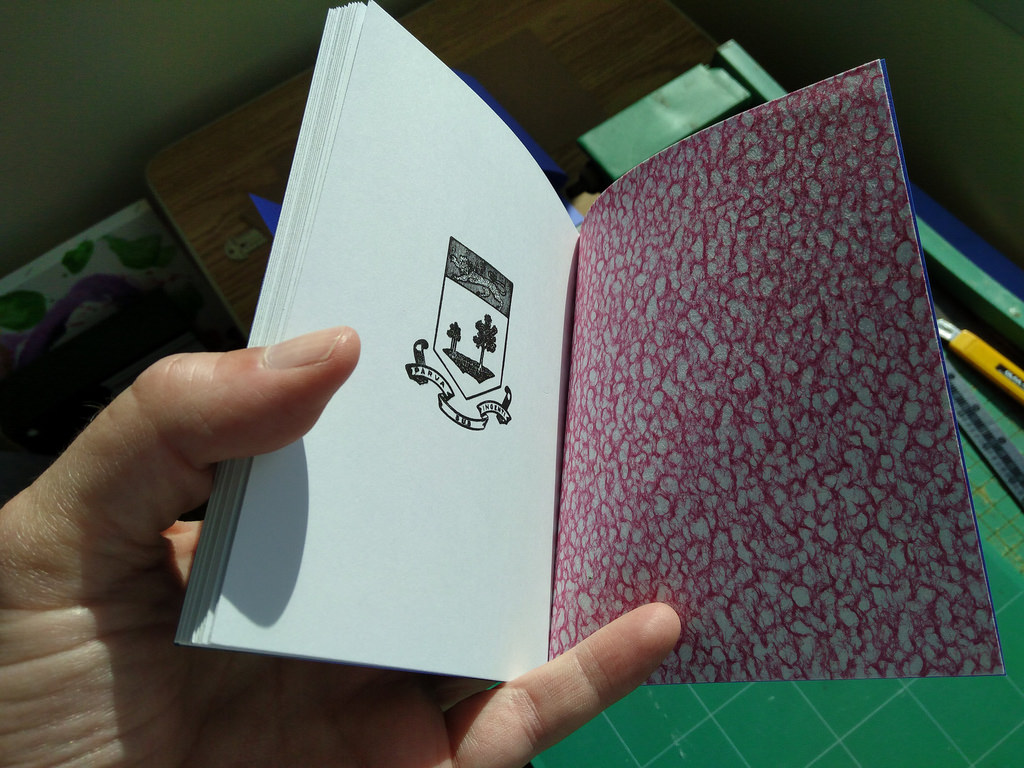
The finished book looks remarkably book-like:
 I am
I am
Comments
Impressive and beautiful work
Impressive and beautiful work Peter.
Enjoyed this Peter. Thanks
Enjoyed this Peter. Thanks for sharing. Would like to see all the plates.
Add new comment